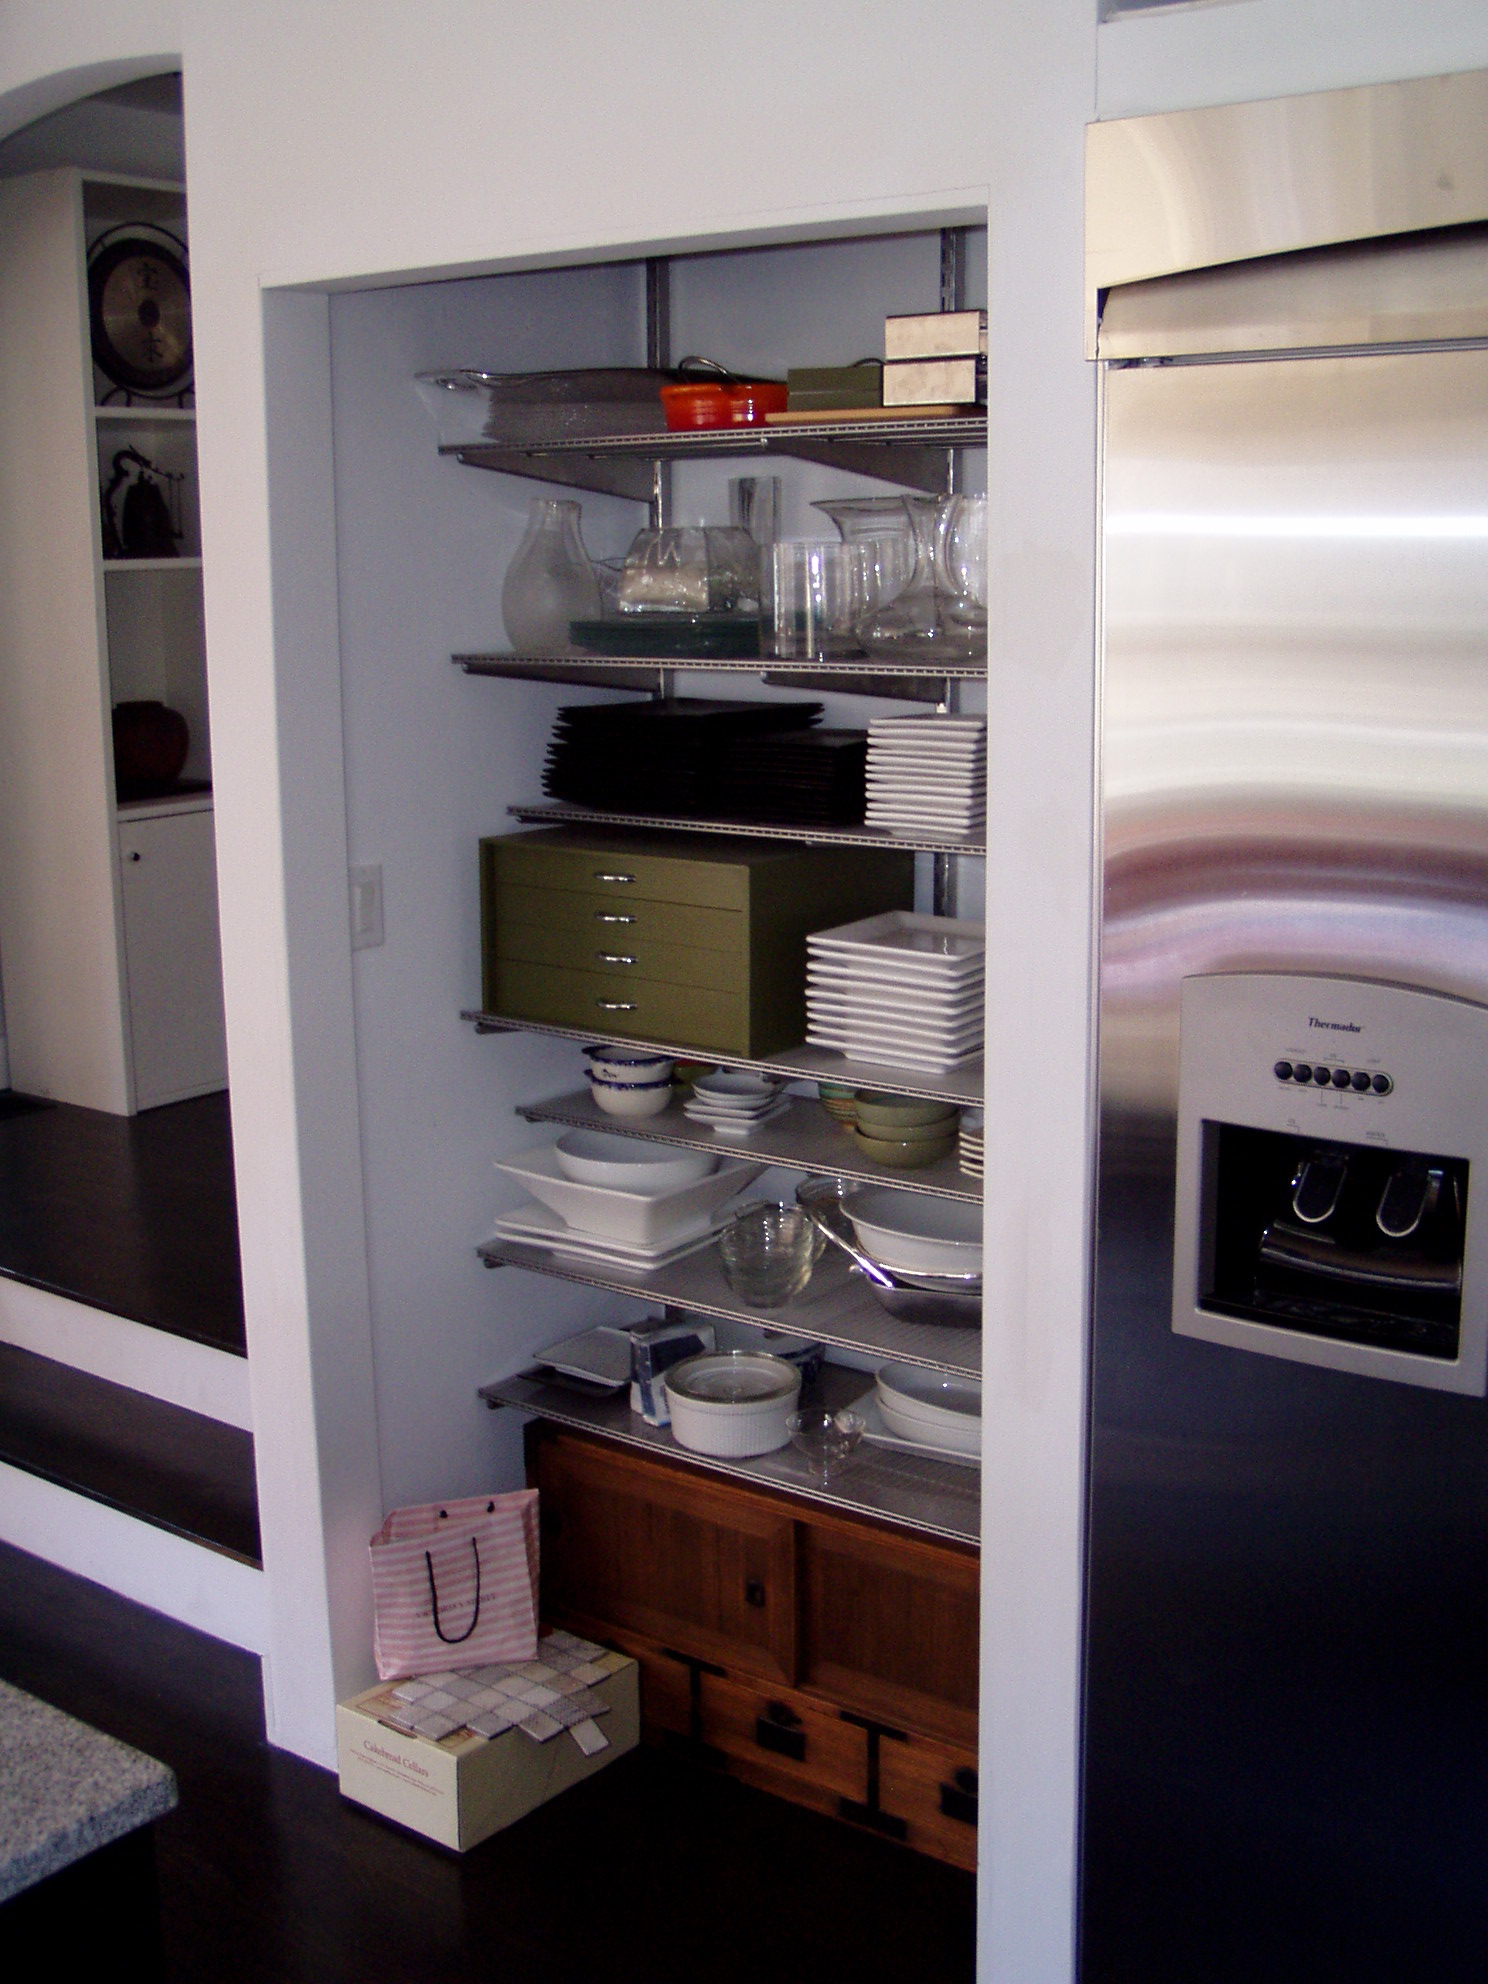
This is a set of pantry doors that I made from scratch for Kate and Ben in Austin, Texas. This is the opening for the doors:


This is the opening once the doors have been completed and installed:


I will give a brief description of the project, I didn't do any photo documentation. I first made a cut list of parts, bought lumber, and machined it to perfection at my dad's shop in Phoenix, Arizona (I was there for a wedding). They are hollow core doors, with solid wood innards and masonite skin. I brought all the parts, neatly packaged, back with me to Austin. I built an assembly jig out of a 4x8' sheet of mdf, placed it on rails upon two saw horses, checked for level and flatness, and assembled both doors with the cut parts, glue, and a Senco pin nailer. I puttied and sanded every surface, and installed trim molding to seat the glass, also with glue and the pinner, and puttied and sanded that. Since both doors were built in the same jig, they were identical, and thankfully, perfectly flat.
I mortised the hinges by hand with a Dremel and the Dremel Router Base, the hinges are a custom size. I built the jambs and assembled the entire doorset, meaning jambs, doors, hinges and top latches, on the ground on another assembly jig that I made. Essentially It was the same jig but with 4 large holes to accommodate the hinges. This way I could ensure that all gaps were consistent and the doors themselves were flush with the jambs and flush with each other. With the doors flat on the jig, I set the jamb stops in place. I then cut 4 bracing pieces from 1x3" lumber of identical length and braced the entire unit, making my own 'pre-hung door' assembly, no different than one you'd buy at Home Depot. I stood the unit up as a whole, now thoroughly braced, and placed it in the opening. Since it was almost a perfect tight fit, there was no need for shims so I simply pinned it in place.
I then uninstalled the doors and painted them individually with about 30 cans of interior white primer, so they appear smooth with no manufacturing marks. I purchased bead blasted glass from Renaissance Glass Co. in Austin to match the existing kitchen door, and installed it with silicon caulking. I used mahogany trim on the backside to ensure a tight fit, and the mahogany glass bead molding stays straighter than ash or pine. Below are some finished detail photos. Please note that no drywall repair has been performed, as I am not sure if the owner will want casing around the jambs, or simply rolled drywall.
The top gap and latches:

The center gap at the floor:

The hardware (handles):

The mortissed hinges:

With one door open:

Thanks for looking!