Saving Graphics to Disk and Manipulating in Corel
Having 2 hard drives OR a partitioned hard drive is a big help for me when it comes to keeping things orderly. I use my D: drive specifically for graphics.
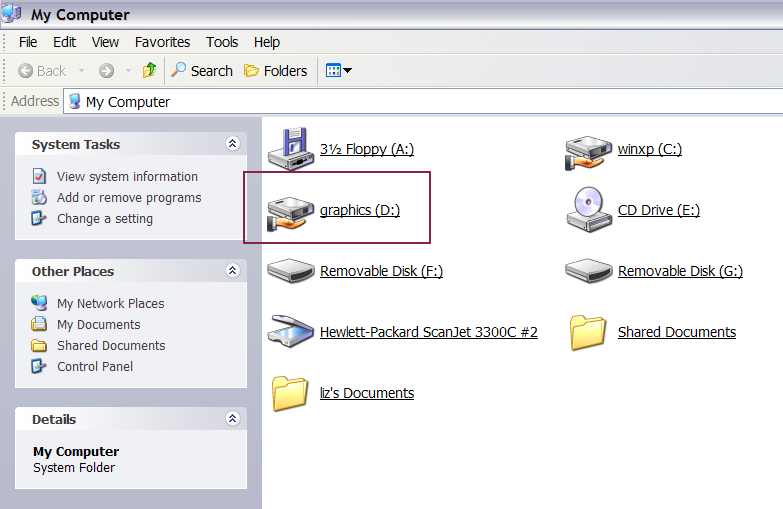
My D: drive has specific folders for sub-groups. I have folders inside of folders, inside of folders, inside of folders. As you can see, I have my main concerns regarding generalized groups separated. In the graphic below, notice where I have Make a new folder boxed in. I'm going to create a new folder on my D: drive called "For Leah."
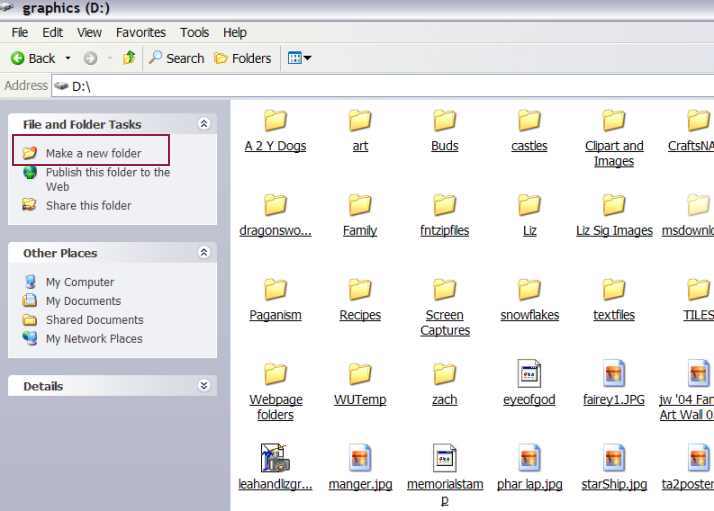
I clicked on the Make a new folder and the folder appears at the end of the list and the "New Folder" is ready to be named.
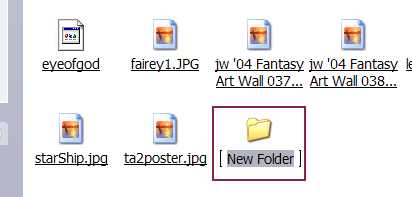
I named the folder "for Leah."
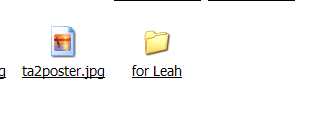
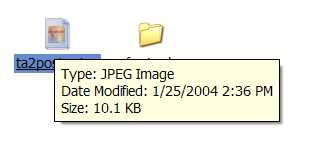
For convenience, I highlighted the image next to the new folder to open.
From the Corel Photo-Paint workspace, I have opened that image.
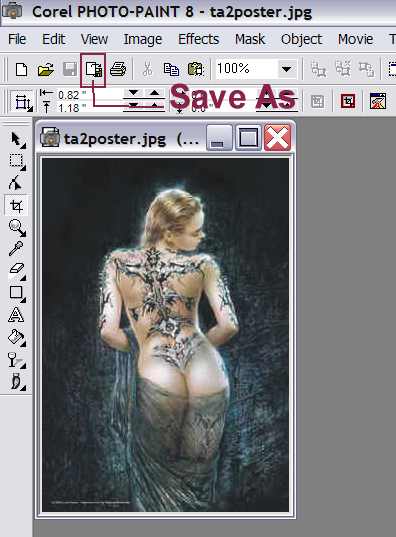 (The image came from a tattoo website... while I'd never in a million years have
a tattoo, let alone one this extensive, I thought the image was pretty and saved
it to disk.)
(The image came from a tattoo website... while I'd never in a million years have
a tattoo, let alone one this extensive, I thought the image was pretty and saved
it to disk.)
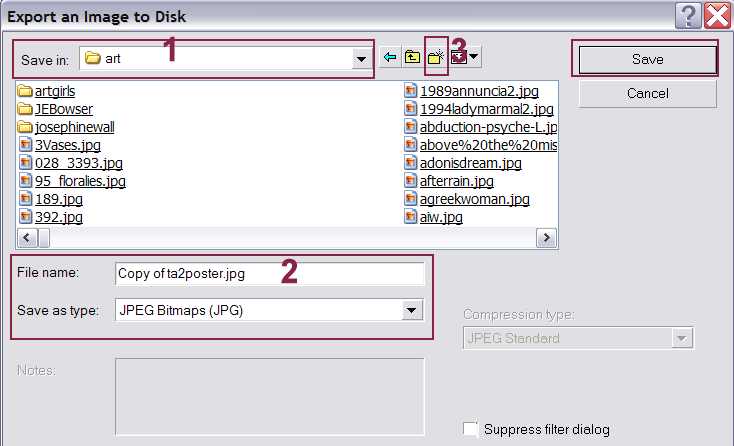
In spite of the fact that I created the folder "for Leah," I've decided to save a copy of this particular image to my folder called "art." I locate that folder on the D: drive.
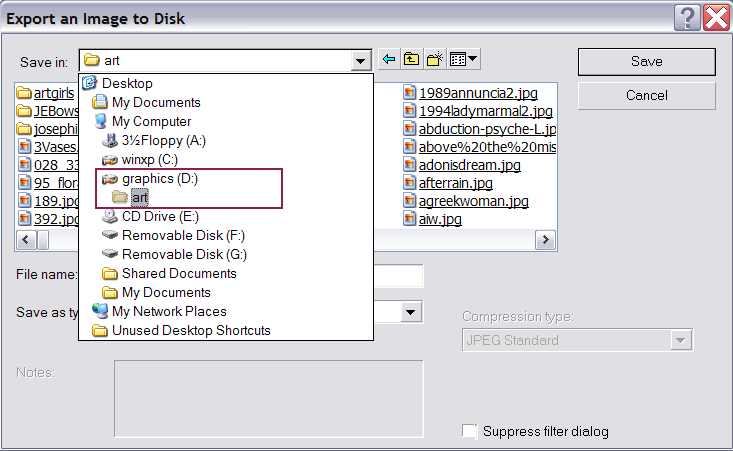
No. 1 Shows the folder that the image is to be saved to.
No. 2 Indicates that a "copy" of the image is being saved and that its being saved as a JPEG image.
No. 3 Is just an afterthought on my part. That particular icon is to create a new folder within the folder that is already open.
 Enlarged view of icon indicated in No. 3.
Saving an Image from an Email
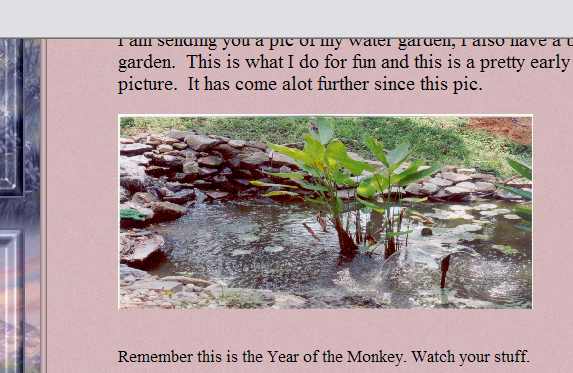
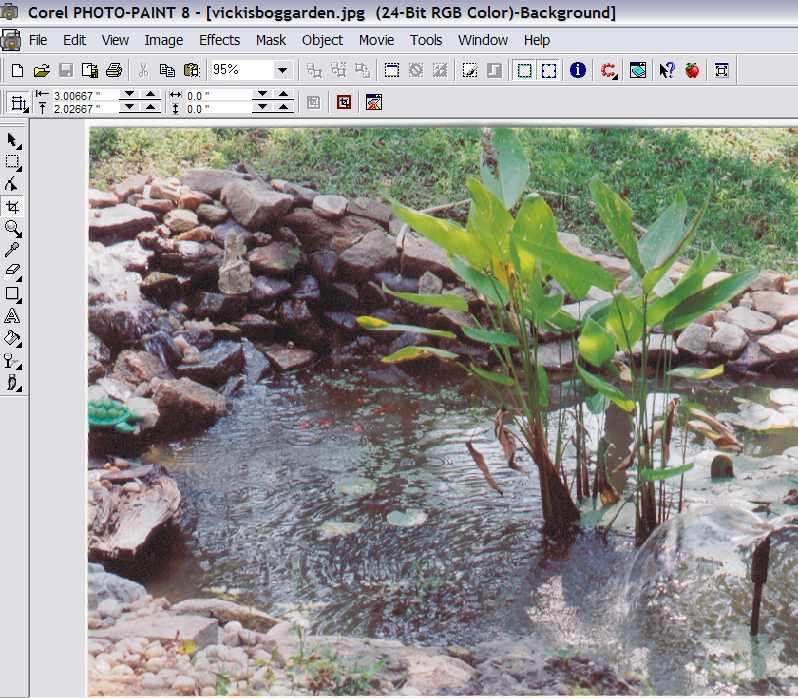
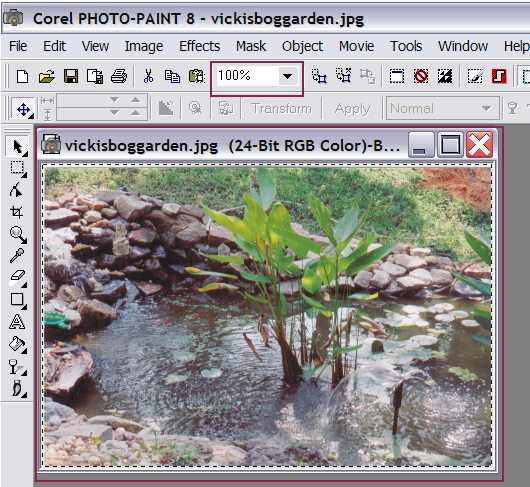
Below is an image sent to me by my best friend in Georgia, Vicki. She has sent me a picture of her "water garden" and I'm going to use it to demonstrate a few details about the Corel program.
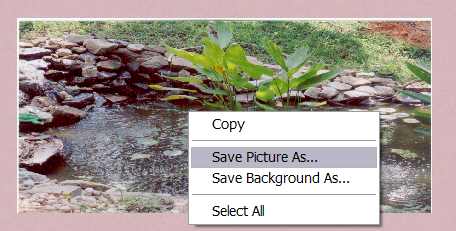
By right clicking on the image, select "Save Picture As."
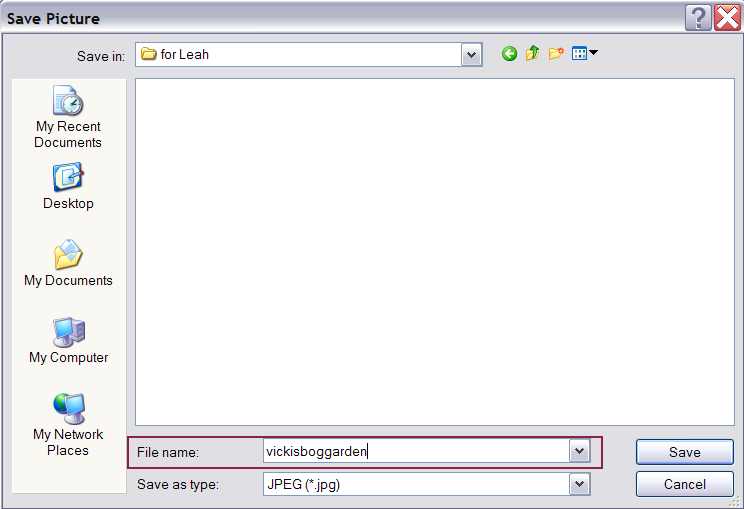
On my D: drive, I'm going to chose to save the image in the folder "for Leah."

Images saved like this, generally need to renamed. As you can see above, the file name is a list of numbers and symbols. I'm going to rename the image "vickisboggarden."
From the Corel Photo-Paint program, I'm going to open that same image to view it and manipulate it if its needs to be. I click on the open folder icon on the task menu and get the following:
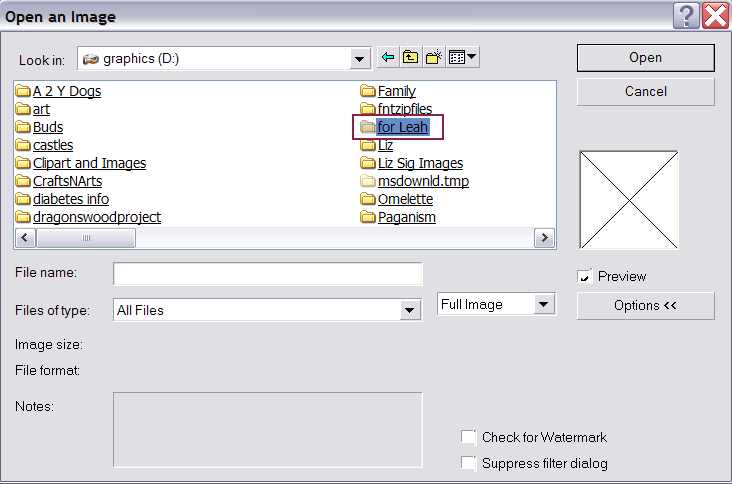
I click on the folder "for Leah" once and the folder opens to reveal the image file within.
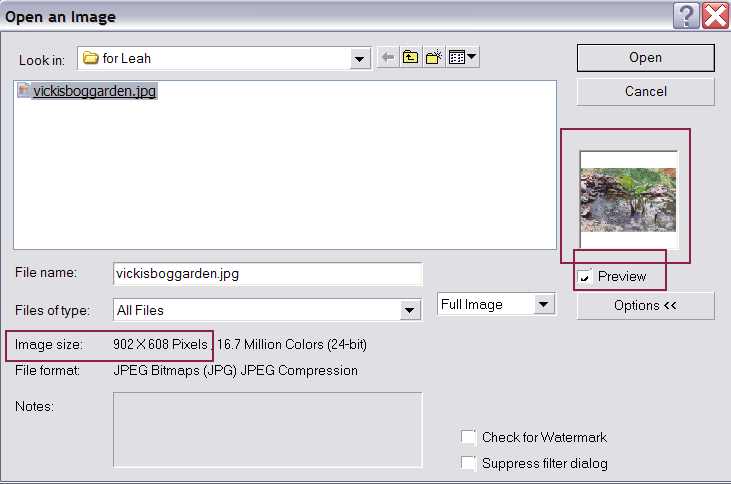
Notice that a "preview" image appears to the right. Also, when the image is highlighted, the program gives the parameters of the image. In this case 902 x 608 pixels.... that is going to open up to a huge image. When Vicki sent me the image in the email, she resized it by dragging the image's parameters to the inside to make it smaller.
The opened image.
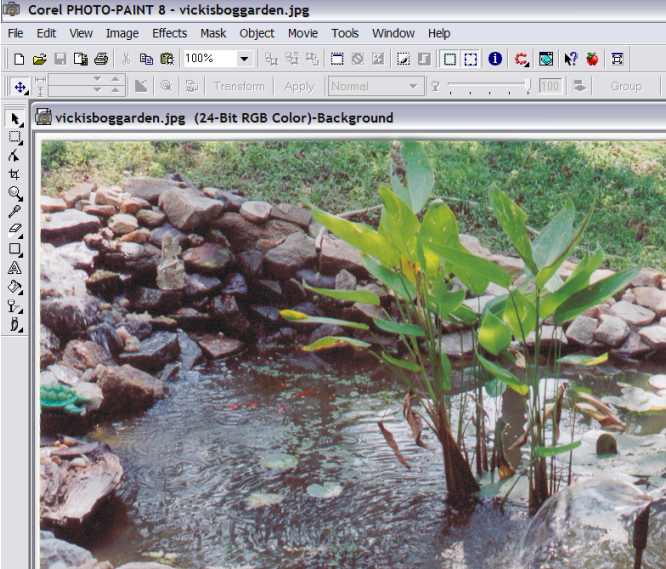
I'm going to select "To Fit" to get the image to fit within the Corel workspace.

It only needed to be reduced in size to 95% of its original size to fit.
I don't need to save the image that size, so I'm going to "Resample" it to make it smaller.
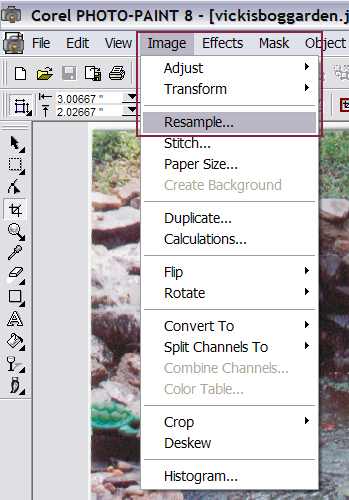
After selecting the "Resample" this dialog box appears. Most of the time, I reduce image sizes by the percentage and not by the dimensions.
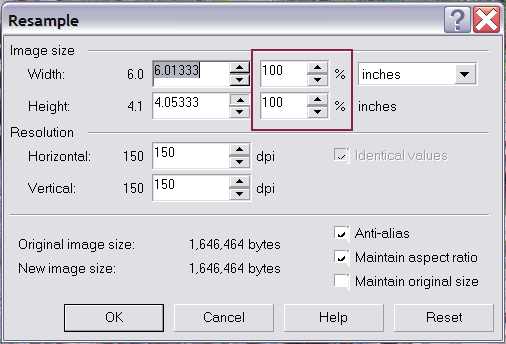
Due to the fact that the "Maintain aspect ratio" box is checked off, all I have to change is one or the other of the width or height percentages... change one, and the other will automatically change to reflect it. Click OK.
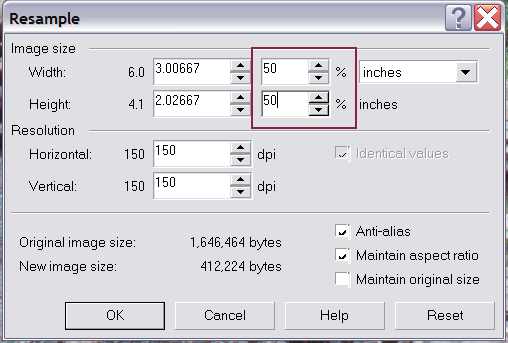
The image has been reduced to 50% of its original size.
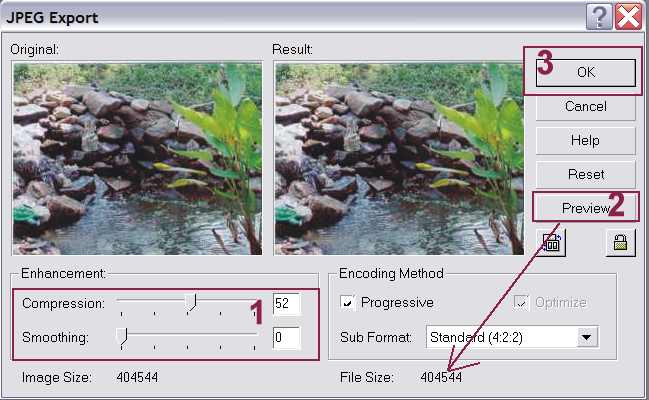
Now, I'm going to save the image with its changes.
No. 1 Indicates the compression rate. A 50 to 52 compression rate is a fairly good range. I saved all of the screen captures in this range and while there is a tad bit of distortion to them, it would hardly be noticeable on the image that is being saved.
No. 2 The Preview button allows you to see what the file size is after being compressed. In the image below, I didn't click on the Preview button, I'm just pointing out where it is and where the results would show up.
No. 3 To save the image, click OK.