
Reducing Image Size in JASC's PSP
Once you have your image imported into PSP, resizing is just a matter of knowing where the command functions are and knowing what to do with them.
For demonstration, I scanned the image on the back of a calendar and imported it into PSP.
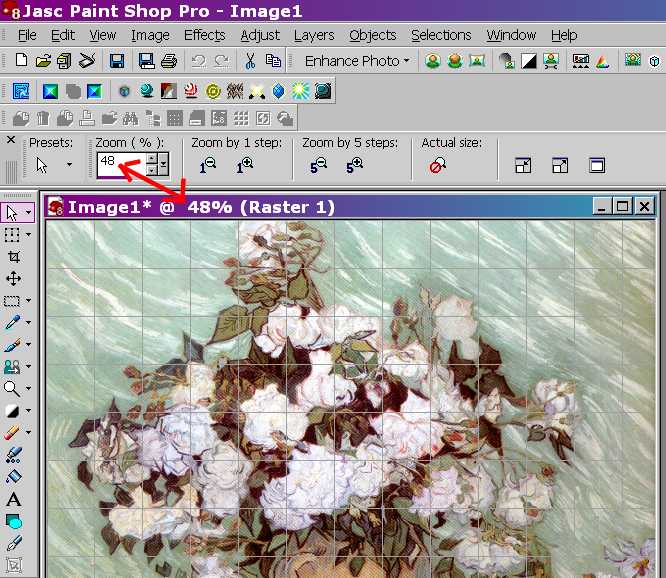
PSP automatically adjusts the image to fit the workspace to 48% of the original size.

I zoomed the image to 100% to get an idea of how much it needs to be reduced to a more manageable size.
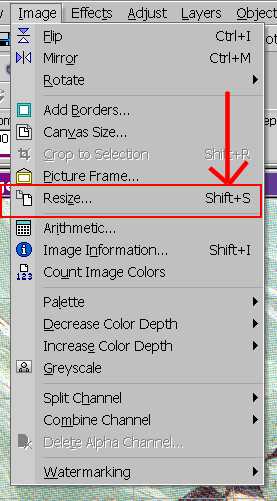 |
Go to "Image" on the tool bar and locate "Resize." (The "Shift+S" is the keystroke command for this function. When you get used to doing this process, you may find using the keystroke command is faster. It accomplishes the same thing.)
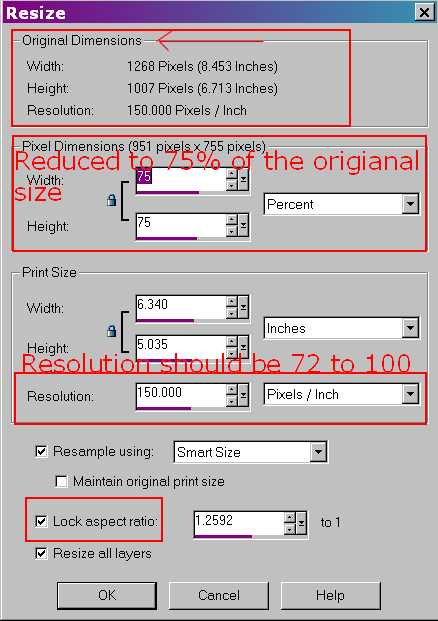
Notice the areas of the Resize dialog box that are boxed in with red. These are critical elements of the process. At the top, you are given the dimensions of the original size of the image that was imported into the program. You are also given the Resolution value of the image. That aspect of the image is addressed a second time near the bottom of the Resize dialog box. Under the information of the original document, you are given an area described as "Pixel Dimensions." Compare the pixel values given against the original image's values and see that they are less than the original's. Notice that 75 is in the value fields of both the width and the height of the image. If you go on to the bottom of the dialog box and click OK, the image will be reduced to 75% of the original image.
Depending on what resolution your camera or scanner are set, that value will be set in the Resolution field. If you just changed the resolution from whatever the image was imported into the program, that action alone will change the size of your image. IF your camera's resolution is set at 72, then its recommended that you leave that as is and change the Pixel Dimension values to reduce the size of your image.
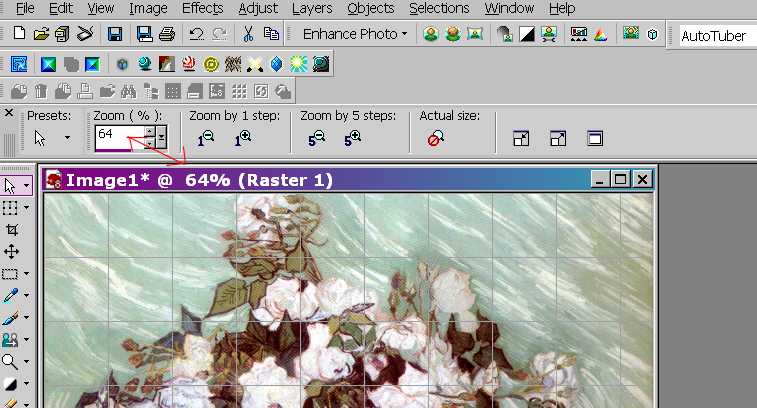
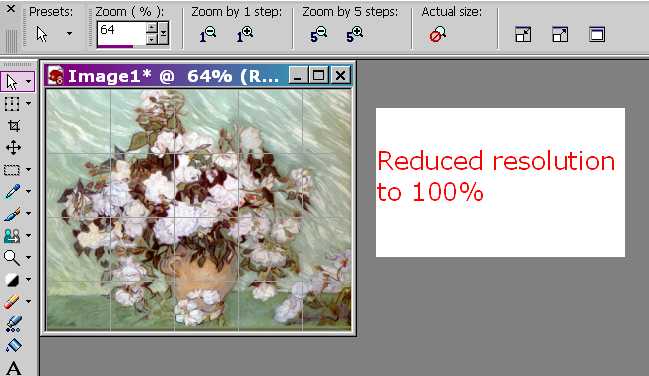
Leaving the resolution of the image at 150, I opted to just reduce the image's size by 75%. Notice that the program adjusted the image to fit the workspace again, but this time, the image is zoomed to 64% of the new size. So, the image is still much to large.
I went back to the Resize Dialog box but only changed the value of the resolution. I left the Pixel Dimension value at 75%. The image is still zoomed at 64%.
I change the Zoom percentage to 100 to see the actual size of the image.
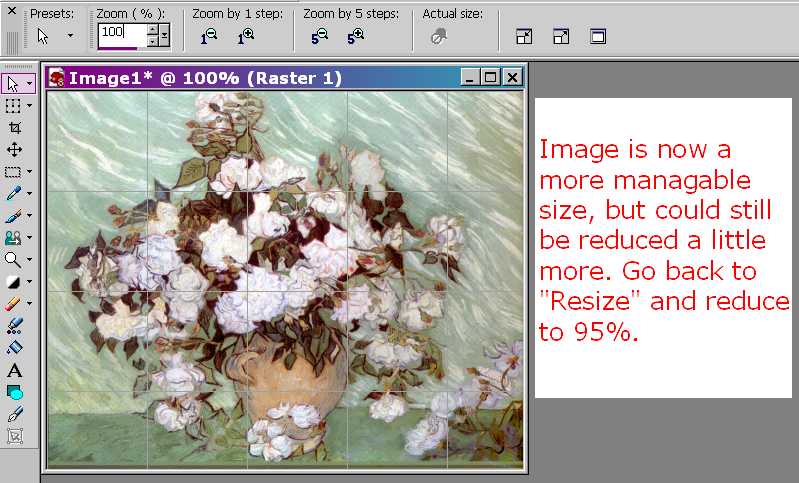
The image is still too large. I go back to the Resize Dialog box where it tells me that the image was reduced to 50% of its original size.

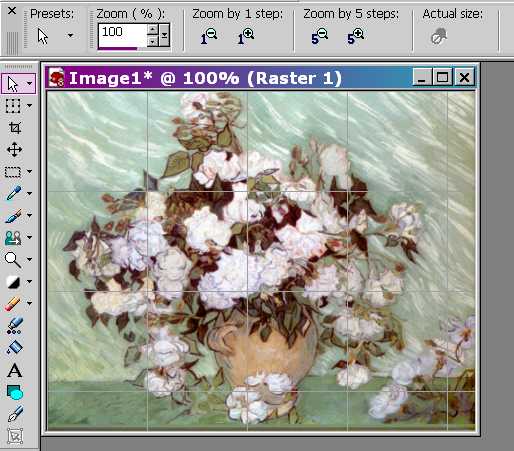
I changed the values to 90%.

The 90% is a subtle change, but a good size.
Save the image.
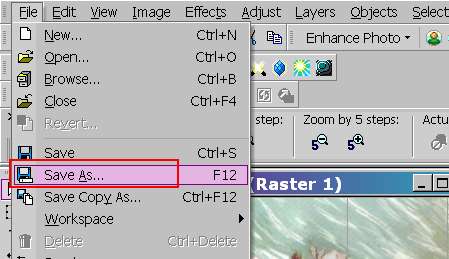 Select "Save As" from the File menu or use the F12 function key.

The most desirable format to save images in is JPEG.
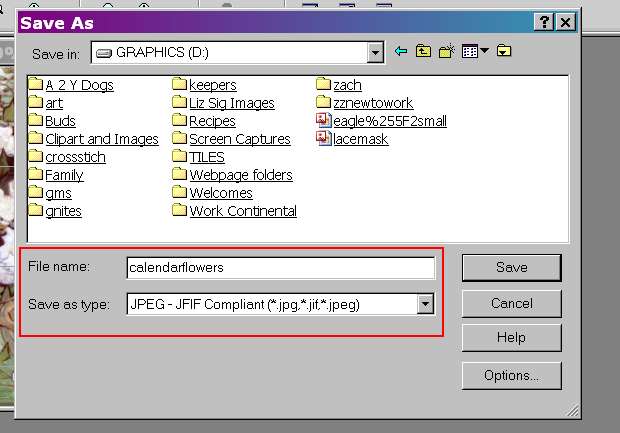 I named the file "calendarflowers" and chosen the file type as JPEG. All I
have to do now is select the Save button.
I named the file "calendarflowers" and chosen the file type as JPEG. All I
have to do now is select the Save button.
JASC renames the file on the window. Click on the X in the upper right hand corner to close the window.

