
Acquiring Image - Crop - Adjusting Color Levels
This tutorial is to explain the process of acquiring an image from a hardware source such as a scanner or digital camera within the Corel Photo-Paint 8 program.
For the demonstration, a scanner is being used, however, it will be shown that all TWAIN sources available to the program are accessible.
From the File menu the path is as follows:
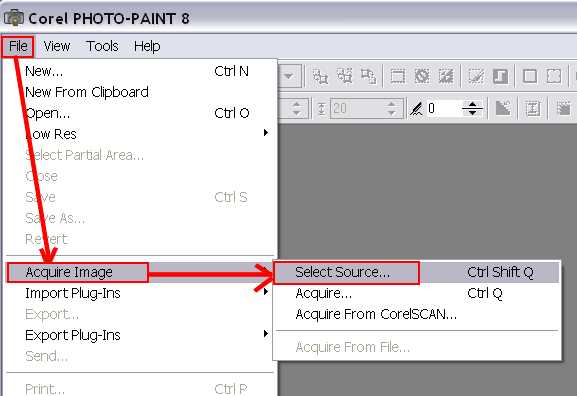
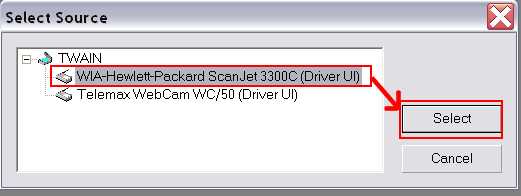
The Select Source dialog box appears. The WIA-Hewlett-Packard ScanJet 3300 scanner is selected. It is here that all hardware programs will be listed for selection.
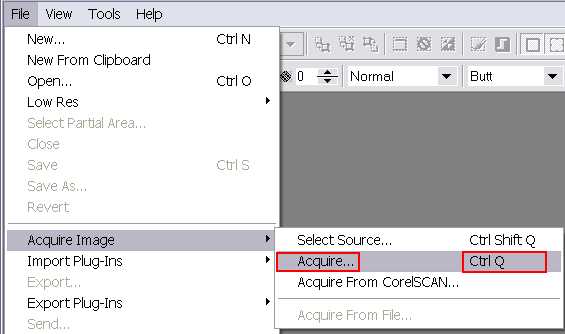
To initiate the import from the hardware source, the path is similar. The CtrlQ keystroke command is outlined because it saves time and effort, but isn't necessary.
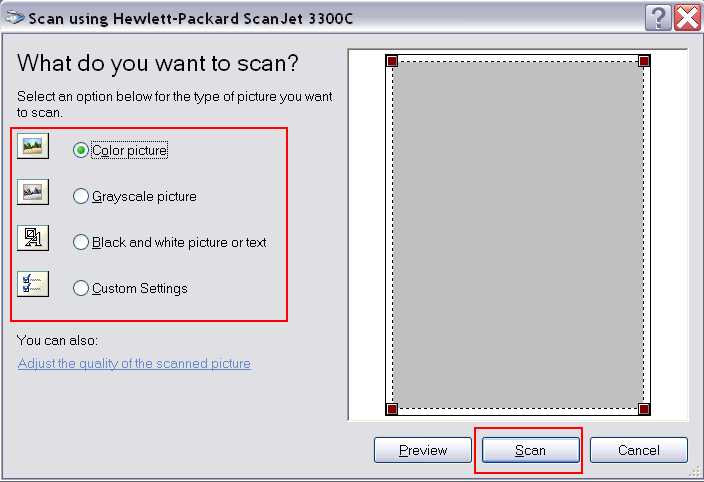
The scanner program is open. Since a color picture is to be used for this demonstration, the Color picture option is selected.
The scanner is transferring the image to the computer.
![]()
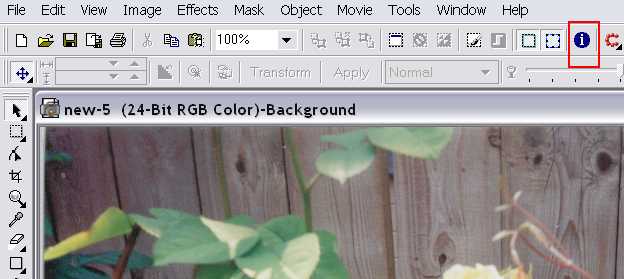
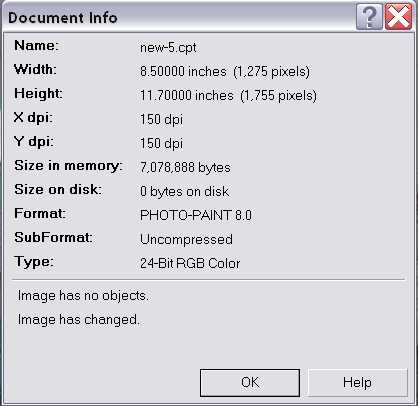
The blue circle with the lowercase "i" gives you the document properties or info.
Notice the Width and Height dimensions... 8.5 x 11.7 inches. The entire scanner bed is included in the transfer and the image needs to be cropped or reduced in size.
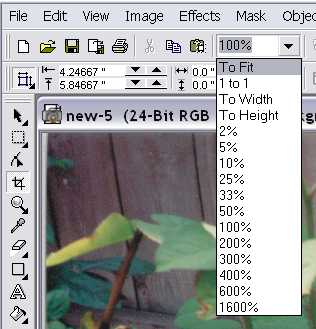
The drop down menu to the right of the "clipboard" icon gives you many options, but to get the whole image (including the scanner bed), you select To Fit.
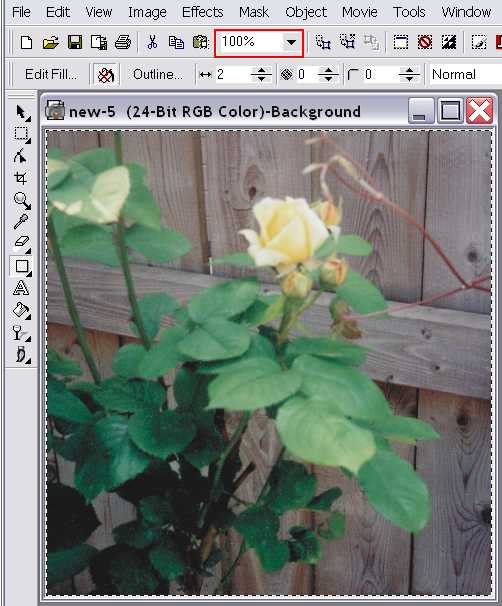
The whole image can be cropped, but here, the yellow rose is the focal point, so much of the image is going to be cut away.
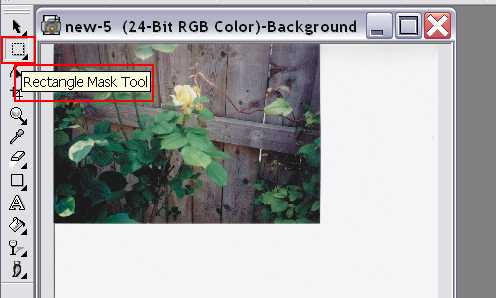
Select the Rectangle Mask Tool as indicated.
Click on some point on the image that is to be the upper left hand corner. Holding the mouse down, drag to the right and down to box in the desired focal point.
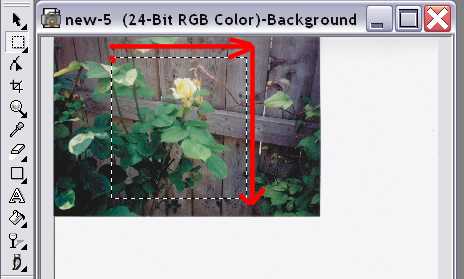
The dotted lines become a "mask." The name for this is "marquee" but some refer to it as "ants."
Select the "Deskew Crop Tool" on the left hand tool bar and then the "crop" icon as indicated.
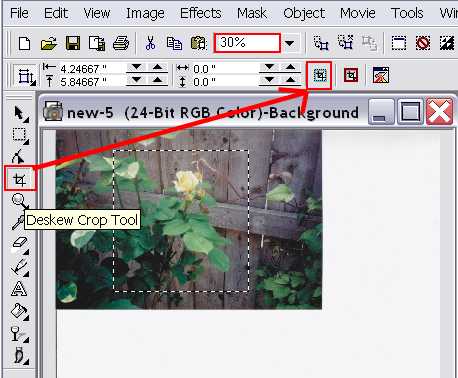
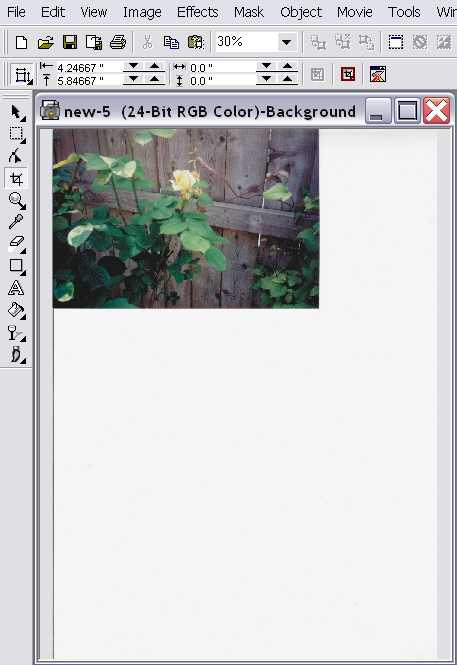
All of the extraneous portions are cut away. The image is still at 30% of its original size.
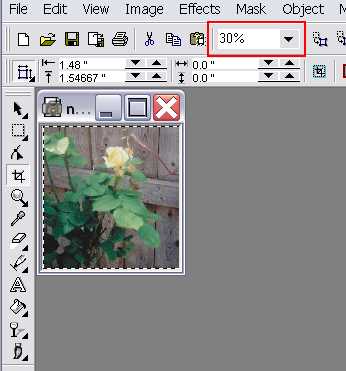
Select the 100% on the menu to bring the image back up to size.
The image is still quite large. It could be saved at this point, but for demonstration, the image is going to be reduced to 75% of its original size.
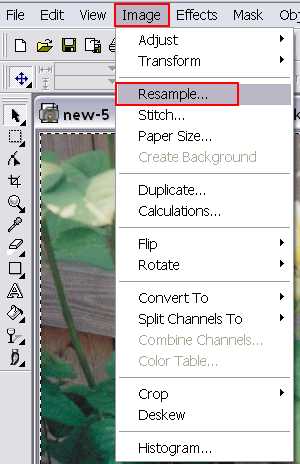
From the Image menu, select Resample.
By default, the program measures the image's properties in inches. I have found that reducing by the percentages is a desirable method of gauging size in reduction.

Only one of the boxes needs to be changed. The program automatically adjusts the other value.
Notice that the Maintain aspect ratio is checked. If desired, this feature can be disabled and the image can be skewed in whatever aspect is needed.

After the value has been changed, click OK.
The image is reduced to 75% of its original size.

The next few images show how the image can be manipulated.
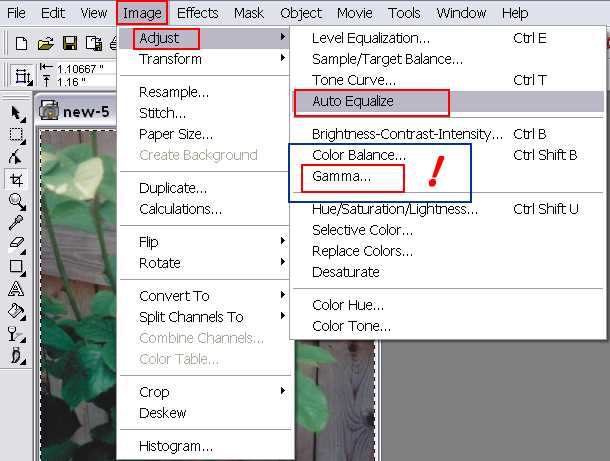
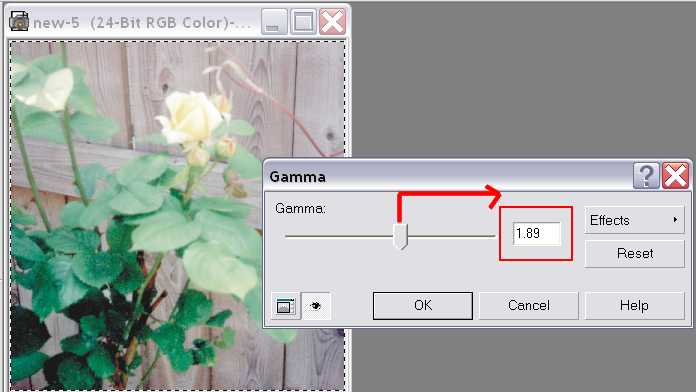
From the Image menu, go to Adjust, then Auto Equalize. The program decides if the image is either too light or too dark and adjusts the color levels accordingly.
In this case, the program decided to lighten the image slightly. The Gamma adjustment can lighten or darken the image manually. By default, the value is set at 1.00... which is how the image's values are set. By moving the scale toward the right, the gamma value goes up and the image is lightened. (Likewise, if the Gamma scale is moved to the left, to values below 1.00, the image is darkened.)
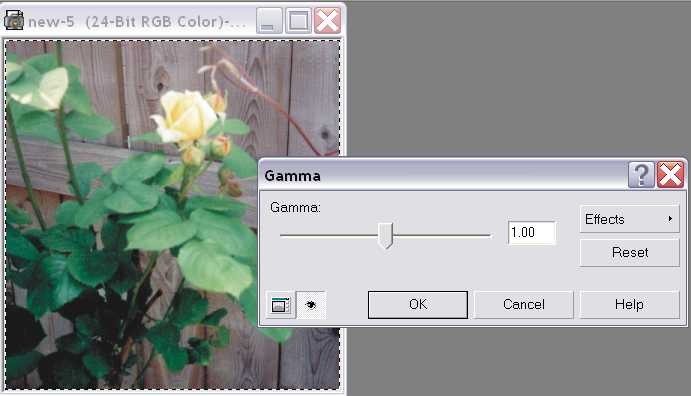
A noticeable difference.
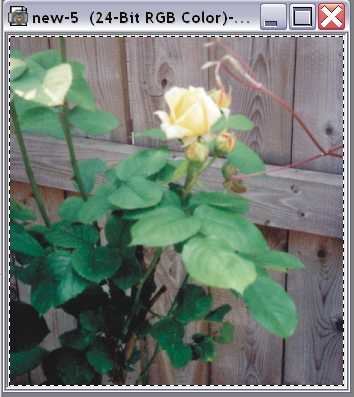
The image really doesn't need to be lightened, so it is left alone with regards to its color properties.
If this is a new image, it is best to click on the Save as icon
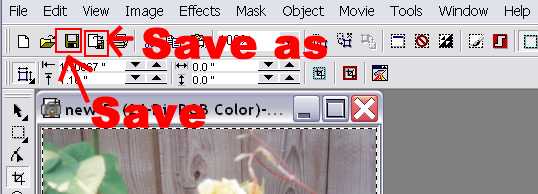
(Since I was saving most of the tutorial images into a special folder for them, when I clicked the Save as icon, the program automatically goes to that folder to save the image.)
The images needs a file name and JPEG format should be selected.
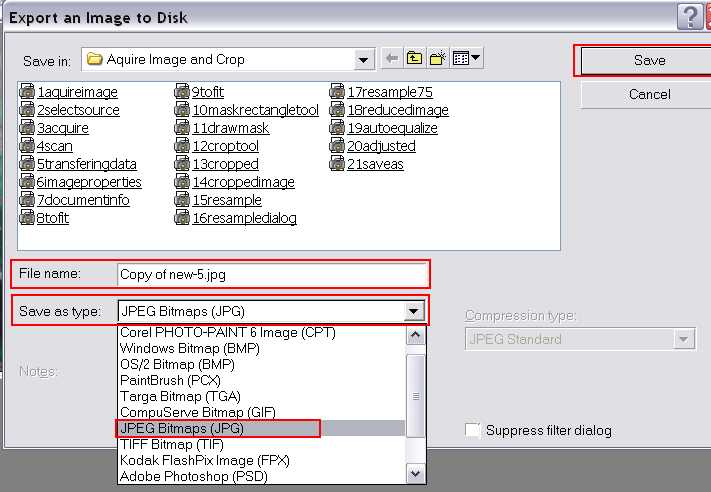
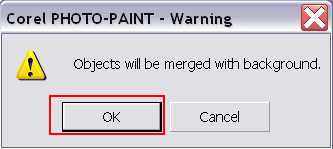
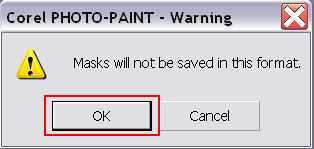
When the Save button is clicked on, 2 small dialog boxes appear... click OK on both of them.
The final step in saving the image. A 51% compression rate is desirable. Notice the file/image size numbers. They are given in bytes, not kb's or mb's. The Optimize feature is greyed out here, but if it isn't checked, the Progressive feature needs to be unchecked. This will allow you to check the Optimize feature; then, you check the Progressive feature to lock it in. The Sub Format should be set as shown.... Standard (4:2:2).
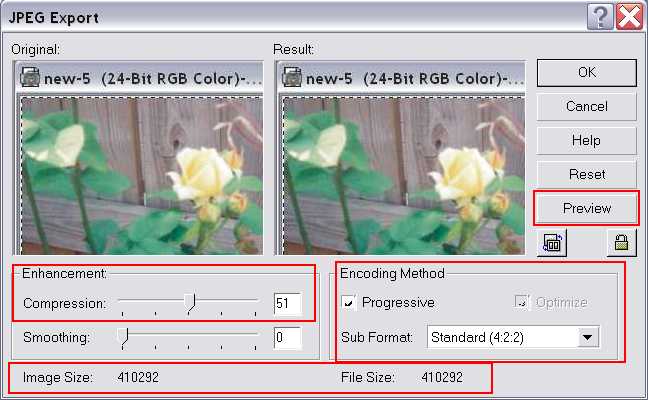
Click the Preview button to see how the image's file size is reduced.
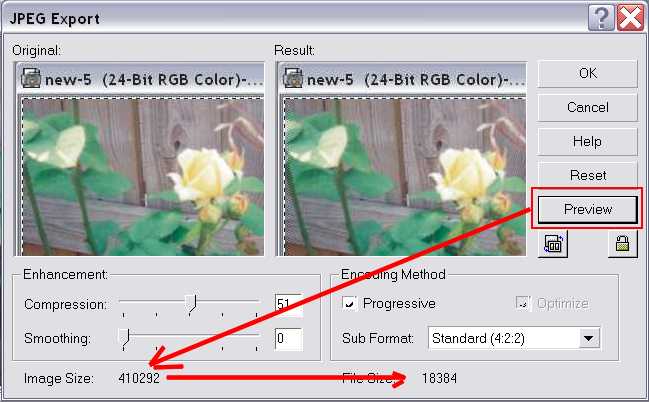
The file is reduced from approximately 410 kb's to 18 kb's.
