
.
So the first step is to rid youself of the current brake set up.

Begine with removing the caliper. This requires taking out two bolts. You can either disconnect the soft line now or hang the caliper off to the side and deal with it later. Then you must remove the dust cap, followed by the cotter pin, then the castle nut. Once those are off the rotor assembly will slide right off.

Now its time to disconnect the tie rod ends and strut bolts from the spindle. *IMPORTANT* Have a jack under the control arm before you start to remove the strut bolts. This will take tension off the arm making it easier to remove the bolts but more importantly it will keep the coil spring from flying out and potentially hurting someone. Now you can access the balljoint castle nut. Remove the cotter pin and the nut. The spindle can now be removed from the control arm. A pickle fork or a hammer will do nicely. I simply pounded on the spindle knuckle that was over the balljoint bolt. *IMPORTANT* If you are reusing the balljoints, do not pound on them with a hammer what so ever. The spindle should come off after a couple of whacks. Now you can put the SN95 spindle and hub assembly onto the ball joint bolt. You will need a stack of washers or a machined spacer .330" thick. This goes on the ball joint bolt after the spindle and takes up the slack from the shorter SN95 knuckle. Reattach the strut and back the tie rod ends out almost as far as they will go so that they can be reconnected to the spindle. The new set up will throw off the alignment but provides better steering geometry.

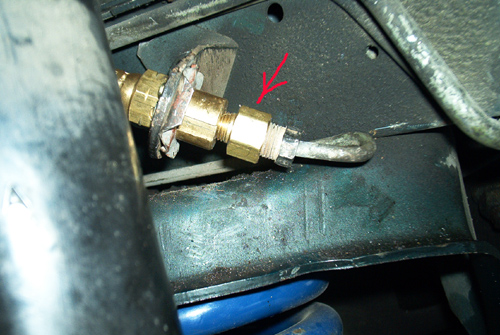
The installation of the rotor and caliper are pretty straight forward. Just slide the rotor over the hub assembly and attach the calipers to the spindle with the caliper bolts. Now its time to attach the soft lines. The driver side goes right on. However, the passenger side is a different story. The SN95 soft lines use two diffent sizes from one side to the other. The passenger side needs to be adapted to fit. Dave's Mustang Parts includes the appropriate adapter for the installation.
Installing the calipers

This is the finished product. You now have a 5 lug set up in the front and a sealed hub design. No more repacking wheel bearings.

.
.
 Next--->