For this tutorial you will need: The lady is a Dover clipart image,
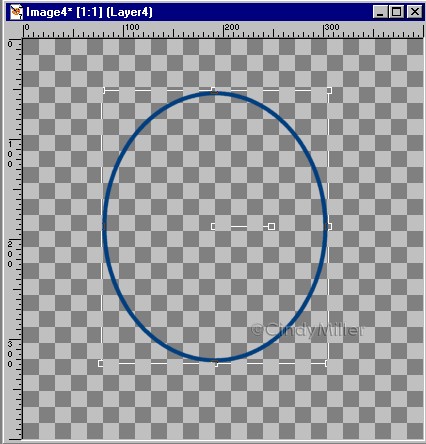
provided within their terms of use. They Remember to Save often!! 1. Open up a 400 x 400 transparent image. 2. Click on your Preset Shapes and choose Ellipse. Line width of 4, Antialias and Create as Vector checked. Set Stroke to Color #053D78 and Fill to null. Draw out an oval approximately this size.
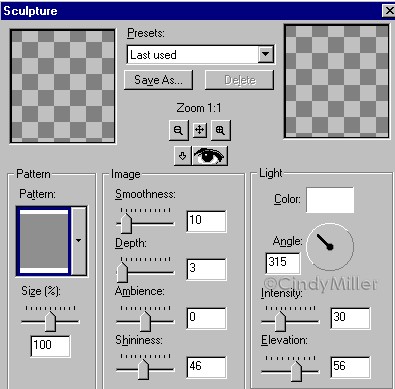
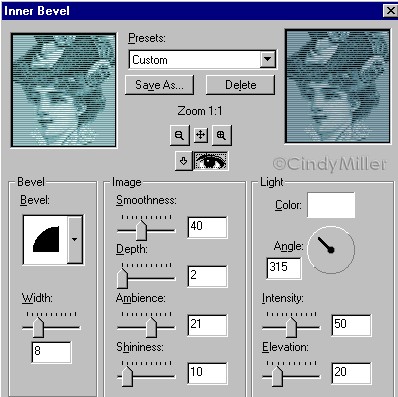
When it is how you want it, in the Layer Palette, right click on that layer and Convert to Raster Layer and rename Silver Band. Now we will apply an Inner Bevel. Effects>3D Effects>Inner Bevel and use the Metallic preset. Then apply Effects>Textures>Sculpture and choose the Copper preset. Then in the Pattern box, choose Pattern number 2 which is silver in color.
3. With the Magic Wand click inside the oval. Selections>Modify>Expand by 3. Add a new layer (if using a photo see note below) and Flood Fill the selection with Color #B2CACE. Deselect and drag that layer below the Silver Band layer. Note: if you are using a photograph you can skip the flood fill part and do one of two things. You can copy and paste it into the selection or you can place it on a layer and center it in the selection, then Selections>Invert and making sure you are on the photo layer press Delete. Skip adding the layer in Part 4 below, apply the Colorizing settings and you won't need to Merge Visible. You are now ready for Step 5. 4. Add a layer and take the graphic you chose and place it in the center of the colored oval. Any graphic or tube will work. I then Colors>Colorized it using these settings.
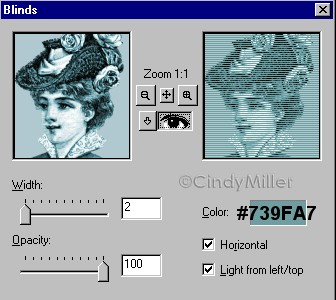
When you have it like you want, hide the Silver Band layer and Merge Visible the colored oval and the graphic you chose. Rename it Oval. 5. Next, apply to the Oval layer, Effects>Texture Effects>Blinds and use these settings.
6. Now apply an Inner Bevel to the Oval Layer. Effects>3D Effects>Inner Bevel and chose the Pillow preset. Then change the Ambience setting to 21.
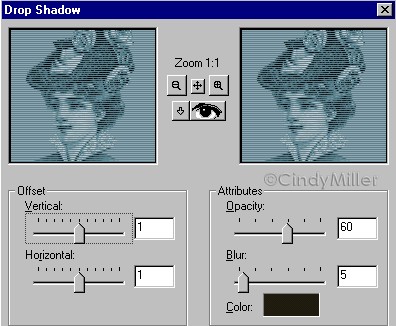
Making sure the Silver Band layer and the Oval layer are visible, Merge Visible. 7. We're almost done, let's add a Drop Shadow to the just merged layers using these settings.
Then apply it again using -1 for the Horizontal and Vertical settings. Leave the others the same. Now for the background and mask. 8. Add a layer and drag it to the bottom in the Layer Palette. I also add another one and flood fill with white so I can see how things will look. Flood Fill with Color #B2CACE. Then, Effects>Texture Effects>Blinds and use these settings.
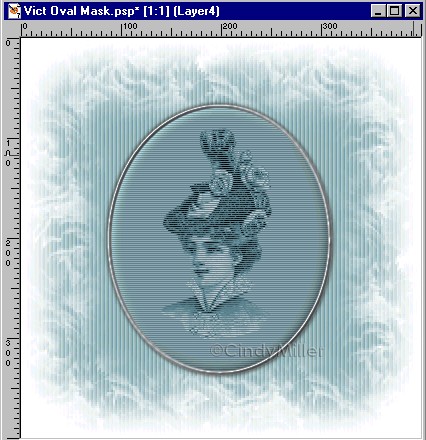
Making sure you are on the color layer and not the white layer apply the mask I included. Mask>Load From Disk>CMfloral6. Then Mask>Delete and click yes.
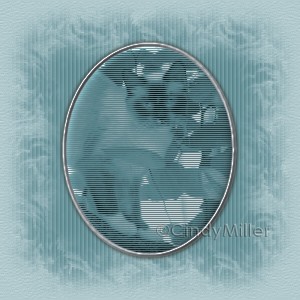
You can add an outside frame or leave as is. Have fun! The sample below is a photo of one of
my cats so you can see how using a photo looks.
The graphics you make
from my tutorials are yours for your personal use only. |