| Photo Editing |
Clipping two images to form one image.
|
|
|
TOOLS: Photo editor software (I use Lview Pro, but MS makes one too) A digital camera or scanner (I use IBM's WebCam) |
||
|
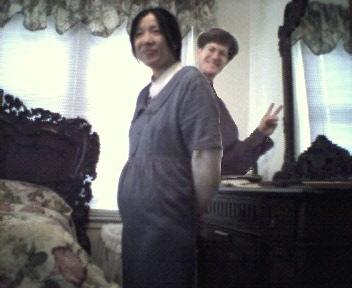
STEPS: 1. Take the original photos.
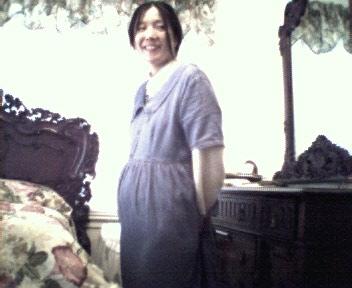
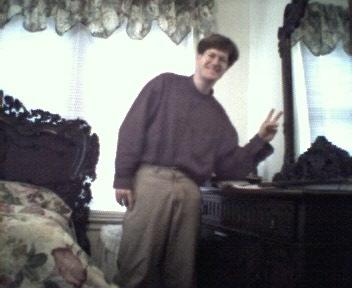
Here we see the two original photos 2. Using the "free selection" tool, Cut and copy the areas, which you wish to insert or manipulate.
Here we see the two areas. 3. Paste these areas into images of their own, so that you will not lose them, just in case we make an error. 4. Using the "selection fill" tool, click on an area of the clipped images that has a colour that falls in the middle gradient of the subject, which you wish to copy. I use a colour tolerance of around 107 to copy only person and not the white or black backgrounds. The outcome of all of this work is a movable piece of just the areas that you wish to copy into original photo. 5. Now click on the original photo and "paste." Move the section to where it fits best in the photo. 6. Using the "colour dropper" and "airbrush tools," paint the outlines of the selection to match the photo.
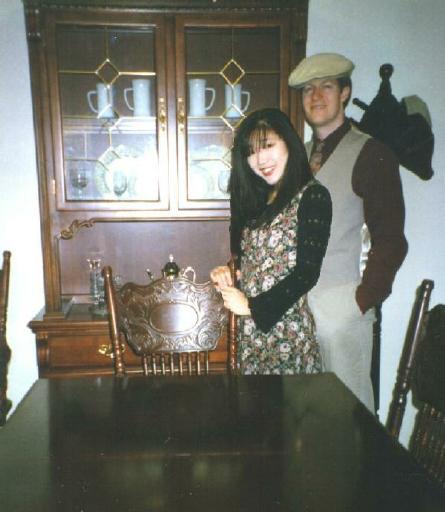
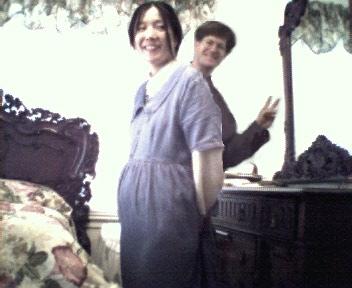
I out come is a photo showing my wife during her fifth month of pregnancy and me. Below, we see another example, note: my wife does not have a reflection in the table!
|

 .
. 
 .
. 
 .
.