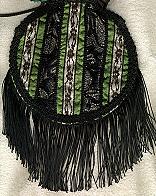
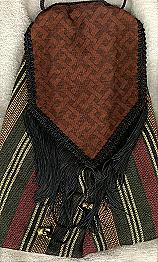

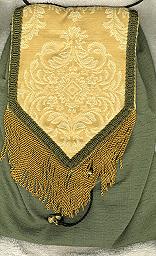
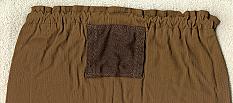
Even the “plain” pouches I make garner a LOT o’ Complements!

 |
STUFF FIRST |
 |
 |
POUCHES |
or “Gnarly Peasant” pouch – like the one @ left – Put PATCHES o’ other fabric on the pouch body before you sew it.) |
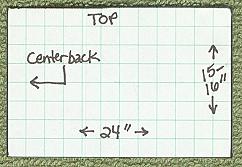 (Cut Pouch Body) |
24” wide x 15-16” tall.
“FINISH” TOP EDGE: by ZIG-ZAG sewing it – unless selvedge edge can be used.
Fold Fabric, Right Sides Together, & Sew SIDE Seam (Top to Bottom) |
 (Sew Center Back Seam) |
PRESS (Iron) to mark CENTER FRONT on opposite side of center-back-seam.
Open body up and align (Right Sides Together) center-back-seam with center-front-mark.
SEW BOTTOM Seam … “FINISH” bottom edge.
MARK TOP CASING by turning Top Edge over (WRONG Sides Together!) 1 ˝”.
and PRESSING at several points. (Don’t “lose” center front mark.)
inside the “casing” area, side-by-side, on either side of the CENTER FRONT mark.
(“Small” eyelets are TERRIBLE eyelets –
(To learn more about EYELETS, |
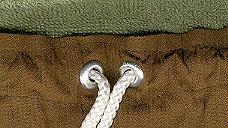 (Eyelets Centered Side-by-Side) |
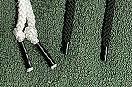
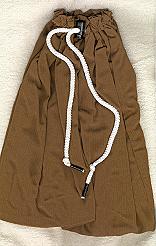
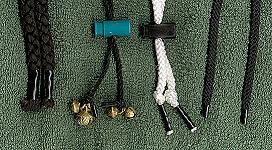
SEAL CORD ENDS BEFORE you CUT them!
|
Instead, I take electrical tape and tightly-wind it around the point that I’m going to cut … then I cut through the mid-point of the wound-tape. OR (for larger-diameter cord), I tightly-wind 2 pieces of electrical tape around either side of the point where I’m going to cut. CUT Draw String: 30” long. |
|
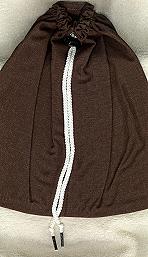
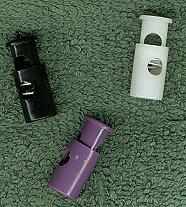
FEED each Draw String end through a “CORD-STOP” (capturing both ends, fed from the same direction), and slide the cord-stop close to very end of string-ends. |
 |
Pull center/inside end of Draw String back into the Pouch,
and tuck it up into casing at the Center BACK seam.
Pin the Tucked Draw String up into casing, all the way around.
SEW BOTTOM of Casing all the way around (presser-foot-width away from bottom casing edge)
WITHOUT sewing over any of the draw string.
OR, pull the ends through BELLS, and then knot them if you like! |
 |
 |
if you want to make POUCH FLAPS
Otherwise, |
|
POUCHES
You’ll need to make a
Cut a piece of fabric 4” x 3 ľ” … Finish edges …
Turn Pouch INSIDE OUT. |
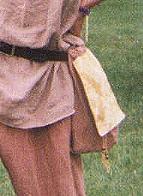
Sew the Top & Bottom of the Belt Casing
OR, attach the BELT CASING |
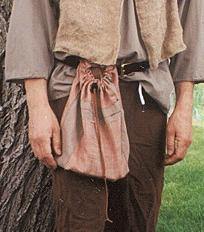
CORD-SLUNG POUCHES
You DON’T need to make a CASING!
Cut at least a 65” length of cord
By cutting it 65” long, and attaching |
 Sew the CENTER of the Cord to the CENTER BACK part of the pouch, just below the Draw String Casing. (You can “catch” the bottom part of the casing, as long as you DON’T sew over any part of the Draw String.)
OR, attach the Cord just below where |

 c-d-miller@neb.rr.com