Tutorial Nine - Background
and Header Stationery
Open the graphics supplied
HERE
Shift D - to duplicate both images
This tutorial has two parts: The
Header and the Background strip.
The Header
Open a new canvas 500 x 500
Make this the active image
Select your Magic Wand Tool and
these settings:
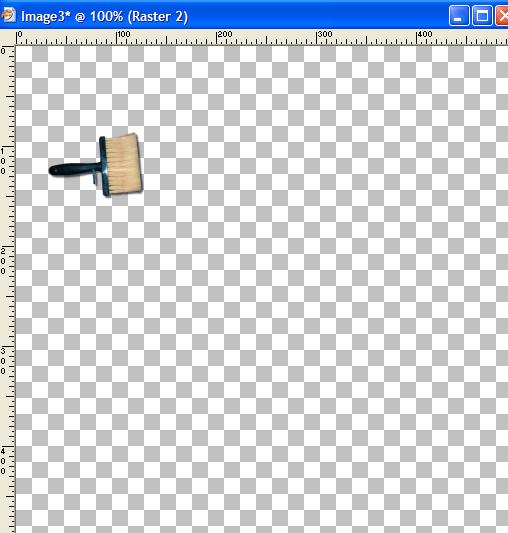
Select the paint brush in the
image like this
Edit Copy - Edit Paste as New
Layer on your 500 x 500 canvas. Using your mover tool, move the paint brush
image like this
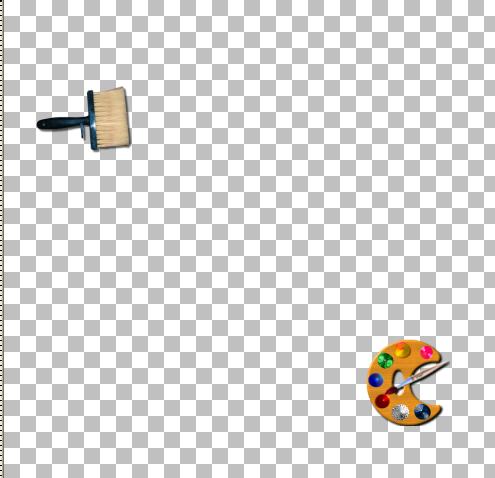
Make the graphic the active image
again - Selections Select None, and using your magic wand tool again select
the paint palette like this
Edit Copy - and Edit Paste as new
layer on your 500 x 500 canvas. Using your mover tool move the palette graphic
to the lower right of the canvas
Layer - New Raster Layer - default
setting.
Select a background color of your
choice, and flood fill the new layer with it.
Layer palette, right click -
Arrange - send to bottom
Layer - New Raster Layer - Default
Setting
Select your Text Tool and add some
text of your choosing - font and font color of your choice
Click Apply and using your mover
tool, place the text as you want it.
Make your text layer the active
layer. Right click and select Convert to Raster Layer
Effects - 3D Effects - Inner Bevel
with these settings:
Or anything you like on this!!
Play with the settings here and find something you really like.
Effects - 3D effects - Drop Shadow
with these settings (or something you like)
With your selection tool click on
the graphics and add the same drop shadow, if you like
Using your crop tool, select
around the text and graphics to exclude all excess blue area.
Double click in the light area to
crop the image
Save your header
File - Export - JPEG Optimiser
with compression at 2 %
Name your header
PaintShopLoverHeader
(or something similar) and save to
a folder of choice.
Minimise for now
The Background Strip
Open a new canvas 1600 x 350 -
default settings
Layer - Add New Raster Layer -
default settings
Flood fill this layer with the
same color your filled your header with.
Activate the second graphic

Edit Copy
Edit paste as new layer onto your
background strip
Using your mover tool, move the
graphic to the left of the strip - place it approximately in the centre of the
strip.
Activate your second graphic and
with your magic wand tool select the paint brush image, as before
Edit Copy - Edit paste as new
layer on your background strip
With your mover tool place the
paint brush under the palette graphic like this
Activate the graphic page again -
Selections, Select None
Using your magic wand tool, select
the lower paint brush graphic
Edit copy - edit paste into the
background strip as new layer
With your mover tool move the
paint brush above the paint palette graphic in your strip, like this:
You can move these graphics around
to positions that you like, just try to get them about even in the centre of
the strip on the left
You may add drop shadows to these
images if you wish
When you are happy with your
background strip
Layers -Merge - Merge all
(Flatten)
Just to be sure that you don't
have a line here, it's best to do seamless tile
Effects - Image Effects - Seamless
Tile with these settings
Save your strip
File - Export - JPEG Optimiser -
Save as PaintShopLoverstrip (or
something similar)
Assemble in Letter Creator
Your strip goes in the Background
tab
Your Header goes in the header tab
- centered
You will need to adjust the Left
Margin to move the header across so that it does not cover the graphic at the
left margin.
Choose your font and color
This is the settings I used
This tutorial was written by me,
and any similarity to any other tutorial is purely coincidental. I wrote this
tutorial exclusively for the Wendy's Works PSP Beginners class.