
Tutorial Six - Making a simple Sig Tag
Requirements: PSP Any Version
Graphic HERE
Open the graphic we are using
Shift D to duplicate it and close the original
Edit Copy
Open a new canvas 500 x 500 (this will be our background)

Flood fill ![]() your canvas with white
your canvas with white
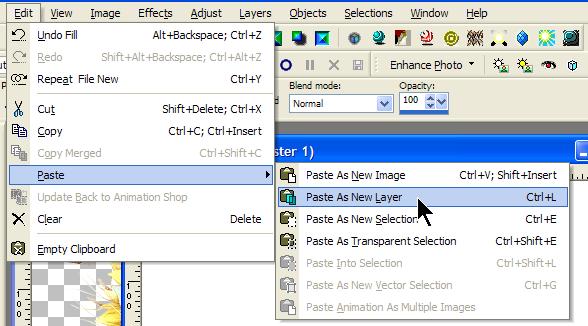
Edit Paste as new layer (onto your white background)
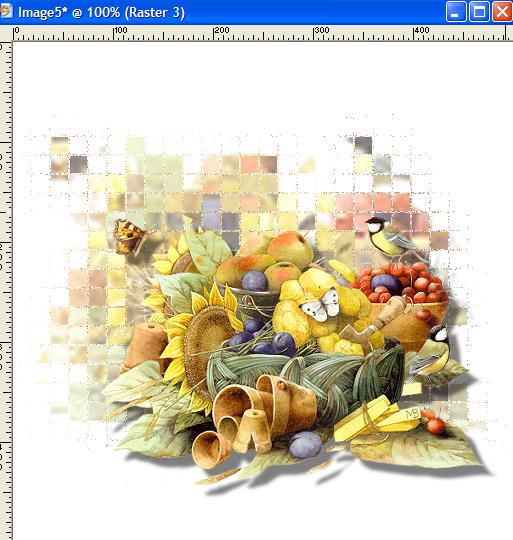
You should now have this:

Now we are going to add an effect to the image.
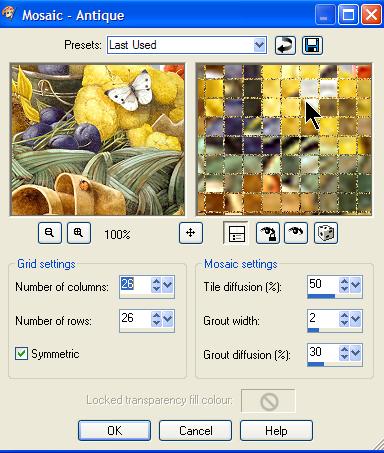
Effects - Texture Effects - Mosaic Antique

With these settings:
Now we need to make this layer a little lighter, so on your layer palette, move the slider until you like the way the background looks. Something like this is what you are looking for.

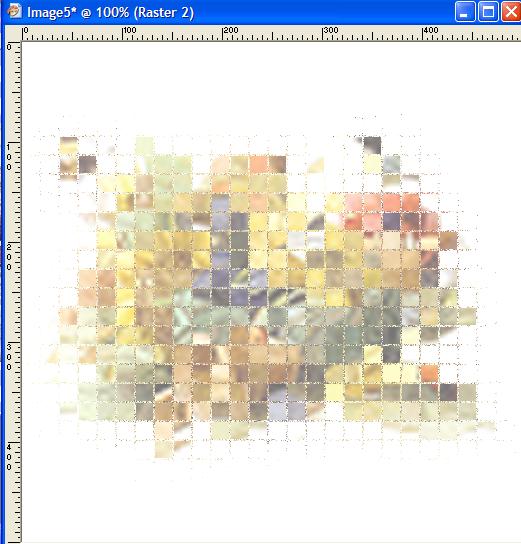
You now have a background prepared to make your tag!!
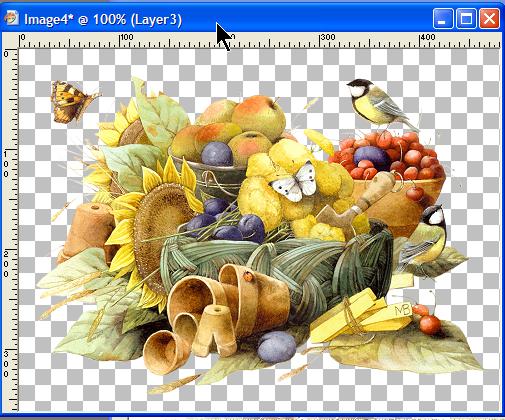
Make your original graphic active by clicking on the blue bar at the top of it's window.
We need to resize this graphic just a little, so go
Image - Resize and use the following settings

Notice that we are resizing using percent here rather than pixels.
Edit Copy
Edit Paste as New Layer on your background, so you now should have this:

We need to add a drop shadow to the graphic to make it stand out just a little more.
Effect - 3D - Drop Shadow - default settings
Now we need to move the graphic down a little to show a bit more of the background.
Select your mover
tool ![]() and move the
graphic down and to the left, to end up with something like this:
and move the
graphic down and to the left, to end up with something like this:
Now add another layer to the canvas
Layers - New Raster Layer - default setting
Click on your text
tool ![]() and click on
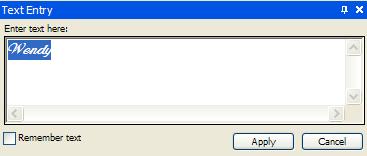
the top of your canvas. This box appears
and click on
the top of your canvas. This box appears

In this box type your name. You can choose any font you like. I've used JohnHancock at 72
Highlight your text with the mouse to make it blue, like this:
And choose a text color by clicking in your background palette like this

This box appears and you can choose any color you like
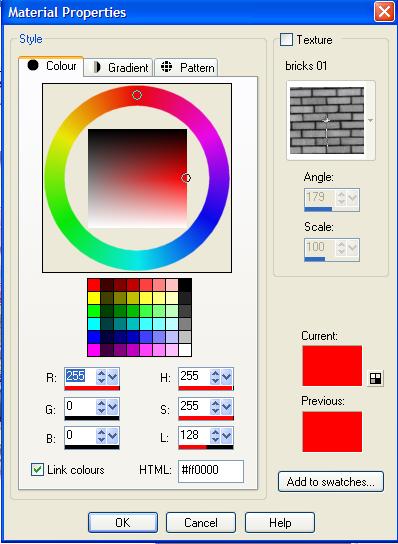
Click OK and then Apply on your text entry box.
You may find that the text is not where you would like it to be, so while the text still has the selection around it looking like this

put your cursor over the very centre circle and your cursor changes to the four arrows. This allows you to move the text to where you would like it on your canvas. Like this:
Now, if you would like your text bigger, or wider you can click on any of the nodes (the boxes at each corner and in the centre of the selection around the text

This allows you to draw out the text in any of these directions.
Remember if you don't
like what you do and want to change it - always remember your UNDO and REDO
arrows ![]() or you can
use Edit Undo.
or you can
use Edit Undo.
When you're happy with how the text looks take a look at your layer palette, it should look like this
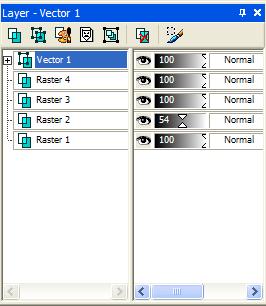
The Vector 1 layer is your text layer, it's highlighted in blue so you know it's the active layer.
Right click on the active layer and Convert to Raster

Your active layer now says Raster 5
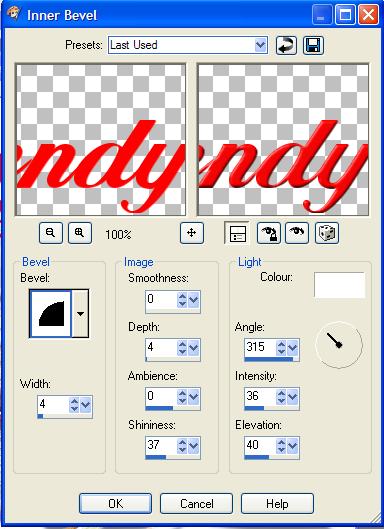
Now we are going to add a little effect to the text
Effects - 3D effects - Inner Bevel with these settings
Now you can add a bit of drop shadow to the text to just make it stand out that little bit more. You can play with the settings here to get something you like or you can use my settings:

Now you should have something like this:
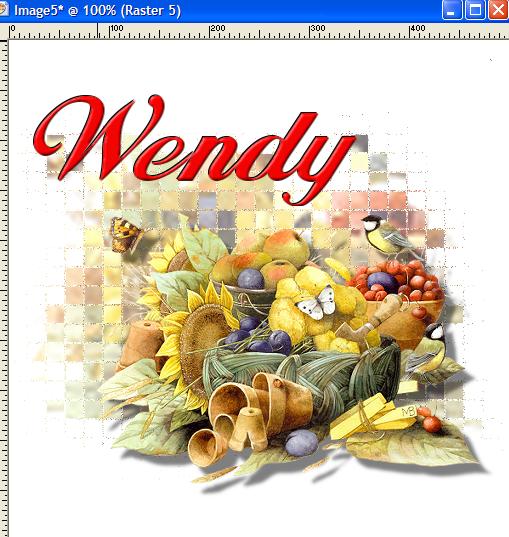
Now, this is pretty, but it could do with a little more work!
First let's crop the image to make it a more workable size.
Select your crop
tool ![]()
and drag it over the image like this
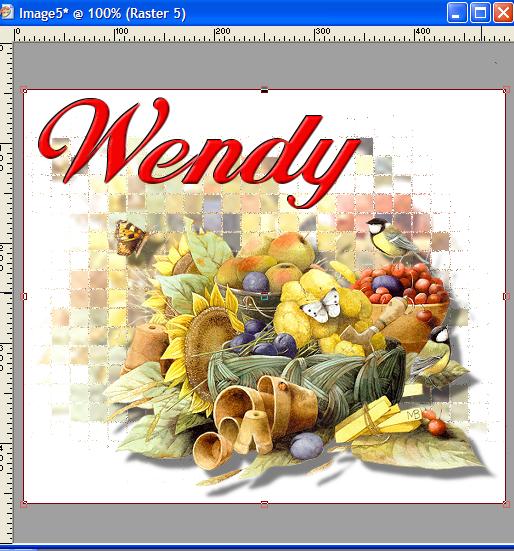
You can see that the outer edges, outside the selected square, turn grey, these are the areas that will be cropped out of your image. What is highlighted in white is what your image will be like. Again you cn use the little squares around the selection to move it until you are happy with your selection. Take care not to cut off any of your drop shadows.
When you are happy, double click anywhere inside your selection and the image will recrop to that size.
Now we'll make a simple frame around our tag. This is what we are aiming at:
Now Image - Add Borders
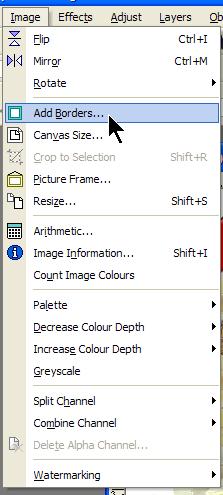
This screen pops up:

Click OK. You can also check Always Take These Actions if you prefer not to see this box each time you perform this action!
You can also avoid this screen by using
Layers - Merge - Merge all (Flatten) BEFORE you begin the frame. The end result is the same no matter which method you choose.
(I put this step in to show you the box)
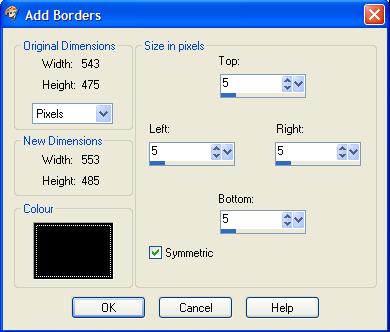
OK, you've clicked ok to that box and now this one comes up, use these settings here

You now have a thin black line around your tag.
Now we're going to add a bigger border. So go
Image - Add Borders again
only this time use these settings:

Change the color to white by putting your mouse over the Color box on this screen and then selecting white from the pop up menu
OK now you have a large white border around your tag like this

Using your Magic Wand tool

with these settings

Click on the larger white border around your canvas. This should produce "marching ants" around the border like this
Now go
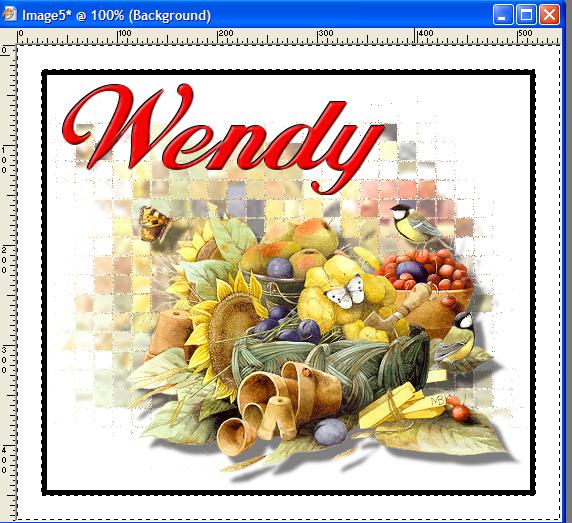
Edit - Paste - Paste into selection
This should copy into the selection the original graphic (if you remembered the Copy instruction at the beginning!)
If it does not do this, simple go back to your original graphic, make sure it's the active window and go
Edit - Copy
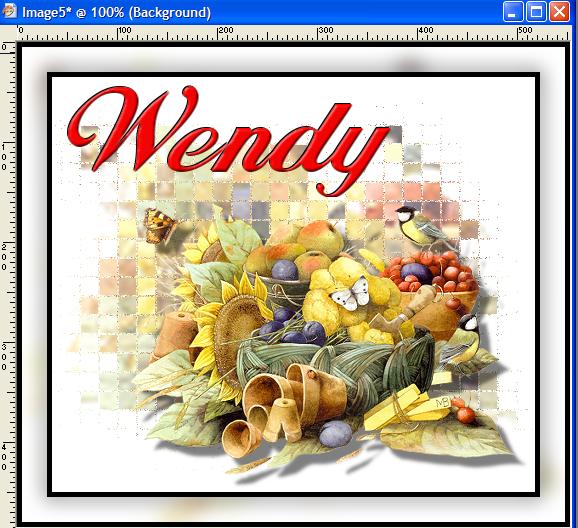
Now you should have something like this:
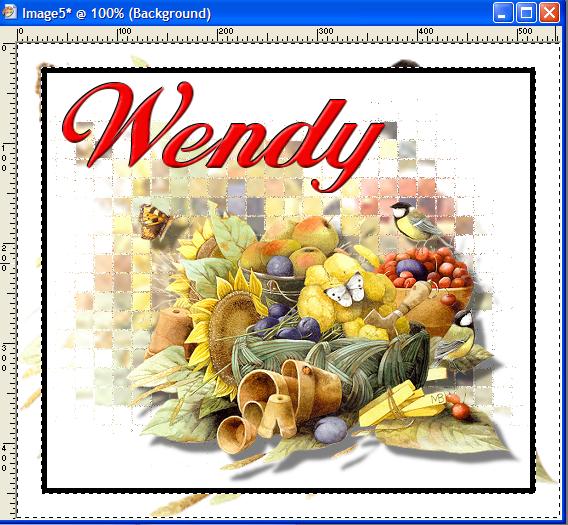
While the border is still selected go
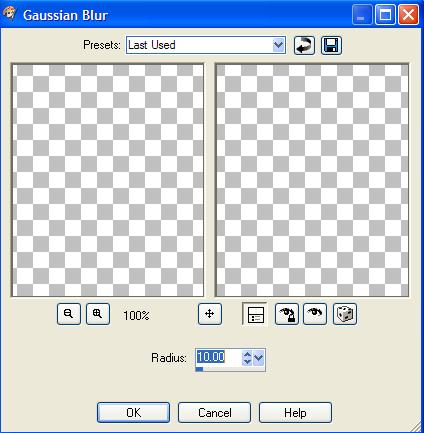
Adjust - Blur - Gaussian Blur

with these settings
which should give you something like this

Now deselect the marching ants
Selections - Select None
Now we'll add the last part of the frame
Image - Add Borders with these settings
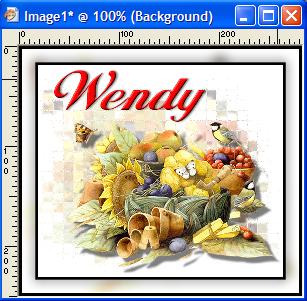
Which gives you this
Option One:
You can now proceed on and make this into a sig tag or you can save this size to use for a stat header. This makes a great personalised stat, and matching sig tag set.
If you want to use this for a stat header.
File - Export - JPEG Optimiser -

Save to a folder of choice and place in the HEADER section in LC
Option Two:
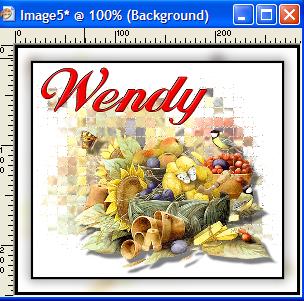
Resize the graphic to be used as a sig tag.
Image - Resize - using these settings

NOTE: You will have to change this setting back to PIXELS !!!
to give you this
Now save your tag
File - Export - JPEG Optimiser at 1% compression
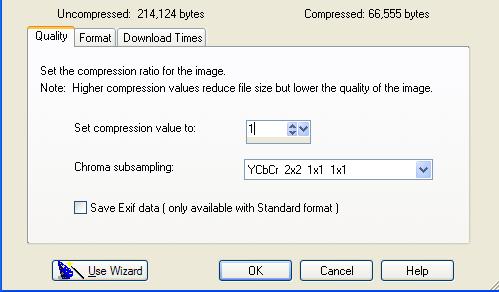
Save to a folder of choice and Voila!!! Simple sig tag complete!!!
Please link this tutorial with mailto:wwpspclasses@yahoo.com.au which is my email address.
Please do not use the group URL or the website URL to link.
This tutorial was written by me, exclusively for the Wendy's Works PSP Beginners class, and any similarity to other tutorials is purely coincidental.
