
Tutorial 3 - Simple Top Stationery
Requirements: PSP any version
Graphic HERE
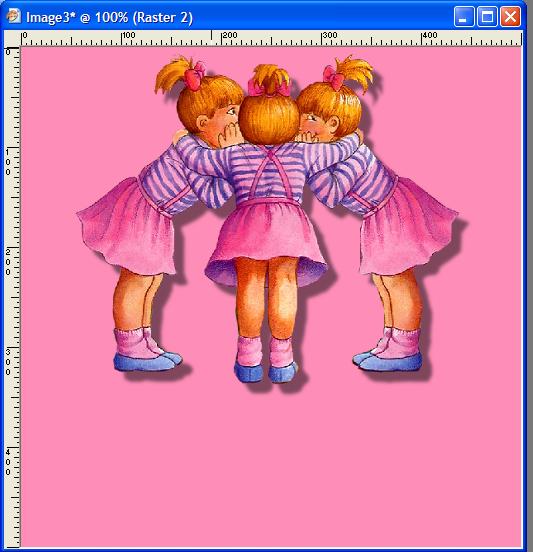
Open the graphic - TellingSecrets
Shift D to duplicate the original and close the original
Resize the Image like this:

with these settings:.

Click OK - Edit Copy the new image

File New

with these settings:

Click OK
Edit - Paste as New Layer

You now have your graphic centered on the larger canvas - like this

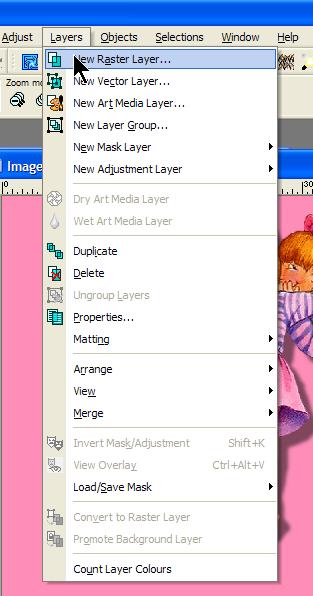
Add a New Raster Layer

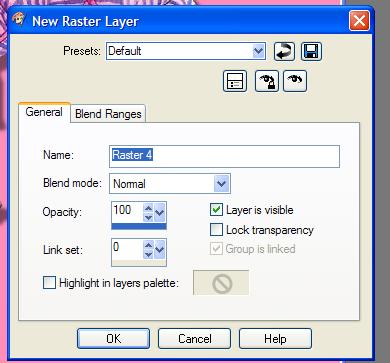
With these settings:

Click OK
You now have three layers in the layer palette - like this:

Make sure the top layer is highlighted in Blue - making it the active layer. Just click on it in the layer palette if it is not the active layer.
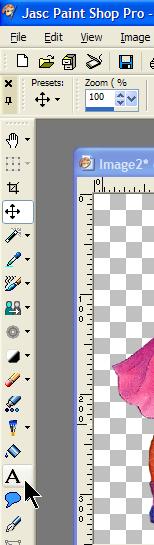
Click on the dropper tool like this:
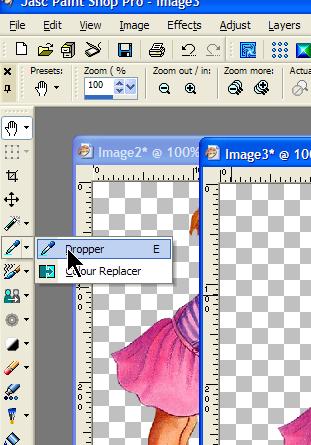
And select a contrasting color from your graphic, like this:

It now shows this color in the material palette like this:

Select the flood fill tool like this:

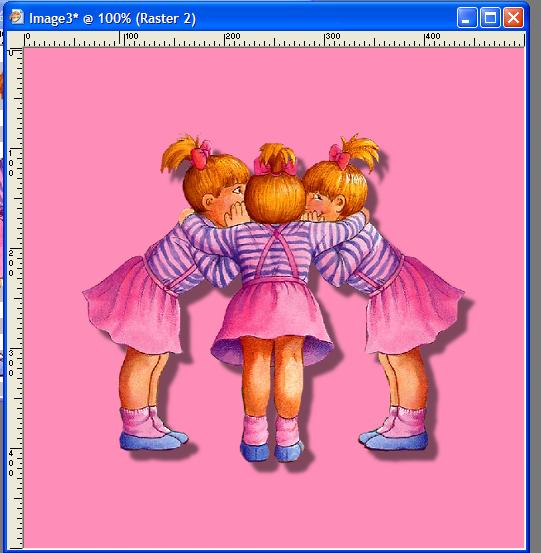
And flood fill your new layer so that you should now have this:

In your layer palette again, single right click on this background layer, it should be the top one highlighted in blue - select Arrange, send to bottom like this:

Now you canvas should look like this:

Now we are going to add a drop shadow to the graphic. Make sure that the graphic (picture of the girls) is the top layer in your layer palette, like this:

Holding your cursor over the layers will show you a little drop down picture of what is on that layer, like I have shown here.
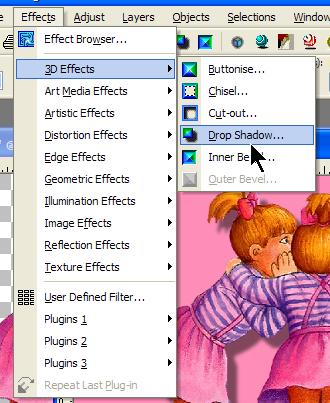
Add a drop shadow like this:

with these settings:
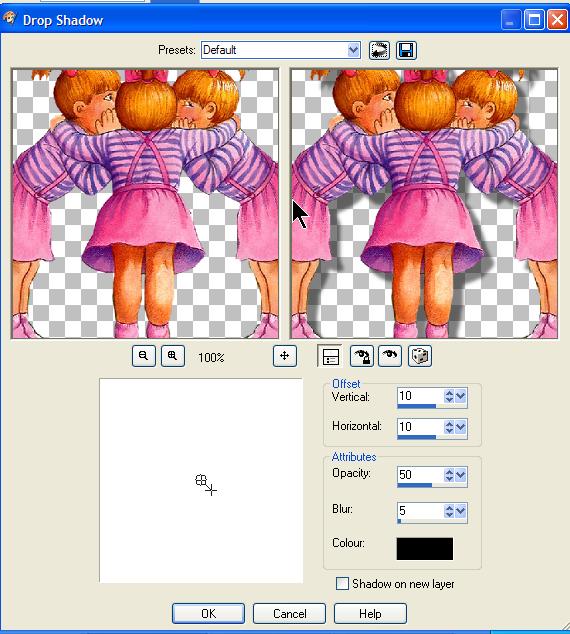
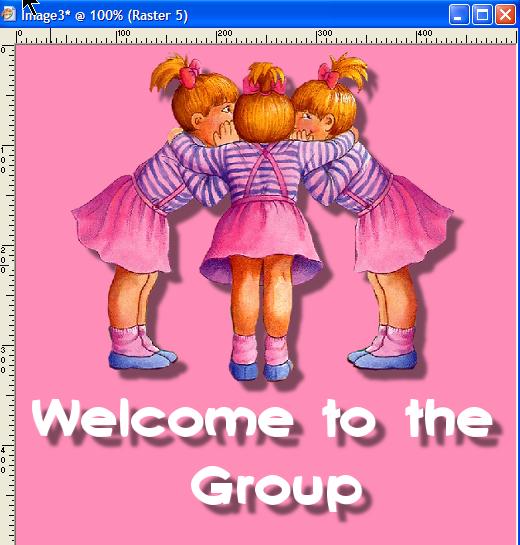
Click OK and you should now have this:
Click on your Mover Tool like this:
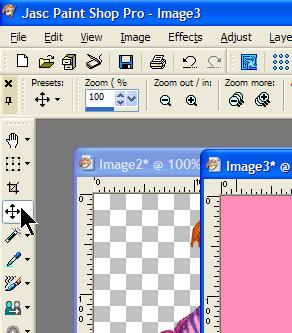
Move the graphic (top layer) toward the top of the canvas so you have something that now looks like this:
Now add a new Raster Layer to the canvas like this:
Click OK
The new layer is now your active layer. We are going to add some text to this layer.
Click on your text tool like this:
One right click on your canvas like this:

This box pops up:
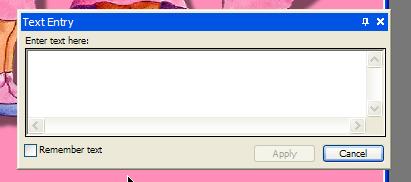
Enter whatever text you want here. Choosing your font and size here:

Choose your font color here

Background is your font color, I've chosen white. One single left click on this little box (where my cursor is in this screenshot) brings up a color chooser like this:
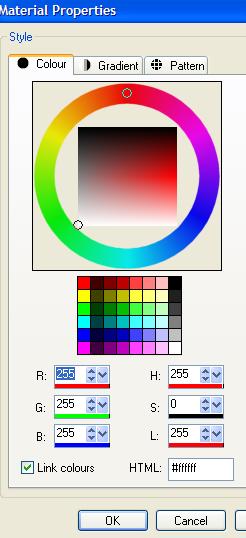
Select any color you like and click OK
Type your text in the box like this:
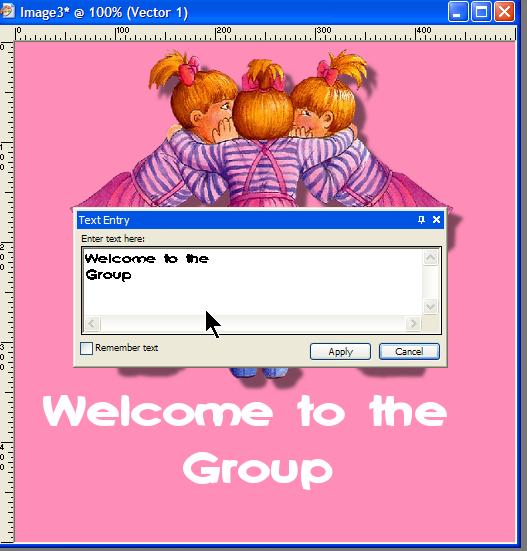
Click Apply if you like what you have so far
Now you should see this:
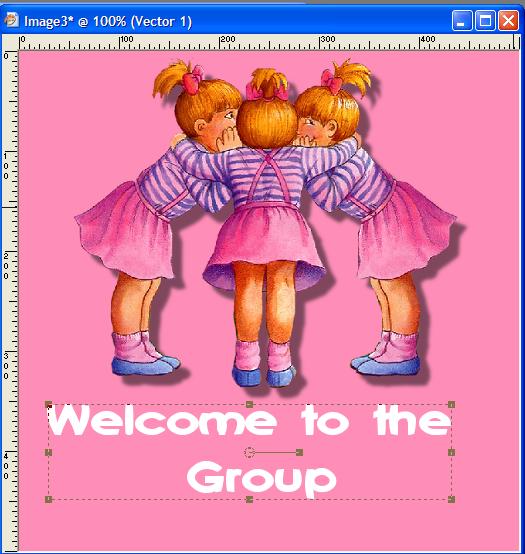
If you want to move your text, or make it bigger or draw it down a little to change the way it looks (experiment here, if you don't like what you end up with click Edit, Undo or use these arrow icons to go back through the steps) just use the little boxes to change the orientation of the text.

This is pulling the text down and slightly right
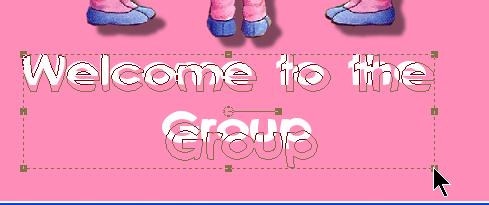
When you like the way it looks- make sure it is the active layer like this
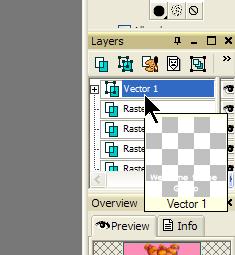
Single right click on the layer (Vector 1) and this menu comes up

Select Convert to Raster Layer as shown here. This converts your text layer so that you can add some enhancements to it.
Now we'll add a drop shadow to the text. Like this:
With these settings:

Click OK
Now you have this:
Now we are going to merge the layers like this:

Now we want to save the graphic to use as a header for our new stationery.
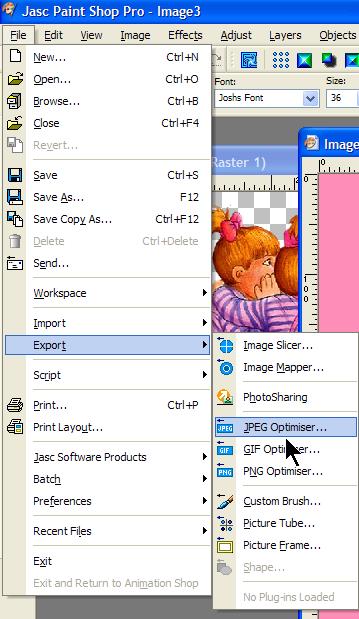
With the following settings:
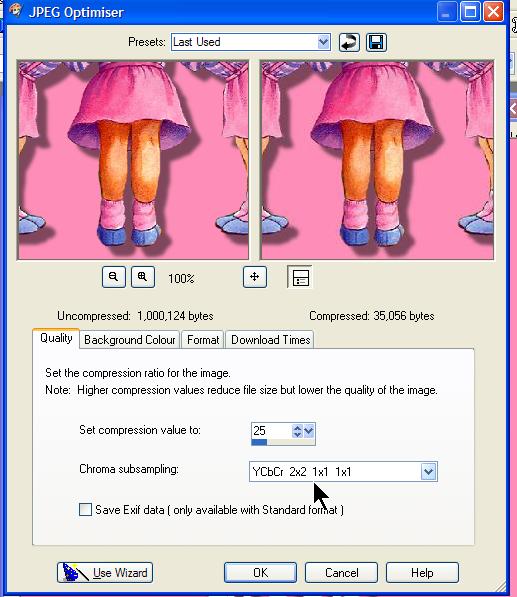
For some graphics you may need to lower the Compression Value as this high value may make the graphic a bit grainy or pixelated. You will soon learn this just by playing with this setting and watching the changes in the preview window.
Click OK
Name and save your graphic to a folder of choice.

Assemble in either Letter Creator or Outlook Express Letter Wizard. The image will be the header tab.
FOR LETTER CREATOR USERS:
Open your template (if you made one previously)
Click the Header tab, and locate the graphic you just saved, like this

Then make sure the header image is centred like this:

Now go back to the BODY tab - set right and left margins at 10. Now you want to change the background of the stationery to match the pink of the header, so that the whole intergrates. Still in the body tab, click on SAMPLE under BACKGROUND - your cursor changes to the color picker, click on the pink of the header like this:
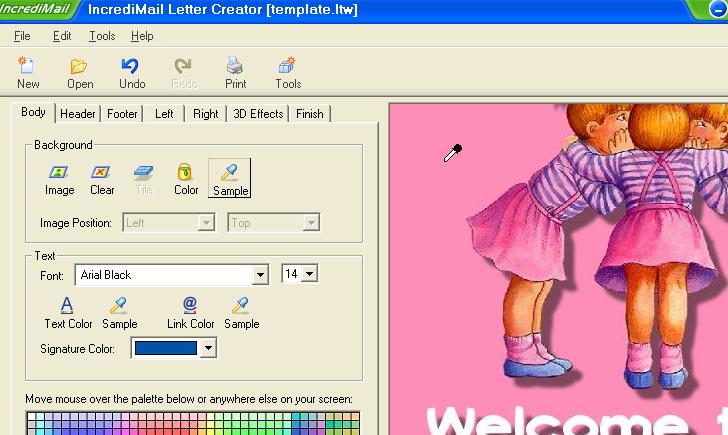
The whole background now matches the pink of the header.
Change your font color to white, and select a font you like. In the same way as you selected the background color, click the SAMPLE icon under TEXT like this:

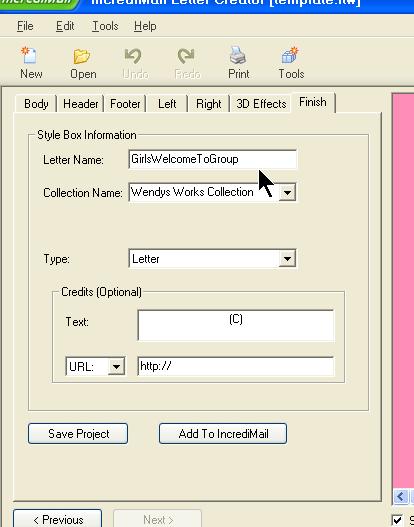
Do the same for the link color, make sure all your text is clearly readable over the pink background. When you're happy with your results, click on the FINISH tab, and name your new creation
That's it! View your new stationery in Incredimail
This tutorial was written by Wendy Tzeriah - any similarity to other tutorials is purely coincidental. Please do not share my tutorials outside the Learn Group.
You may add a link to the stationery you create to the following email address wwpspclasses@yahoo.com.au so that anyone interested in learning may contact me about our classes.
