
Tutorial 2 - Simple Side Border Stationery
Requirements: PSP any version (this is done in Version 9)
Graphic HERE
This is what we will be making:

Open the Graphic (rw-RobPohl_Fuchsia01.mac)
Shift D to duplicate and close the original (never work on your original graphics)
Resize the image like this:

Resize so that your height is 350 pixels. The width will auto set, but make sure you have all your settings the SAME as I have shown here

Now we are going to resize the canvas we are working on. Like this

With these settings - EXACTLY

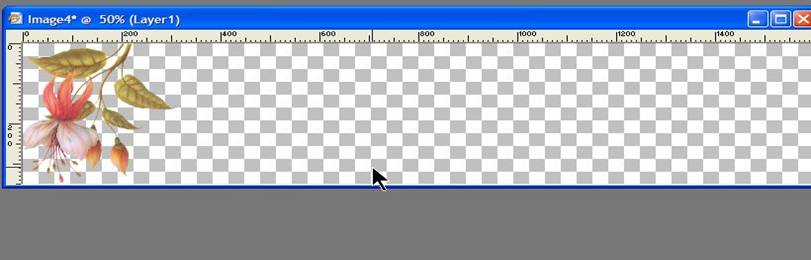
You should now be seeing this:
Now we want to add another layer to make a background color for this strip. Like this:

Which gives you this window:

Click OK - this adds another layer to your strip.
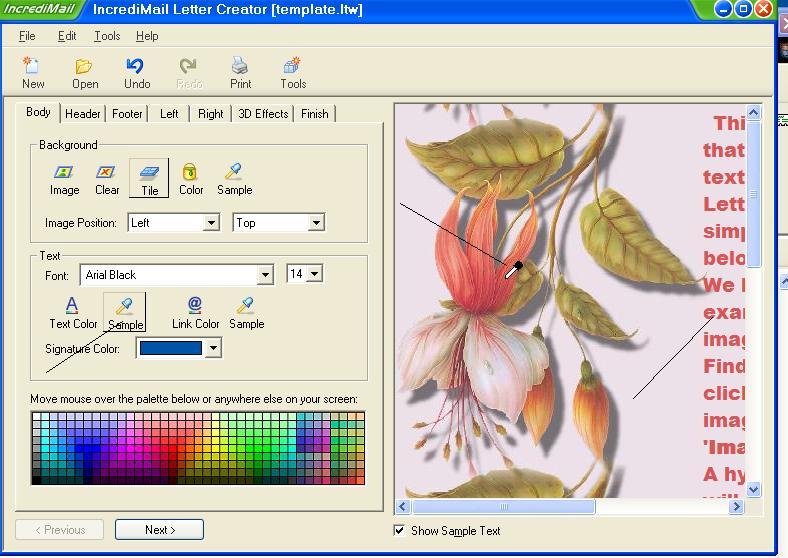
Select the dropper tool like this:

Select a contrasting color from your graphic, like this:

Which puts this color in the color palette here

Now flood fill your new layer with this color, like this:

click this icon, then click on your canvas like this:
Now to to your layer palette here
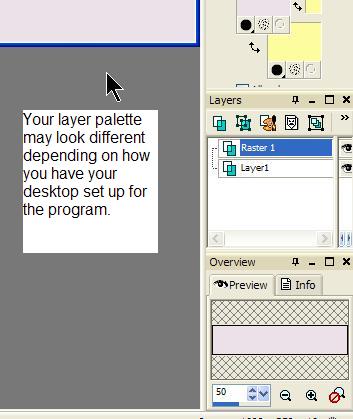
If your layer palette is not showing on your desktop. Go to View like this

Select Layers and it will appear on your desktop.
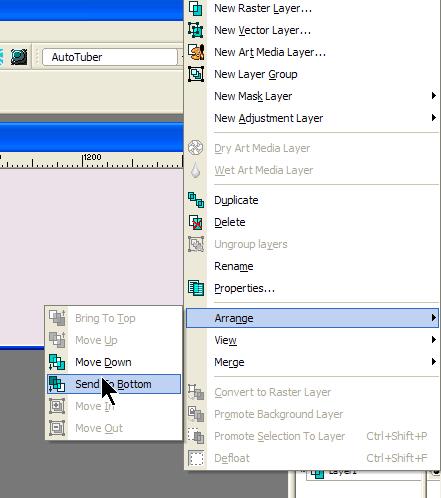
Now we want to send this new layer to the bottom, so that our graphic is showing on the left of the strip. Go to Layers like this

then Arrange send to bottom like this
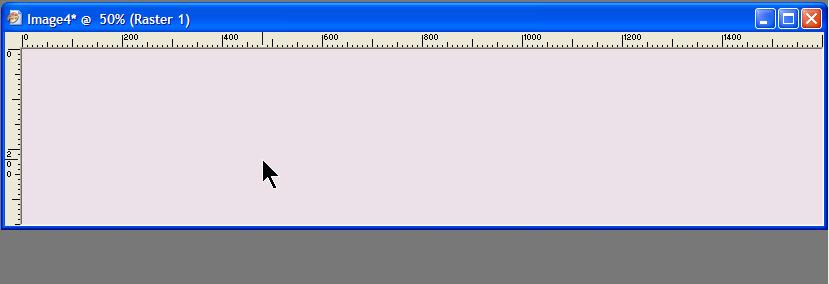
Your strip now looks like this:

Now highlight the graphic on the top layer like this:

This makes your top layer (the graphic) the active layer
Now we're going to add a drop shadow to the graphic. Click on Effects, 3D effects, drop shadow like this:
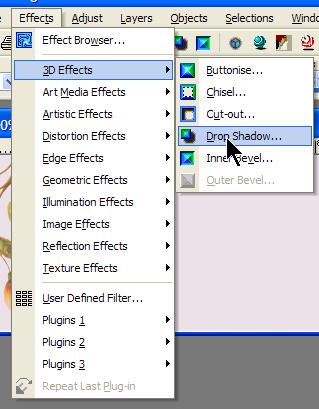
Use these settings: (default)

Your graphic should now look like this:

Nearly done!!! Are you still with me???
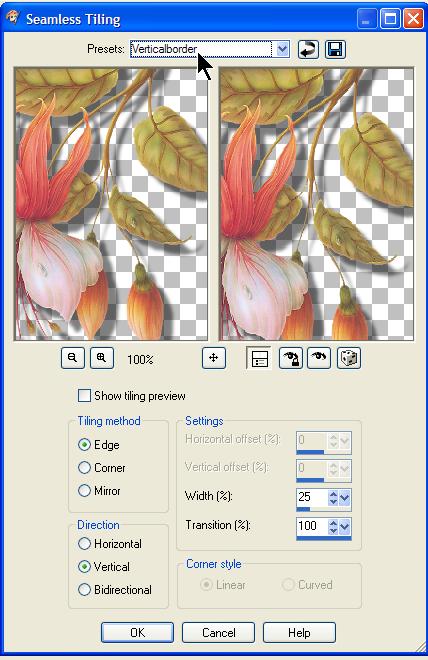
Now we're going to make it a seamless background, this will ensure that there is no line when we come to use the background.
Select Effects - Image Effects - Seamless Tile like this

With these settings:
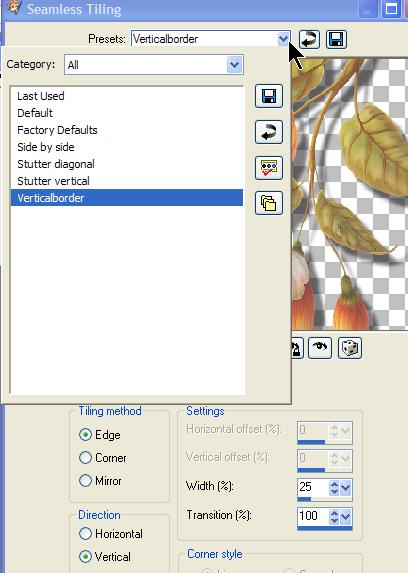
You might like to save these settings, as you will use them often!! As you can see I saved it as Vertical Border. Just click on this icon
![]()
Name it whatever you like and it will always be there for you to use, under Presets.

Ok nearly there!!! Now we need to save the creation. Like this:

With these settings:

Click OK and save your file

If you are going to use Letter Creator to share your creation in Incredimail, open it now. (See my previous tutorial for creating a template to use)
** If you are not using Letter creator - you are done! Save your file and share it with us!!
Letter Creator Users go on here:
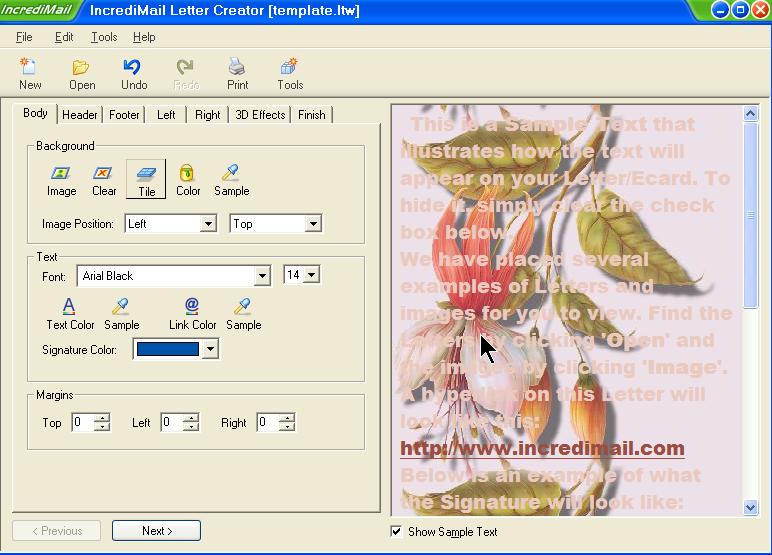
You want your new strip to be the background for your letter. Select Body tab, image and locate the strip you just created.
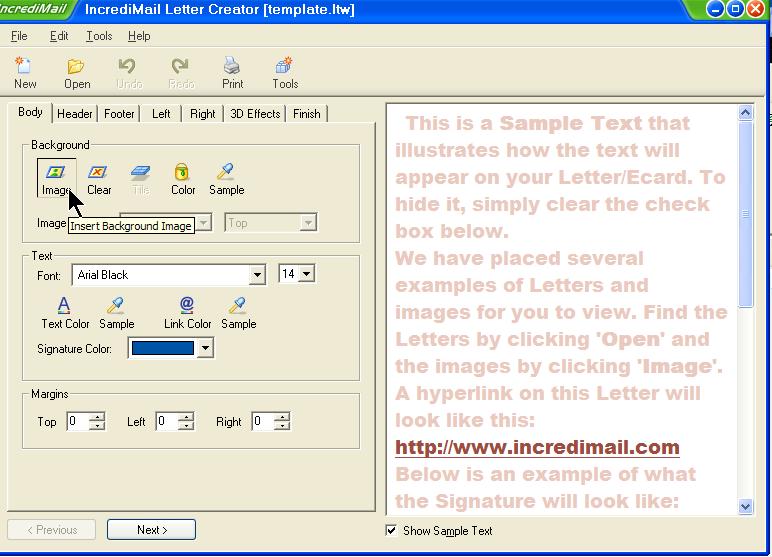

Double click to open and the strip now appears as the background in your new stationery. Make sure you have the TILE option on - to make the graphic cover the whole page. If you dont' have this on, the strip will only cover the top part of your stationery.
As you can see, the text is over our graphic, so we need to change the margins so that the writing is not over the graphic. Like this:

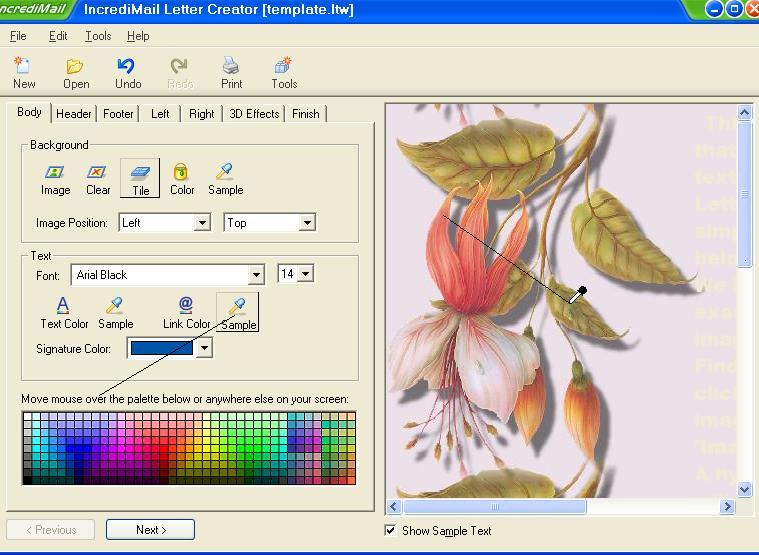
This setting will be different for every graphic like this you create, just move the left margin until the text is no longer covering the graphic. You can also change the color, of your font like this:
You can change the link colors the same way:
You can change the font by selecting it here:

And your size of font beside that. I usually use 18, but that's just my preference.
You can choose any 3D effects you like from the 3D effects tab. When you are happy with everything click on the FINISH tab - name your new stationery. If you have followed my template tutorial, you will have already named a folder within Incredimail for your creations.
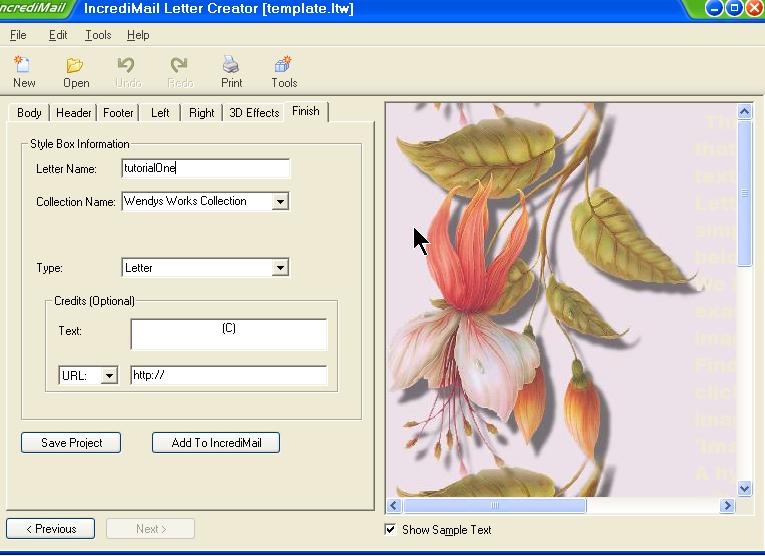
Make sure you click SAVE PROJECT first and THEN Add to Incredimail. If you reverse this some receipients will not be able to see your creations.
That's it!! Open your new creation in Incredimail. Share it will us!!
