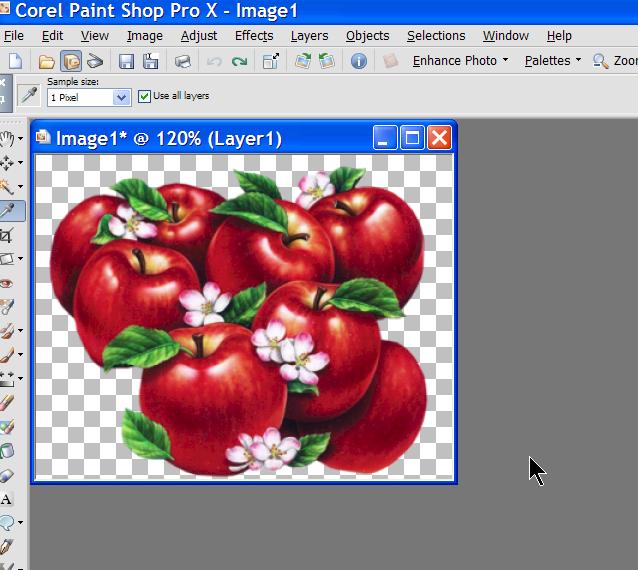
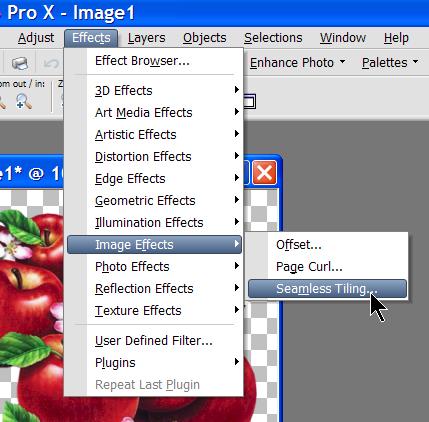
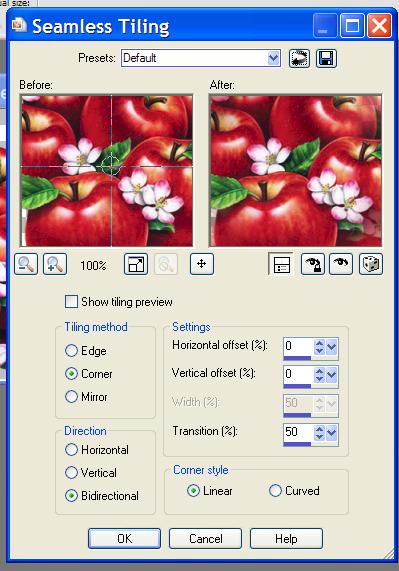
OK now we are going to make the tile seamless.
Select Effects - Image Effects- Seamless Tile - set at default. To
set any tool to default use this icon

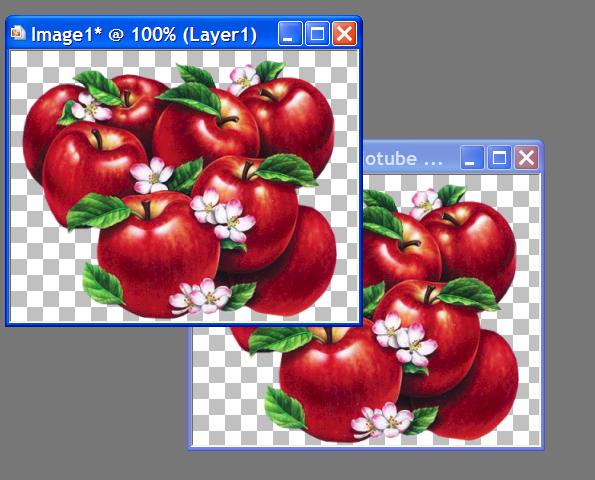
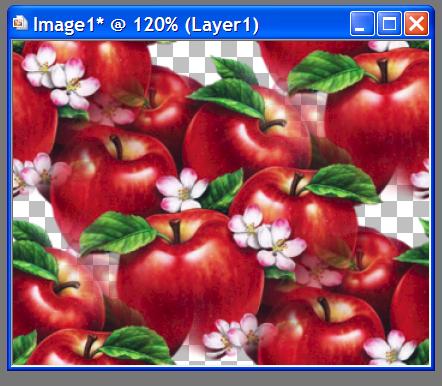
You should now have this:
Now obviously this is too dark to be used for a background, you would not be
able to see the text over it, so we need to make it lighter. This is very
simply done.
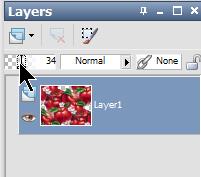
In your layer palette, select the opacity slider like this:
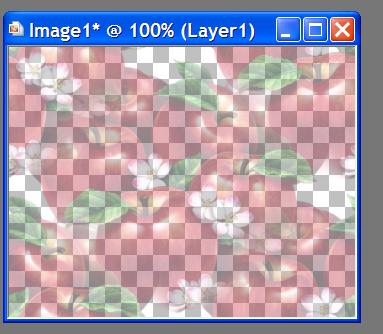
Which now gives you this:
This step was not in the original tutorial, and is not necessary, since saving
the file does this step, however, so that you can see what you end result will
be, I always do this step.
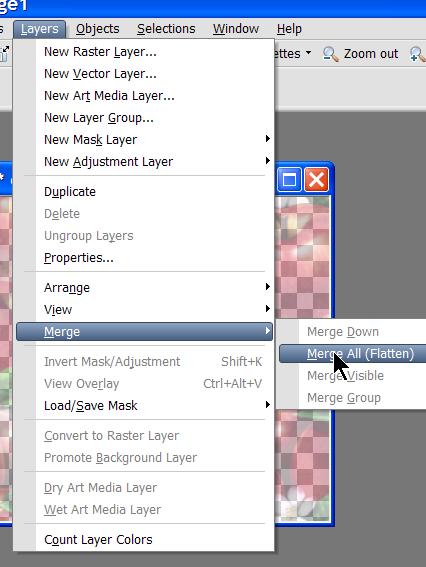
Layers - Merge all (flatten) like this:
Which now gives you this:
As you can see, this will make a very nice background tile for a letter.
You now need to save your tile. File, Export - Jpeg Optimiser like this:
With the following settings:
Then name and save your new tile:
You may now assemble your stationery in either Incredimails Letter Creator or
Outlook Express Letter Wizard. If you are using neither of these, you may
submit your completed tile to the group address as an attachment.
That's It!!! Tutorial One completed!! Congratulations!!!