The Midnight Train Crossing
==============================
==============================
The Making of Ruhrgold Bear
Based on popular demand (seriously!) I've taken a lot of in-progress pictures of the lastest Bear that I have made, and it just happened to be Ruhrgold
So, by now I've got my system for making the bears down, and pretty much all of them go in this order.
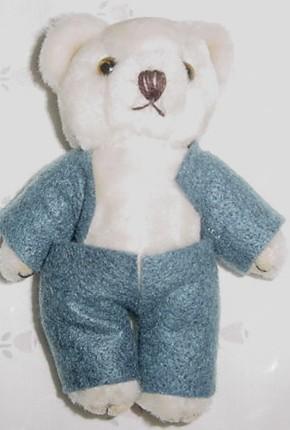 |
The First thing that I do is cut the material for the sleeves and pants.
It's one of the hardest parts to do because, well, bears have funky shaped arms.
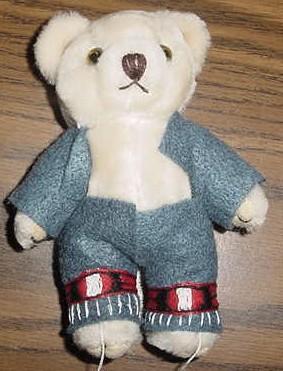 |
Next come the knee pads, which are a guess as to where to put them - bears don't have knees
And then I satin stitch the parts that go around the legs - which takes forever
Believe it or not, I think this is the step that takes the longest.
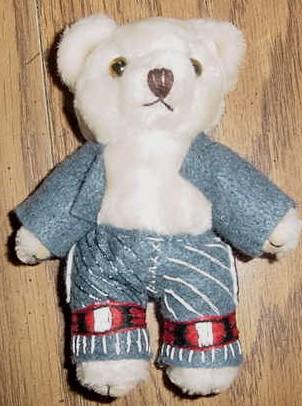 |
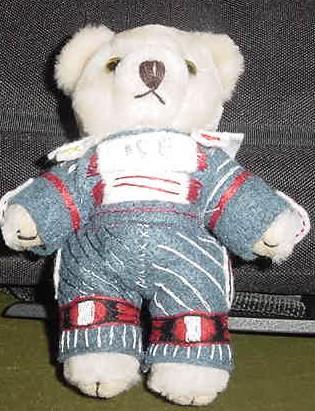
After the knees are done, I finish embroidering the pants and sew them together so that they're actually pants.
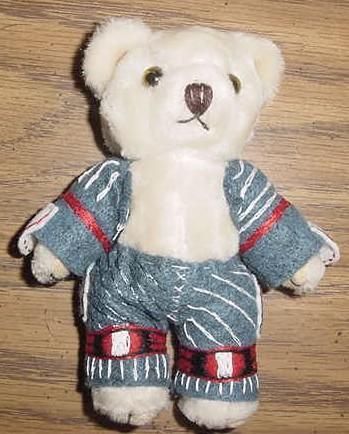 |
Then comes the embroidery on the sleeves, as well as fitting the sleeves so that they don't fall off.
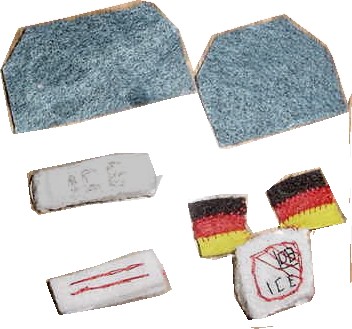 |
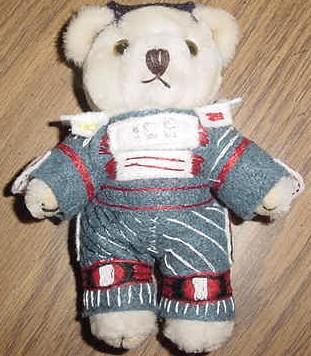
Then I cut the material for the front and back of the shirt.
In the case of Ruhrgold, an engine, he gets a backpack and the chest boxes which eventually get sewn to the shirt
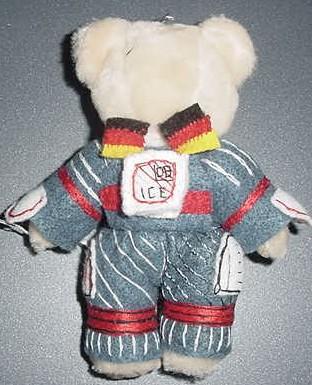 |
The backpack and flags are sewn to the back of the shirt as well as more embroidery which is then sewn to the pants.
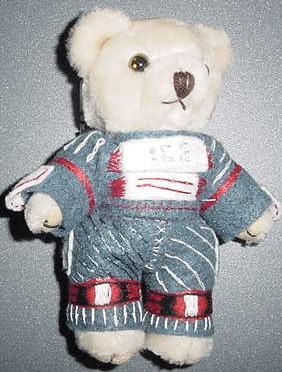 |
The same for the front of the shirt
This point is when the bear really starts to come together
 |
Next come the shoulders. I know, this isn't the best picture, but there it is.
I cut the pieces, emborider them and then sort of tie them around the bears neck
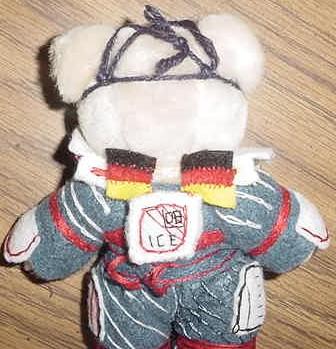 |
Next comes the belt, which gets embroidered and sewn into place, and then I make the couplers.
All my bears have couplers :)
Also, since I consider it cheating to sew things to the bear, I tie yarn around the bears ears like so, and then sew the hat to the yarn.
 |  |
The hat is the last step - and then he is finished!
So there you have it - That's how I make a bear


====================
====================