
Below you will see the Iron-on patterns designed by me. You will need an iron, scissors, & T-Shirt Tranfer paper which you can get at Walmart, Sears, K-Mart, ect. & T-Shirt. If you are using a Dark colored shirt make sure you get Tranfers that are made especially for dark colors. Avery is the only I found that makes them & you can get them at Walmart for $9.97 for 5 sheets. Make sure you also read the directions carefully before doing them as some transfers require you to flip or mirror text & images. Avery 3279 Dark T-shirt Transfers don't need to be flipped or mirrored. Also pre-wash the T-Shirt before applying transfer. Make sure to cut out your image after you print it out & it's dry. Keep iron moving to avoid over heating also.

Directions:
1. Right click on picture & click (Save Picture As...)

2. Open Paint Shop Pro (or a picture editing program) & open the picture you just saved.

3. At this step you'll need to check your instructions & see if you need to flip the image. To flip the image click (Image), then click (Mirror).

4. Now click (File), click (Page Setup...) select (Portrait or Landscape), check the box that says (Fit to page) Make sure under (Printout) the radio button (color) is selected. Click Ok. NOTE: (For the words under the pictures make sure you uncheck the (Fit to page) box & set your (Left & Top Margins) so words are to your liking. Print a test page 1st!)

5. Now place your transfer paper in the printer the correct way. For example I'm using a HP 720 Deskjet & I place my transfer paper in the printer back side of paper facing up. The print side is facing down. To find out how your printer prints write the word (back) on one side of the paper & print something small & note the way it comes out. If the word back is on the print side you need to place the paper in the opposite way.
Now click (File) click (Print) & setup your paper type (you'll need to see your directions on what your transfer paper maker recommends. Also note what (Print Quality they recommend.) Click (Ok) then click (Print).

6. Now wait for the ink to dry then cut the image out making sure to round corners (just so there's no sharpe edges) when possible.

7. Now pre heat your iron to recommended setting. Place & iron a pillow case on a hard surface, let cool. Now place shirt on pillow case making sure there are no wrinkles, iron shirt & let cool.

8. Now place your transfer where you would like it making sure it's not upside down. Now follow your heating time directions from your maker.

*~PICTURE #1~*


*~PICTURE #2~*
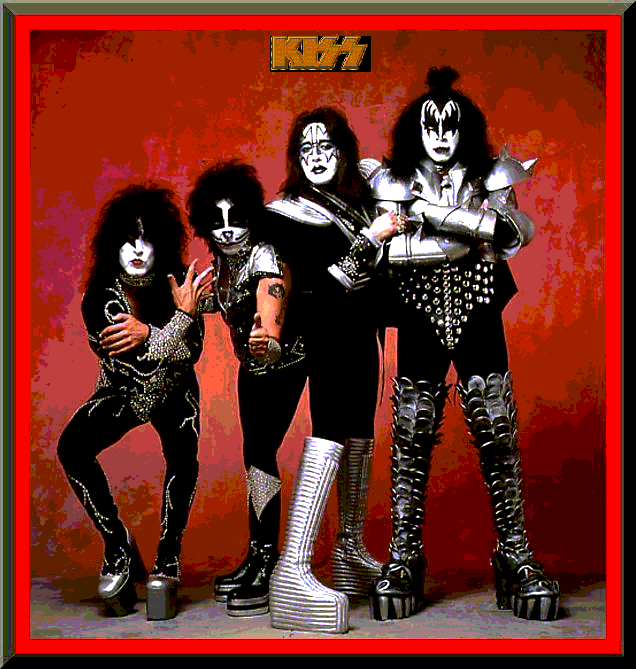

*~PICTURE #3~*


*~PICTURE #4~*


*~PICTURE #5~*

*~PICTURE #6~*
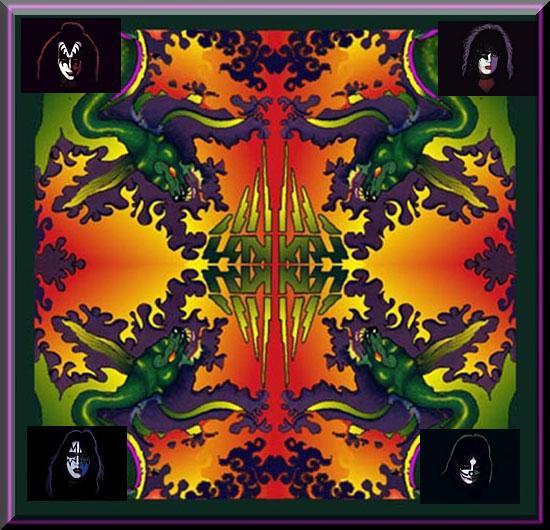

*~CLICK ICON TO GO BACK~*
