
My bike has:
Follow the indication of the Rejetting
Matrix to find out what may work for you.
I have two general comments:
Click on the images for larger versions.
 |
Start by preparing a clean surface where you will be laying down the carbs. Paul Harvey does not need to be back. |
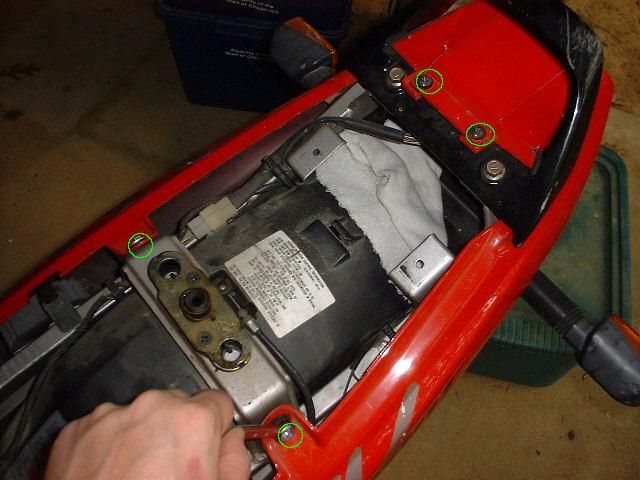 |
Remove the seat and then the two bolts and two screws circled in the green that hold the plastic side covers. |
 |
Remove tail plastic bit. I swear that the previous owner did those scratches on the handle :-). |
 |
Pop out the covers and remove them. |
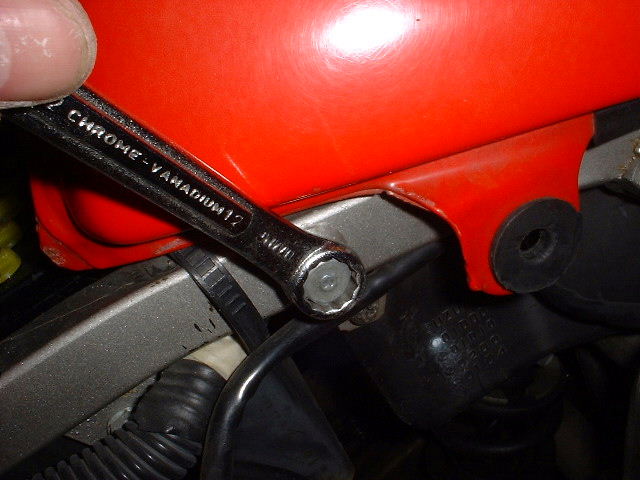 |
Remove the two tank bolts. |
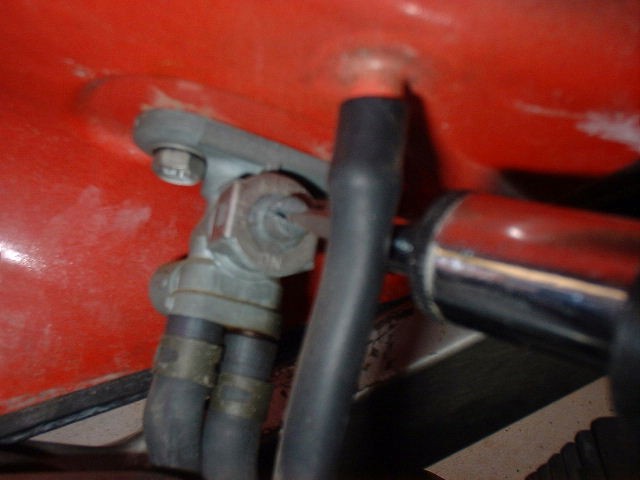 |
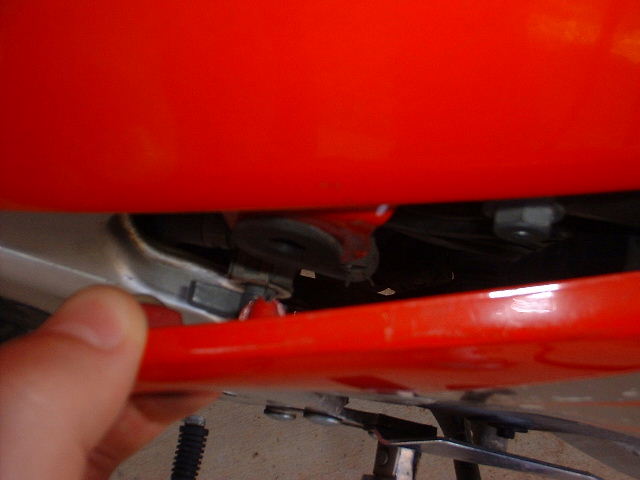
From the right side, move tank backwards and lift a little. Turn petcock screw horizontal to close it. If you disconnect the overflow hose in front first it's easier to reach it. |
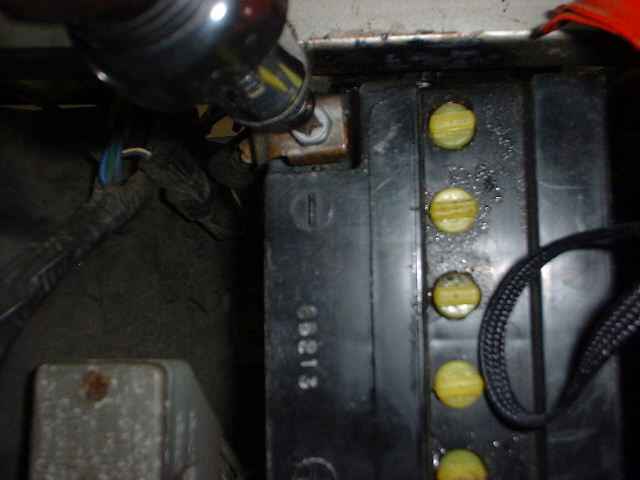 |
Disconnect negative pole of the battery. |
 |
Clearly mark the fuel hoses and disconnect them at the petcock. Disconnect also the overflow hose from the middle of the tank. Have some rugs to catch up spills of gas. |
 |
Empty the two hoses in a gas tank. Yeah, possibly a cleaner one than mine. |
 |
Pull the tank back and lift it to remove it. This is how it looks. Take note of how all the hoses are routed. Make a diagram if necessary. |
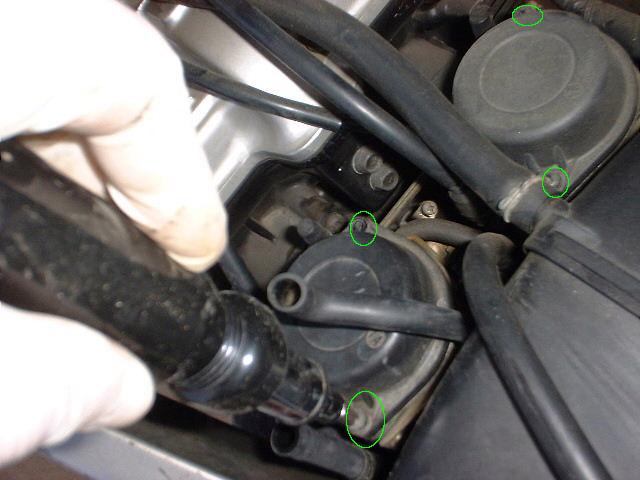 |
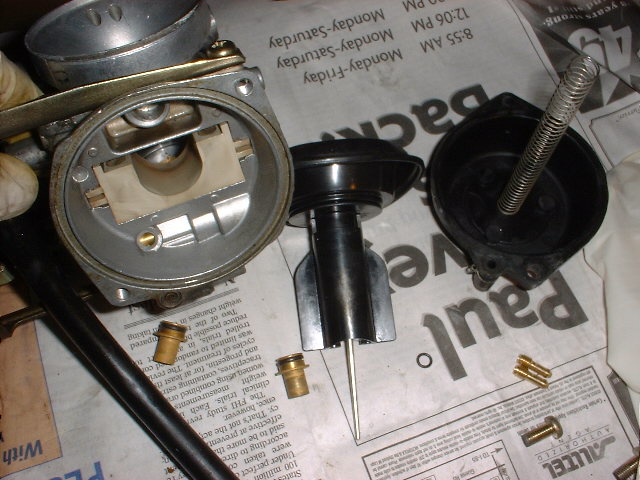
If you just want to shim the needles, you don't need to remove the carbs form the bike. One carb at a time, remove screws holding diaphragm caps. |
 |
Carefully remove cap. Don't loose the o-ring marked in green. |
 |
Remove slide. Hold your thumb on the hole to keep the needle from dropping out. |
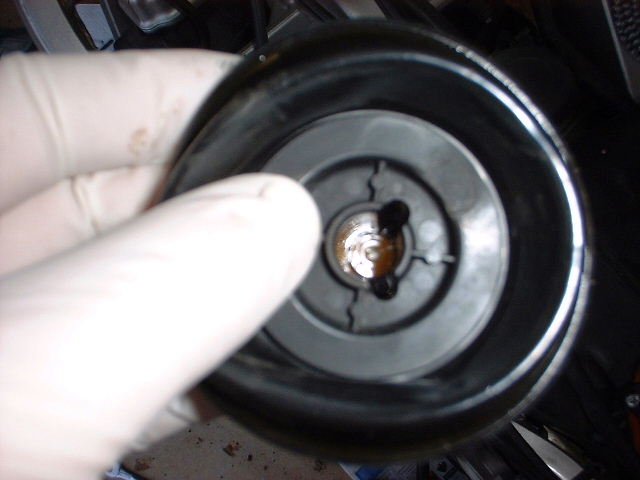 |
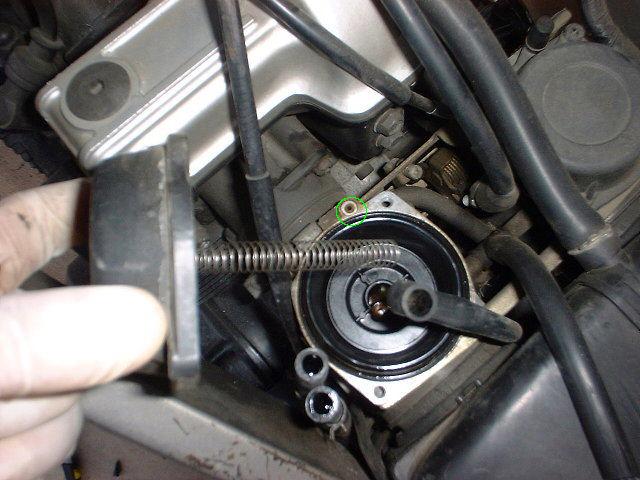
See the top of the needle at the bottom of the hole? Carefully turn the slide upside down and the needle will drop out. Don't loose any of the plastic spacers. |
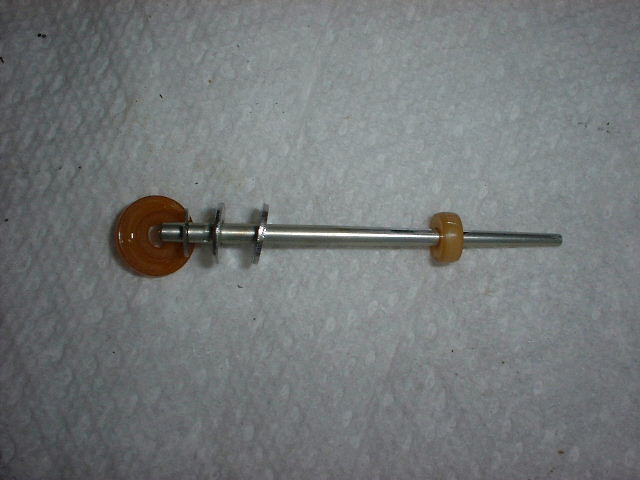 |
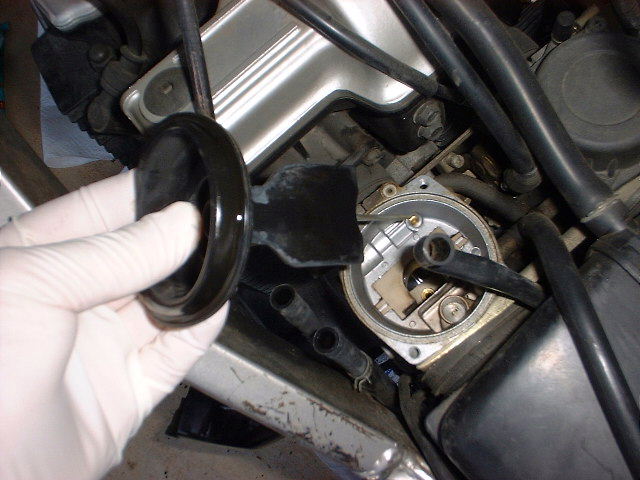
Insert one or two #4 stainless steel washers btw the C-clip and the plastic doughnut. Put needles back in place and insert slide back into the carb. Close cap making sure that the diaphragm is in the grove. You can use the cap without spring to push it into the grove, then replace cap again with spring, and close. |
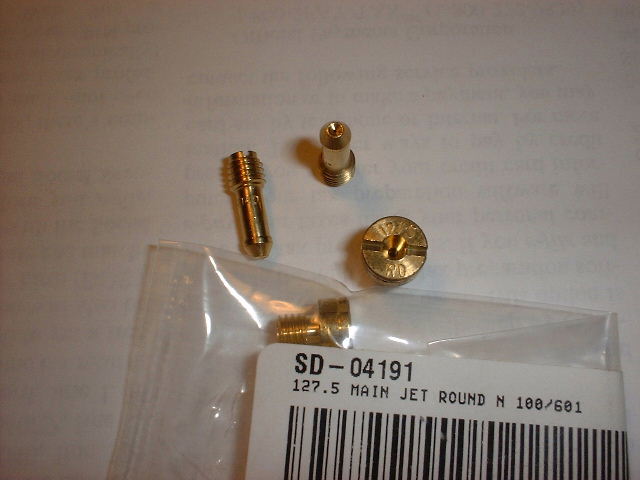 |
Now on to rejetting... These are the new jets, 127.5 mains
and 40 pilots.
I got the pilots from the local stealer for $6.50 each (!!) and the
mains
from Chaparral for $2.30 each. Main jets Mikuni part number is N100/604
(don't know why the label says 601 instead.) Nonbleeding type pilots, Mikuni part N151.067, are hard to find. According to JeffD, bleeding type are ok too. |
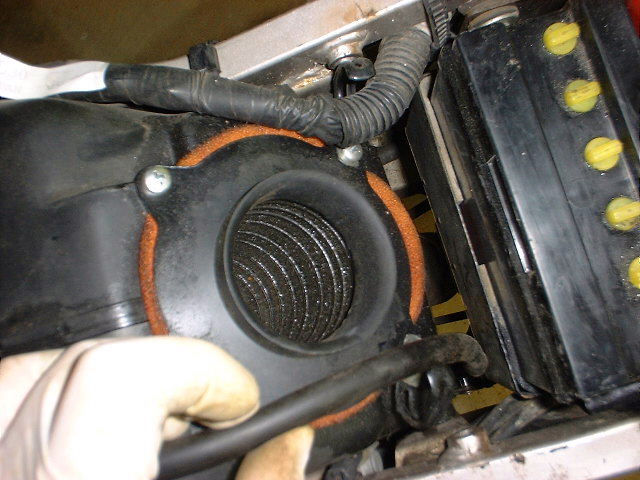 |
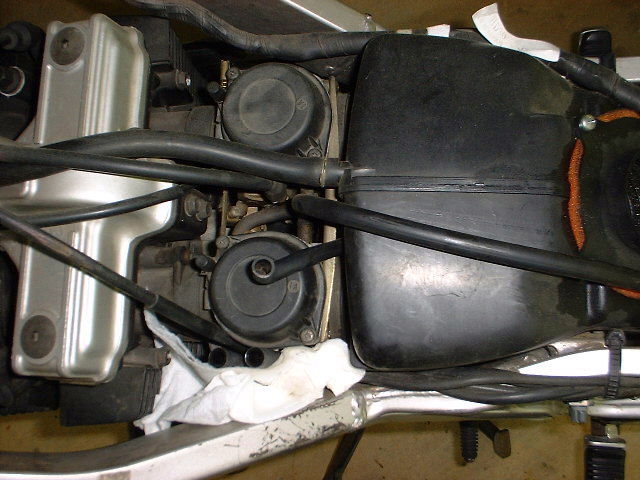
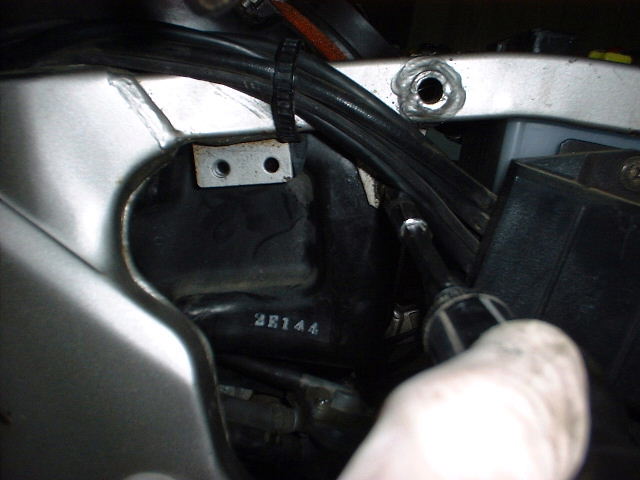
Let's take off airbox and carb. Start by releasing the cabs overflow hose on the right and wire harness on the left of the airbox. |
 |
Disconnect valve cover breather hose from airbox. |
 |
Remove two screws holding airbox, one per side. |
 |
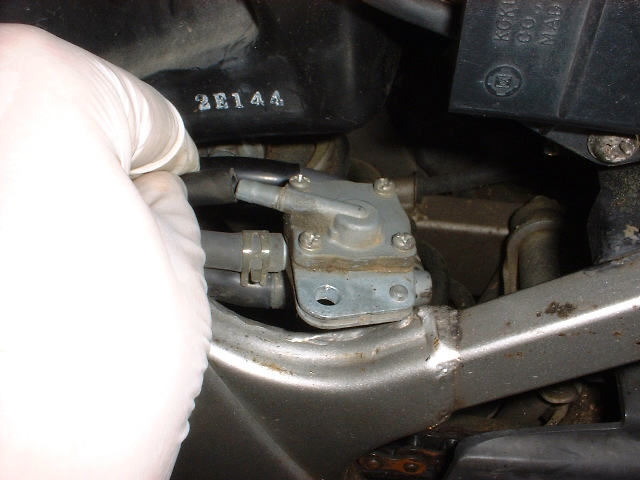
Unbolt fuel valve and leave it hanging outside the frame. |
 |
Disconnect drain hose from under the airbox. You can leave it there and pull it out, but make sure you know where it's routed. |
 |
Loosen the clamps holding the air intake to the carbs. In my case, one of the screw heads was stripped off, so I had to pull out carbs and airbox together. If you can remove the airbox first it makes the job easier. |
 |
Fit a hose to the drain nipple and run it into a tank. Open drain screw and let gas flow out. |
 |
Same thing on the other side. |
 |
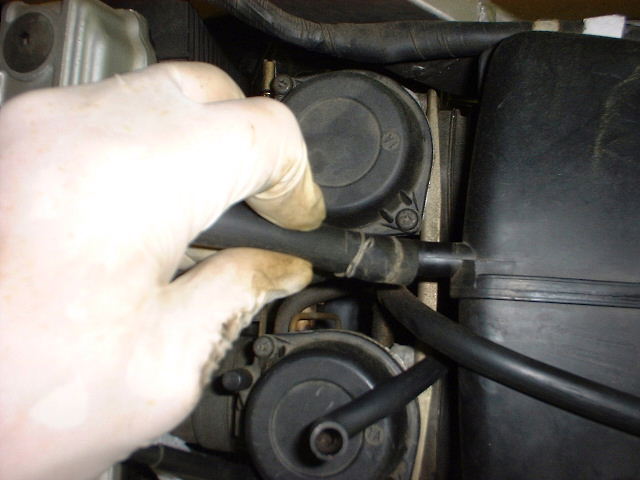
Loosen up clamps to the engine intakes. One per carb. |
 |
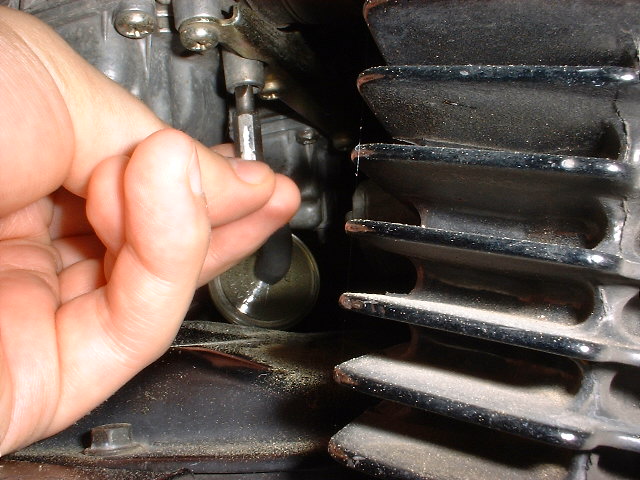
Disconnect choke cable. Pull back, left end out. |
 |
|
 |
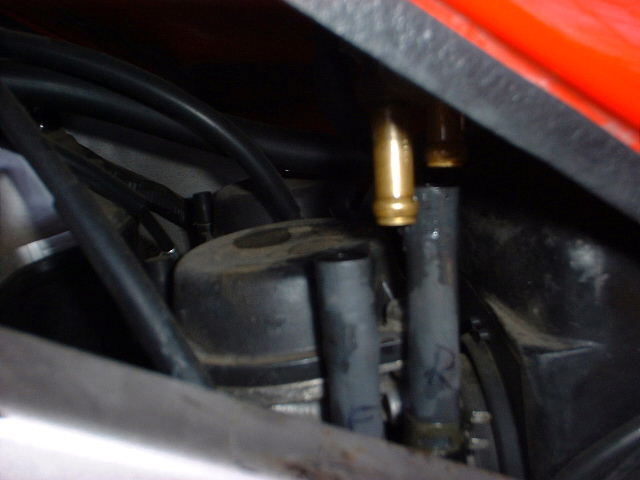
Disconnect throttle cable and the fuel hose from the lower T. |
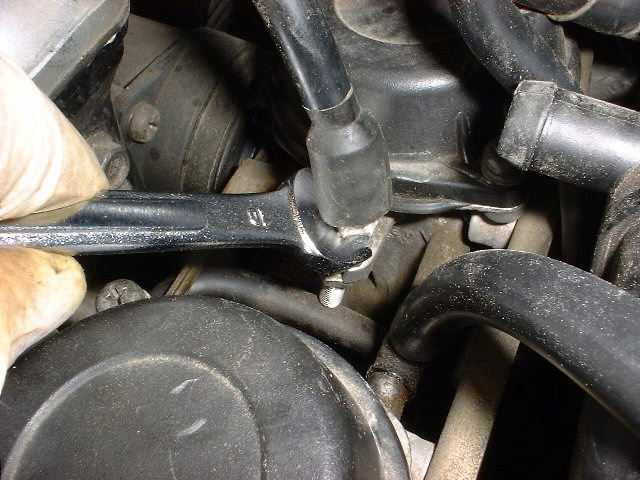 |
To disconnect the throttle cable, loosen up upper bolt, unscrew lower bolts completely, push cable from below and remove. |
 |
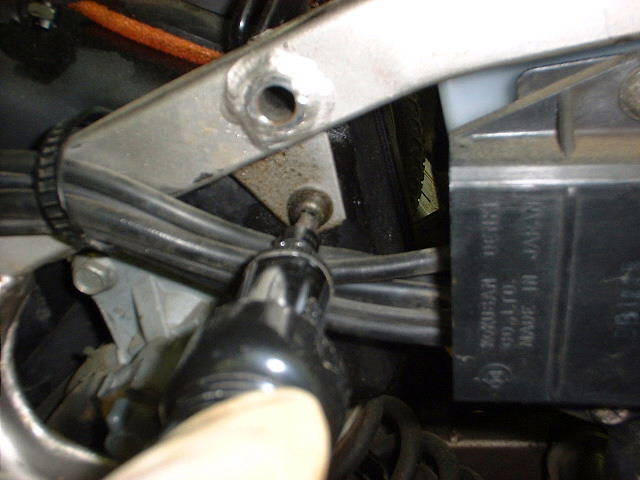
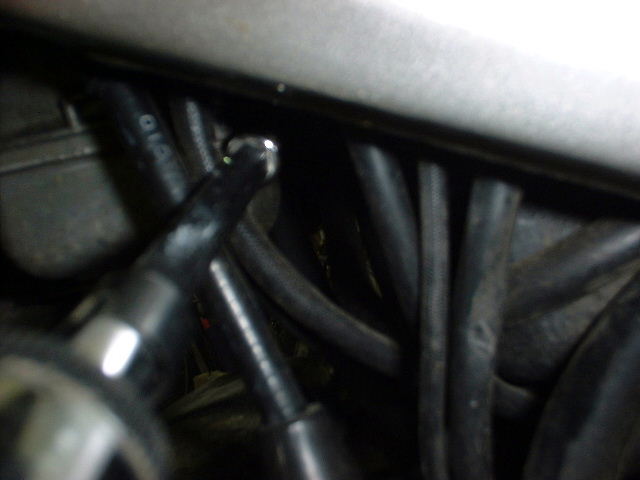
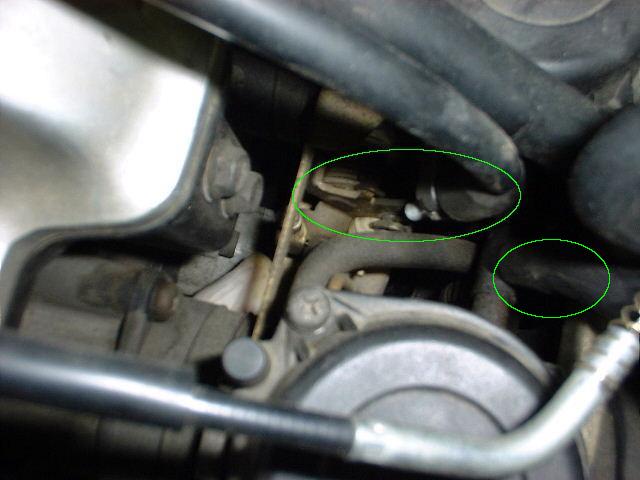
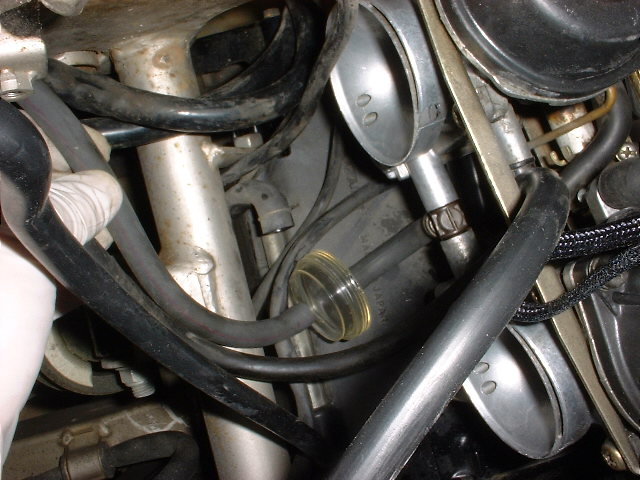
Disconnect fuel valve vacuum hose from left carb. |
 |
Now everything is disconnected.
Take the carb assembly, turn it upside-down, and empty the remaining gas from the upper overflow hose into the gas tank, and not on your legs like I did. |
 |
My carbs were all dirty outside, so I closed all openings
with pieces
of plastic bags and rubber bands, and cleaned the gunk with a
toothbrush
soaked in WD-40 , followed by dish soap to remove any residual grease,
and rinsed them with water.
Finally, I dried them out with a hair drier. |
 |
Open the bowls, two screws each. Someone had been there already and stripped one head. |
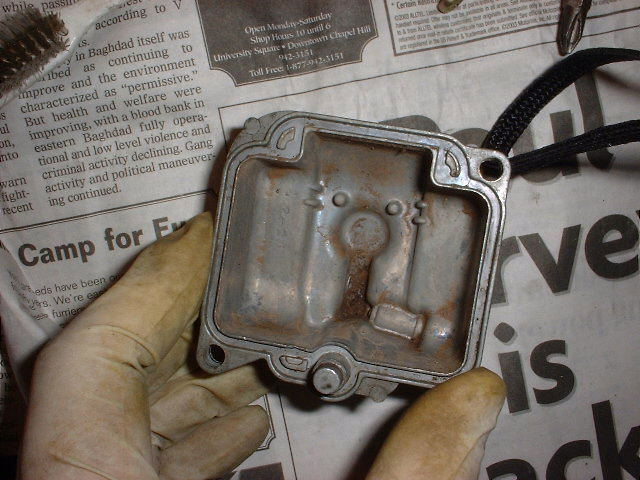 |
Ouch! Rust! Back to the cleaning department! Note that I removed the gasket that goes into the grove near the edge. |
 |
If you want to clean it with carburetor cleaner, remove all plastic bits and rubber o-rings. I used carburetor cleaner followed by dish soap. |
 |
Wasn't this supposed to be white?! |
 |
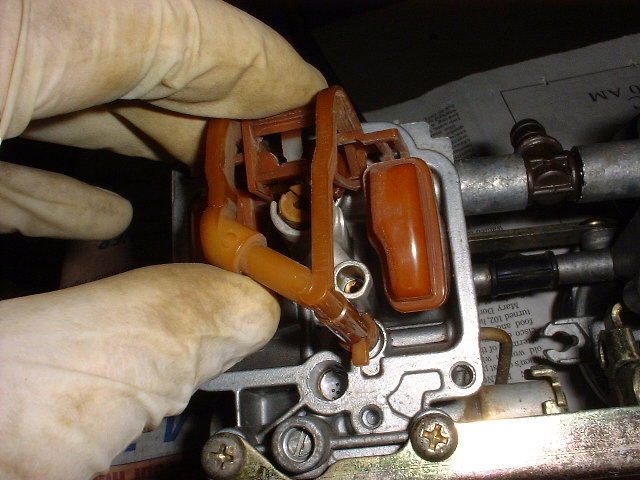
While I was at it, I opened up the upper part again, and cleaned up there too. Don't loose the little o-ring near Paul. |
 |
Remove main jets. and replace with new ones. You may have to clean the seat. |
|
See how shiny and clean it is now?
Remove the pilot jets. Use the widest flat head screw driver that fits
into the hole. The jet are made of brass and it's easy to strip the
head
if they are seized. Guess how I know? Time to put things back together now. Install new jets in place of old mains and pilots. Close bowls (don't forget the gasket.) In green is the pilot air screw. If it hasn't been touched before, it is covered by a brass plug that needs to be taken out. This is a good time to do it. Carefully drill a hole in the plug, insert a a drywall screw and pull it out. Mine was already uncovered. |
 |
Put the carbs back into the frame, but leave them
disconnected from
the engine intakes. Install choke and throttle cables, fuel valve
vacuum
hose into the left carb, lower T fuel hose. Move all hoses out of the
way
to make room for the airbox.
I installed an inline fuel filter splicing the line the goes to the lower T. You can see it on the left. |
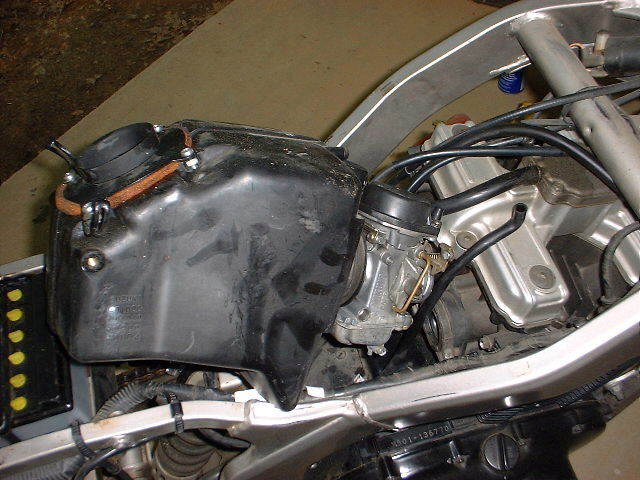 |
Connect the airbox to the carbs and close the clamps a little so that the boots won't slip off, but loose enough to allow some adjustment. |
 |
Connect airbox drain hose at the bottom of the airbox. |
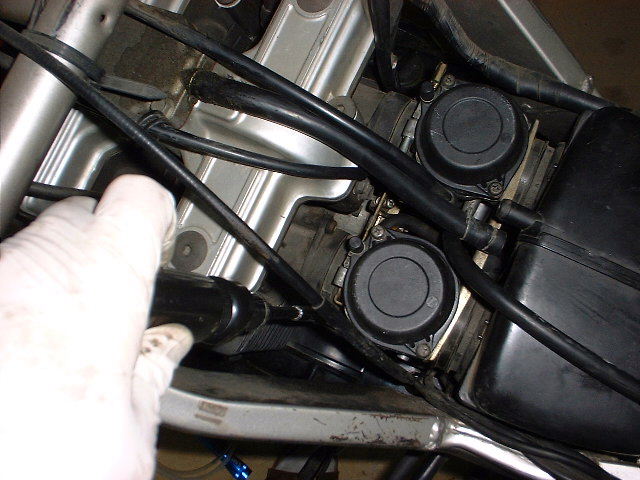 |
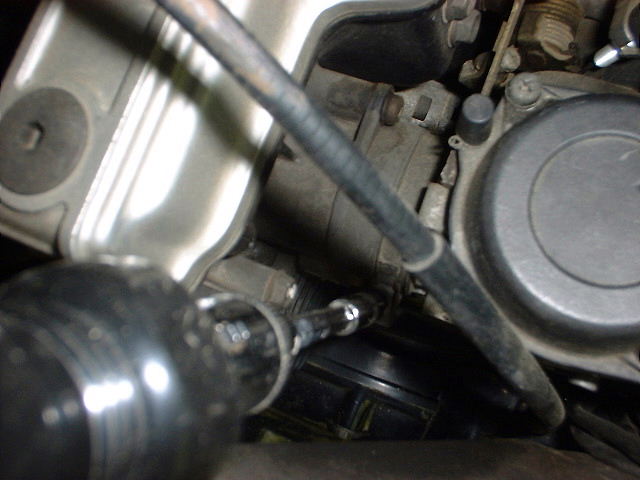
Push carbs into engine intake boots and close clamps tightly. Make sure not to pinch fuel hoses under the airbox. I pinched the valve vacuum hose which got disconnected from the fuel valve. After assembling everything, I spent half an hour trying to understand why there was no fuel going to the engine. |
 |
Close clamps btw airbox and carbs. |
 |
Close clamps holding wire harness and overflow hose. |
 |
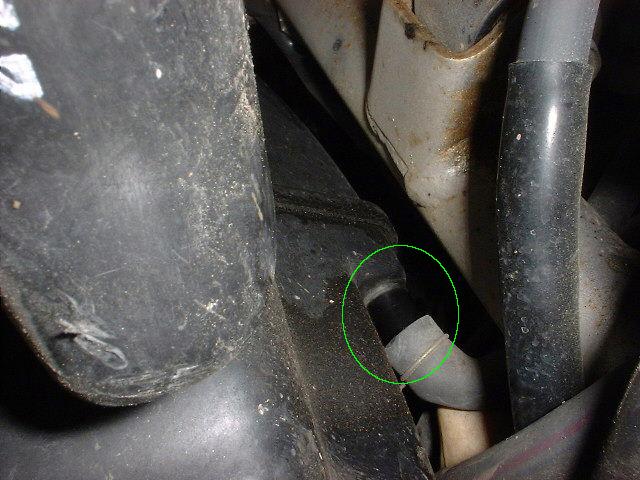
Reattach all hoses to fuel valve. This is the vacuum hose
that got disconnected when dropping the airbox into the frame.
Reattach the fuel valve to frame, and connect the two fuel lines to the tank. First connect the rear one and put the clamp on, then connect the front one and put the clamp on. It's nearly impossible to put the clamps on if you do the other way around. Don't forget to turn the petcock valve back to the open position, and connect the tank breather hose to the center of the tank. Reinstall the fuel tank and the side covers. Leave the fuel valve on PRIME for a few second, then turn on the engine and let it warm up to operating temperature. |
 |
The last thing you need to do is to adjust the pilot air
screws. There
are two, one per each carb. I used a flat head drill bit and marked one
side with white-out to see easily how many turns I was doing.
I followed this procedure to set the pilot air screws.
At the end, I set it at 3 turns out. You're done!!! Enjoy the much improved power curve! |
