

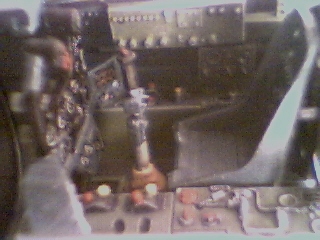
Gekko Cockpit
Building the Gekko. As with most aircraft kits this starts with the cockpit. In this particular case this proves to be a challenge in technique and painting. The Gekko interior is a array of unexpected and unusual colors and contrasts not normally found in a WWII aircraft, especially one in service.
Having no real other resourced to go off of I largely relied on the Tamiya instructions and the side box art, as it turns out is pretty close to accurate depending on who you talk to. By best guess and the little research, and pictures about a vastly unknown airplane a multitude of variants in colors could be accurate. The Gekko was produced over a 3-4 year span in several factories.
The Gekko Cockpit
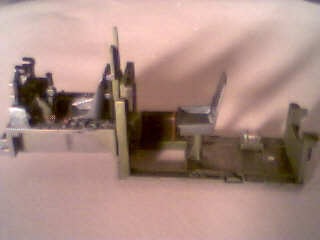
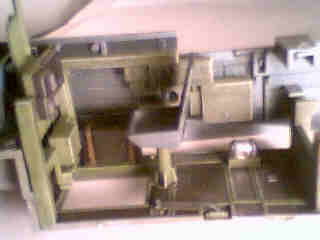
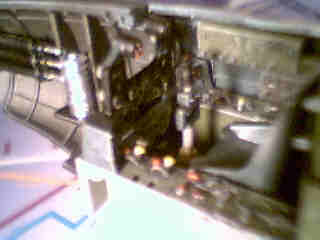
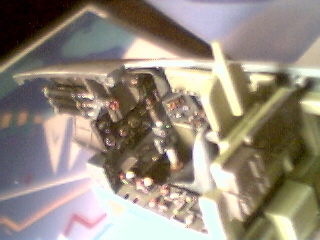
The first thing that becomes apparent is the unusual color patterns for the Gekko. A natural metal floor plates in green frames (green or gray depending on the resources used). This was a challenge to mask off and paint. I started with a coat of MM Metalizer titanium and buffed it out using SNJ aluminum polishing dust. By using titanium rather then aluminum I can achieve more depth and dimension then strait aluminum Metalizer and aluminum polishing dust. Once that was try I proceeded to mask off the areas that would remain natural metal with Tamiya and Pactra tapes (both tapes work well, but they have advantages and disadvantages). After the masking was complete I applied MM Interior Green with a touch of white, and I set this aside.

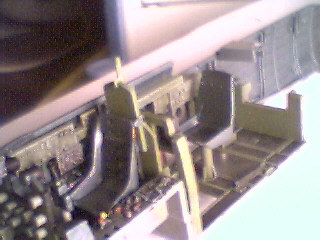
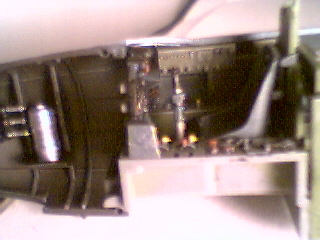
While I had the interior green in the airbrush I did the first coats of color on the other interior parts: radio gear, amour plate, and seat mounts. I then went back to titanium Metalizer and shot the inside of the fuselage, turtle deck, and access door. I buffed it out like I did the floor. This really works well in the fuselage sections because it ends up being ready to go. No other high lighting or weather is needed with the subtle contrast between the titanium and aluminum dust.

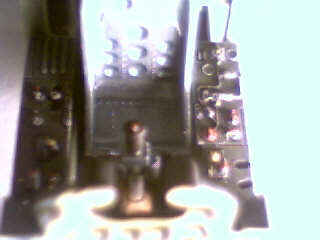
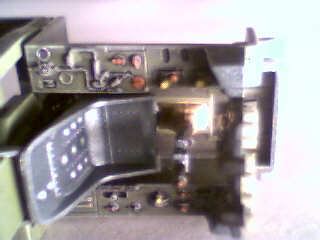
The part I really struggled with is that damn aotake anti corrosion blue. I used the MM metallic interior blue. I knew that this was no where near dark enough and I added MM gun metal Metalizer to darken it up. This still didn’t work out the way I had planed, and I started searching for color pictures of IJN aircraft for references. What I found was the aotake coating had a wide range of color to it from a baby blue to a dark metallic blue to shades of green. My Gekko didn’t come out bad just not dark enough of a blue. The thought crossed my mind to do every thing in natural metal and use a transparent blue, and after seeing Gregg Cooper’s article on the Gekko I should have gone that route. Hindsight 20/20. That is how I will do it in the future

Gekko Cockpit
Gekko Cockpit
Gekko Cockpit
Gekko Cockpit
Gekko Cockpit
Gekko Cockpit

Gekko Cockpit
Gekko Cockpit
Gekko Cockpit