WEEKEND 8 -
1/13/2001

We started this weekend with
the hope that we would be able to sandblast our frame at our friend's fathers
Jeep shop, but Murphy's Law kicked in and the compressor for the blaster broke
the day before. So to get it out of the way we made this
weekend...Da-Da-Dum!...Broken Bolt Removal Weekend! Oh, joy! We had five major
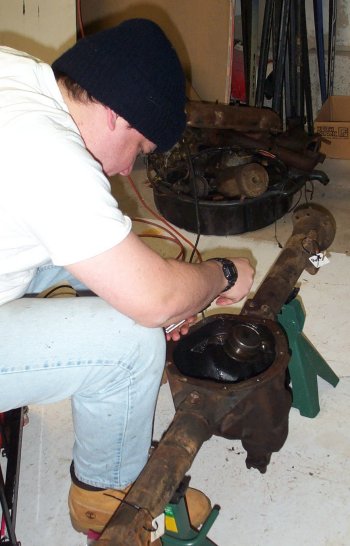
broken bolts to remove from the engine block and rear differential. The rear
differential bolt had broken when the rear cover was removed. I drilled the
bolt as tried to use an Easy-Out but the Easy-Out ended up snapping in the
bolt, effectively filling the hole I had just drilled. So I knocked the broken
Easy-Out out and drilled the hole to the proper diameter for the differential
cover bolts. Then pulled out the Tap and Die set and re-tapped it. One down,
Four to go. The next broken bolt was an engine mount bolt in the block. This
bolt was an exact copy of the above procedure. Two down, three to go. On the
front of the engine the water pump assembly had two rusted broken bolts that
snapped off under the previous owners delicate touch. The metal was thin around
the broken bolts that all Neil had to do has run the torch over it for a moment
and POP, out they came. Four Down, One to go. The mother of all broken bolts.
One of the exhaust manifold bolt snapped when we removed the EMs. This bolt,
I'm convinced, fussed itself to the block. We could do NOTHING to remove it.
Finally we drilled it then tapped it. Whew, Done! While all this was going on,
I removed and cleaned the value covers and the oil pan. This engine is in GREAT
shape I dare say. Not bad at all for a 28 year old hunk of iron. Our next
project weekend is, hopefully, to sandblast the frame.
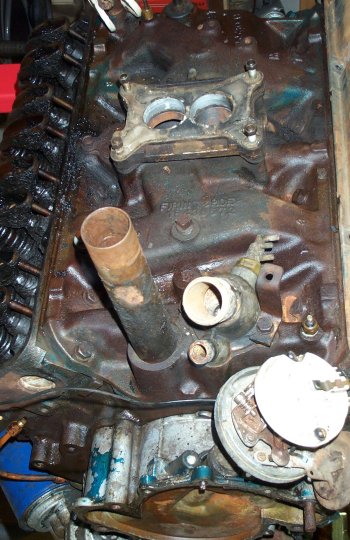 |
A look at the top of the
engine with most of its parts removed. |
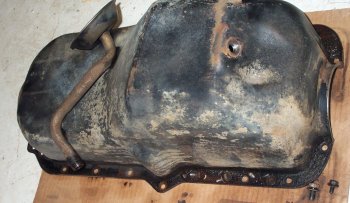 |
I removed the oil pan and
cleaned it completely. Man was there some nasty crap in there. |
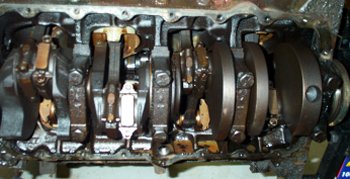 |
After removing the oil pan we
got our first good look at some of the inner workings of our engine. All and
all, it's in REAL good shape. |
 |
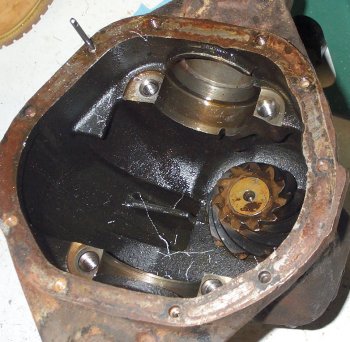
A quick shot inside the Dana
44 housing. |
 |
Another shot. |
 |
A quick shot outside the Dana
44 housing. |
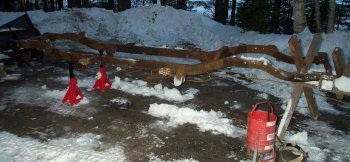 |
A quick look at the completely
naked frame. Some weekend in Feb. this frame is going to be professionally
sandblasted. Then all new metal will be welded in. |
 |
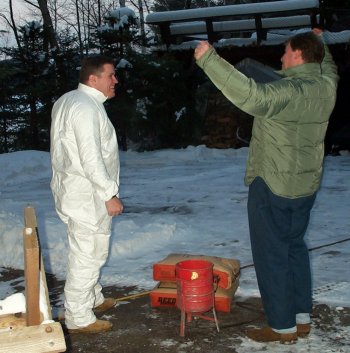
Here Neil's doing some test
sandblasting with that small unit in the next picture. |
 |
The Mighty Sandblaster.
Wielded by... |
 |
The mighty Neil! |
 |
Father and Son
sandblasters. |
 |
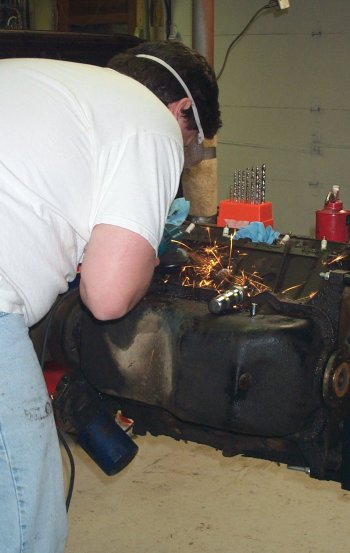
There I am, diligently working
at removing one of the many broken bolts in this vehicle. |
 |
Adam and power tools. A
perfect combo? |
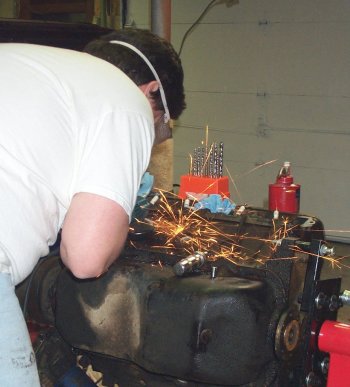 |
Another Grinding
picture. |
 |
How many guys does it take to
remove a broken bolt from an engine block. |
 |
At this point you think we
only pulled out one good bolt. |
 |
Same bolt...still. |
 |
Last One!!!!! |
 |
I think I'm gonna run tires
about this big... |
 |
This is the view from the
driveway where we do our work. This is a local lake that's frozen over now.
Sure is a nice place, huh? |

