
Photo Diagrams Of Angelfish
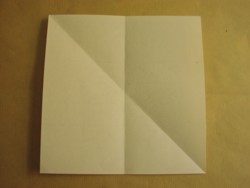
1. Use a sheet of square, measuring 8"x 8". Fold the paper into half and diagonally. Unfold.
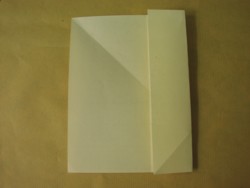
2. Fold the right edge to the center. Then valley-fold the bottom edge with equal length as shown below.
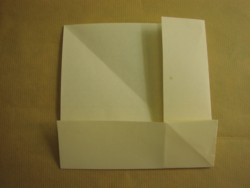
3. Stretch the right bottom corner as far as it will go.
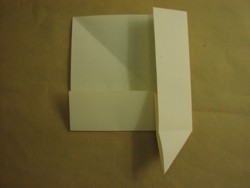
4. Squash-fold the bottom triangular flap. Rotate the model into a position shown below.
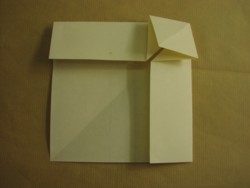
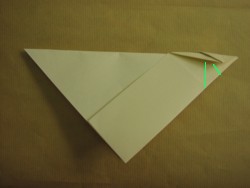
5. Petal_fold the squash fold.
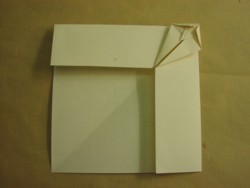
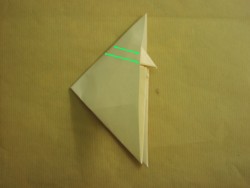
6. Mountain-fold the top part of the petal fold.

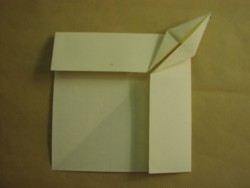
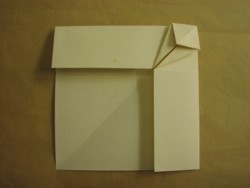
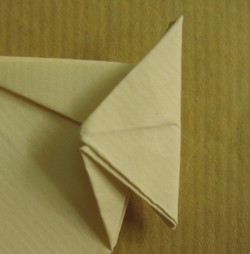
7. Fold both the edges of the top part of the petal fold.
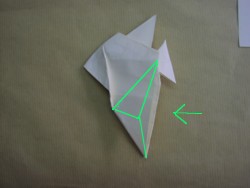
8.Then swing the top of the petal fold down.
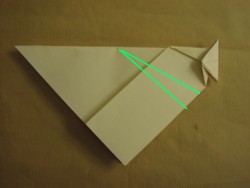
9. Mountain-fold the model into half.
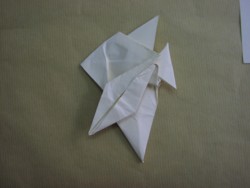
10. Crimp the tail part as shown below.
12. Crimp the left side of the model.
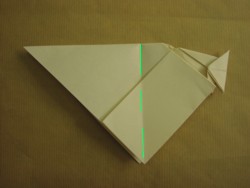
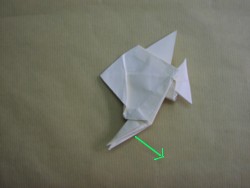
13. Fold the model into half and unfold. Outside reverse-fold the
left of the model.
14. Crimp the top down to form the dorsal fin.

15. Crimp the left part of the model to the head as shown below.
16. Petal-fold the bottom triangular flap the pelvic fin.
17. Close the petal fold. Repeat the process behind.
18. Rabbit-ear both the fins.

19. Tuck in the loose parts of the tail and the bottom fins. Shape top part of the body.
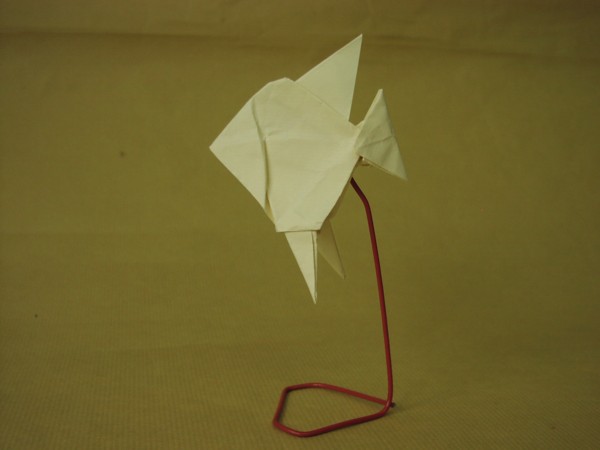
20. The completed Angelfish.
