
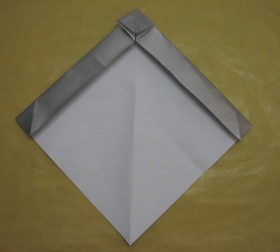
1. Use a sheet of square, 10" x 10", with the coloured side facing
down Fold both edges of the length of the paper. Squash the corner
as shown above. Then fold it into a preliminary fold.
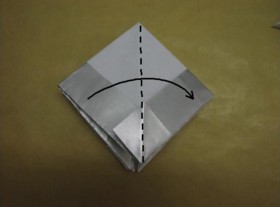
2. Fold the left flap of the preliminary fold to the right. Repeat behind.
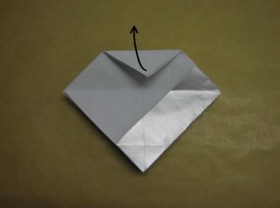
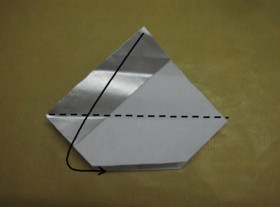
3. Fold the top to the center line and unfold. Sink the folded top.
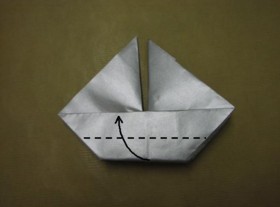
5. Press the model flat.
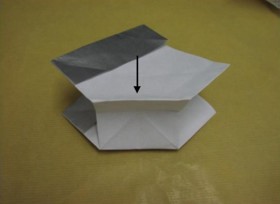
6.With the creases given, mountain-fold the loose top flap of the model. Tuck the top part under the open sink, as shown below. Repeat behind.
8. Valley-fold the bottom half to the center line. Repeat behind.

9. Crimp both the triangular flaps down as shown below.
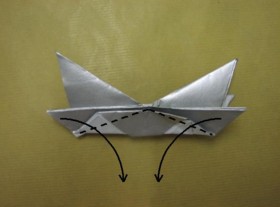
10. Swing down both the bottom triangular flaps with valley folds.
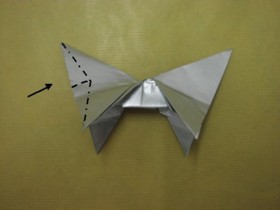
11. Petal-fold the left side of the model to form the tail and leg parts.
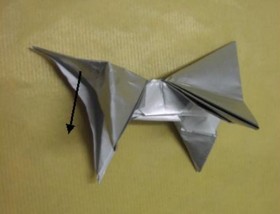
12. Crimp the tail part down.
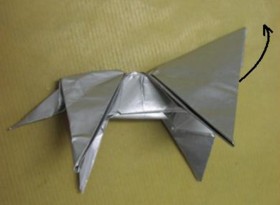
13. Stretch the hidden squash fold out as far as it can go as shown below.
14. Open the stretched part and fold it into a neat triangular shape as shown below.

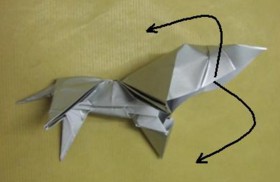
15. Crimp the right triangular part from left to right to form the leg and head parts.
16. Crimp it patiently and it will be done. Then press it down as shown in the figure below.
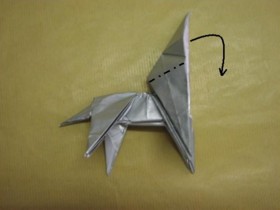
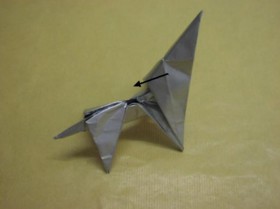
17. Inside reverse- fold the neck part to form the head part.
18. Outside reverse- fold the head part.

19. Crimp the head part to form the ears
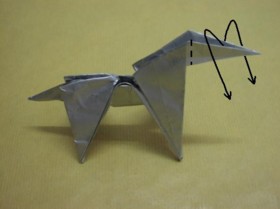
20. Valley-fold the ear part. Repeat behind.
21. Narrow the neck with a mountain fold. Shape the back and the tail.
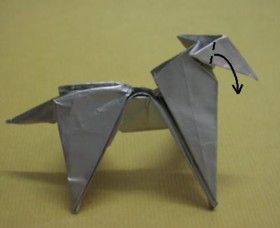
Crimp the head to form the nose.
Then shape the legs properly.
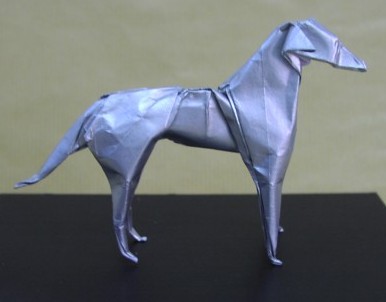
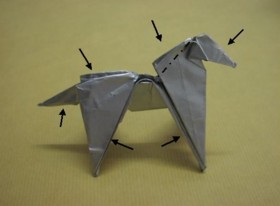
The Completed Greyhound
