
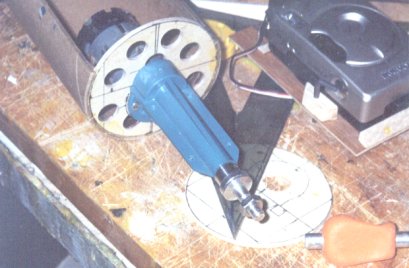
..To fair in this extended prop shaft..
.The fuselage is a standard 3 inch diameter mailing tube, with the motor driving a 3:1 gear reduction with this extended shaft.
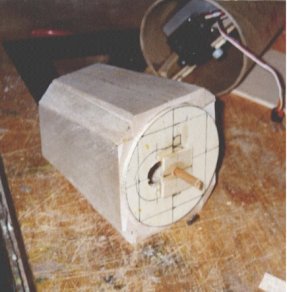
..Blocking up the basic materials..
.The 4 sides are 1/2" sheet. There's 3/4" tri-stock inside at each corner, and 1/2" tristock outside at the corners. The liteply base sets the minimum diameter of the cone to fit the tube.
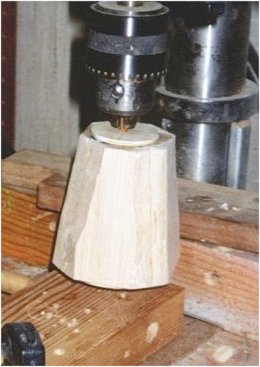
..On the drill press..
.The block has been rough-whittled to remove the obvious corners, and clamped in the drill press. The dowel extends out the bottom end and fits in a hole in the spacing block. Turning the block while clamping the spacing block assures a good alignment between the spindle and the spacer.

..Sanding to shape..
.The cone shape comes out of the block using both sandpaper and a rasp to cut the wood down to the desired shape. Final sanding with fine grit paper while turning on the drill press makes a smooth surface. A low turning speed is used.
..Fitting to the fuselage..
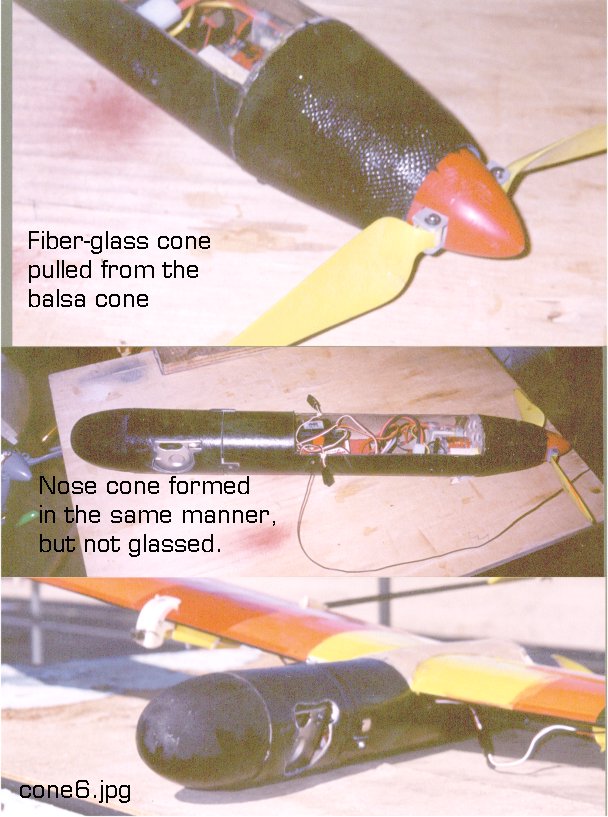
.After the fit is checked, the finished cone is MonoKoted. Then covered with 6 oz. fiberglass cloth and resin. The resin won't stick to the MonoKote. (next photo.. TBD.)
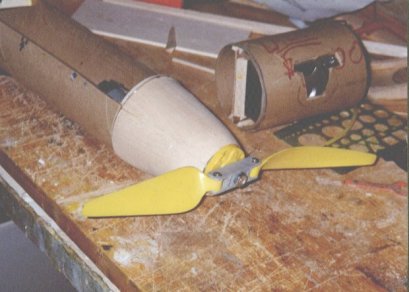
..The end result..
.The tail cone and nose cone in place. There's a slot exhaust around the spinner for hot air out.. The balsa nose cone survived a pretty good crash. It's covered with light glass cloth glued on with aliphatic resin instead of fiber-glass resin. )
