
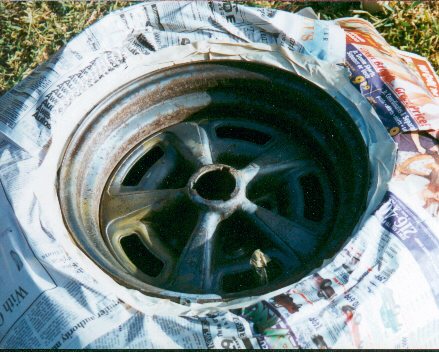
The first step (and probably the most important) is the proper preparation of the wheels. First wash them throughly with any good de-greaser or solvent. Once the majority of the gunk has been removed, clean the wheels again with soap and water and rinse throughly! Once you are satisfied that all surface grime has been removed, take a good look at your wheels to determine how much sanding or sandblasting is needed. Rally II wheels will have a tendency to have rust build up around the lug nut area (especially in cars that have been sitting awhile) and on one area of the outer lip. If thre is only surface rust, sanding with 200 - 400 sandpaper will usually be enough. If you have heavier rust in your wheels, a cheap alternative is to have them sandblasted (I prefer media blast) at a commercial shop near you. After blasting has removed the majority of the rust, you can finish up with sand paper, making sure the surface is as clear of blemishes as possible ( they will not be perfect).
Carefuly attention to detail in this step will prevent many headaches in the future and give outstanding looking wheels. If in doubt, sand again and again, and again! If you have really bad gouges and cannot find a replacement wheel, you can use body filler to fix them. BY THIS I DONT MEAN IN ANY AREA OF THE WHEEL THAT WILL COMPROMISE SAFETY OR THE INTEGRITY OF THE WHEEL. IF IN DOUBT, TAKE THE WHEEL TO AN EXPERT, OR SOMEONE THAT REPAIRS WHEELS. I prefer a polyester/fiberglass type of filler, not bondo, and only on small nicks and scratches.
Once you have completed this step, use compressed air to blow out any remaining debris from the wheel (front and back) USE SAFETY GLASSES! and assure that you have a completely clean surface to work with.
If you have any questions, comments, suggestions, etc, contact me at the below email address:
