
Mostly, I'm just treating this as a minor curiousity, mostly my own. The pictures represent a sampling of Absolution][ in various stages of development. Except for the starting pictures, which are of the map at the very beginning, I've chosen to take five shots from specific positions in each of the selected builds.
As I work on a map I typically suffix it's filename with a number, starting at 1. Each time I complete a logical portion of work I save the map and then increment it's suffix number and save again. I do this because every now and then a simple change to the map will break the map in a way that can't be undone, so this method exists to make backing off a fatal error not require a complete restart from scratch.
I refer to these suffix numbered map files as the "builds" of the map. The first Beta of Absolution][ occured at build 37. The second beta occured at build 59. The current release candidate is build 65.
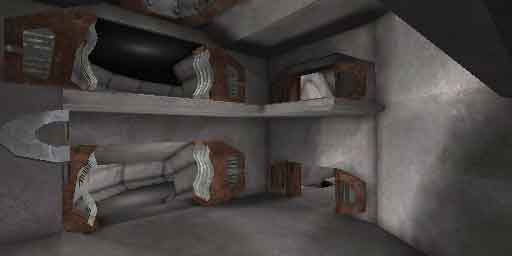
| Genisis This was the first room I cut in the map. Pictured is the original idea I had for what the platforms in the map would look like. Pretty ugly. But the room shape itself was kept. You may notice that the platform in build one is missing from build 2. Actually, these are brushes I converted to static meshes. The mesh from build 1 has been long since deleted, but at the time of build 2 it still existed (which is why you can see it's shadow against the wall. | |
| Build 1 | Build 2 |
 |
 |
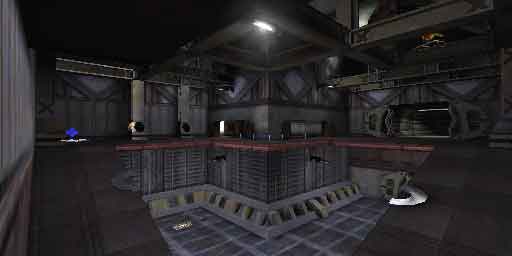
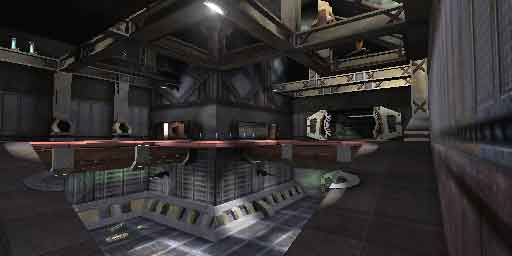
Main Room - 1st Floor In general I didn't do any texturing in the map itself until I was mostly satisfied with the static meshes (although the static meshes themselves have to be textured when they're created). At the time of build 20 many of the static meshes were in, but only one wall in the map had been textured, pictured here. I textured it early because I was concerned about whether the angled static mesh along the floor then would look right against a textured wall. | |
| build 10 | build 20 |
 |
 |
| build 30 | build 37 (Beta 1) |
 |
 |
| build 59 (Beta 2) | build 65 (Release) |
 |
 |
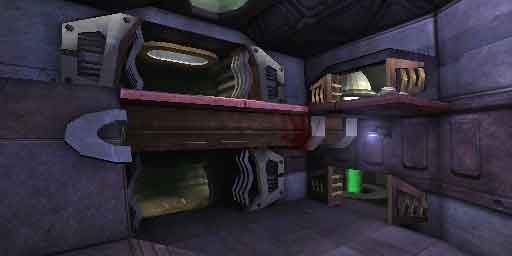
Main Room - 2nd Floor Between Beta 1 and Beta 2 I finally got my hands on 3DSMax. In a number of cases I felt the meshes in Ued could really stand to be redone. Notable from this position are the replaced IBeams. | |
| build 10 | build 20 |
 |
 |
| build 30 | build 37 (Beta 1) |
 |
 |
| build 59 (Beta 2) | build 65 (Release) |
 |
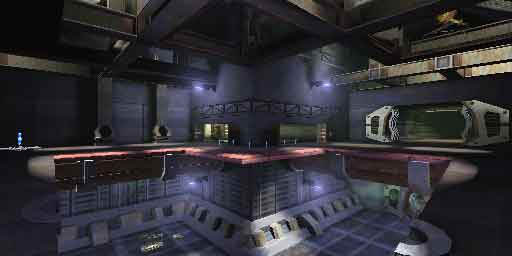 |
Super Health A number of changes are visible from this position. The replacement of meshes from Beta 1 to Beta 2 is visible in the mesh used for the smaller door borders. The position of the Super Health has changed several times, and during Beta 2 wasn't even in this room. A barrier was added next to the red lights because I found you could get stuck on the lights. And most significantly ramps were added from the bottom of the hall to the top which a well timed dodge jump will allow you to scale. | |
| build 10 | build 20 |
 |
 |
| build 30 | build 37 (Beta 1) |
 |
 |
| build 59 (Beta 2) | build 65 (Release) |
 |
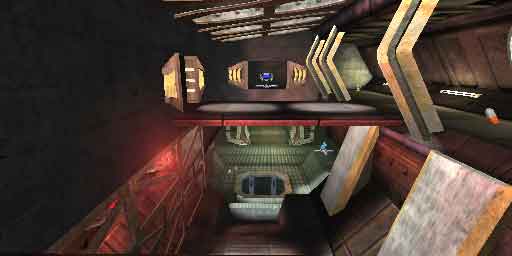 |
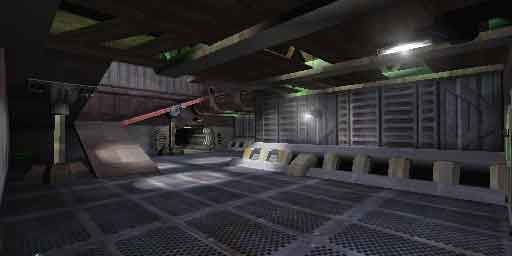
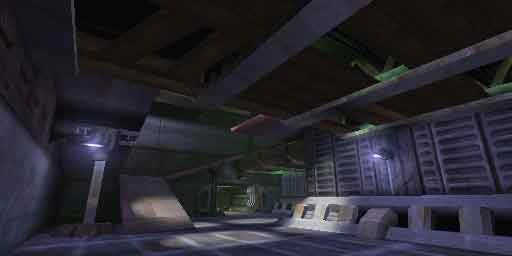
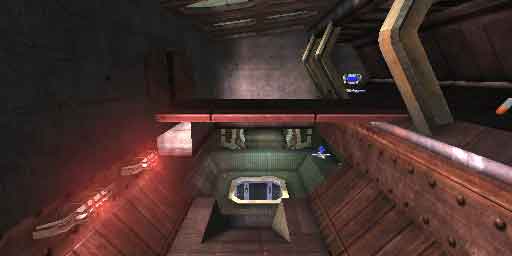
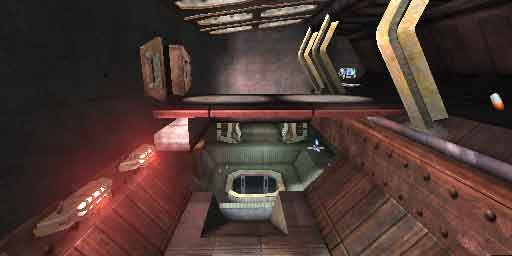
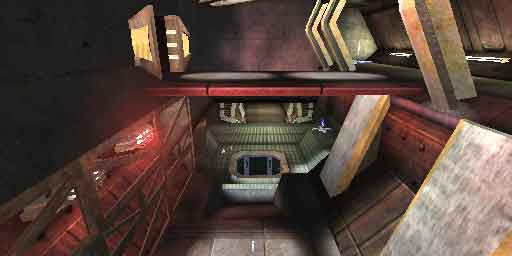
Rocket Launcher Room This is the room featured in the first two shots. Notice the lighting and mesh changes from Beta 1 to Beta 2. | |
| build 10 | build 20 |
 |
 |
| build 30 | build 37 (Beta 1) |
 |
 |
| build 59 (Beta 2) | build 65 (Release) |
 |
 |
Sewer This area changed a bit from it's original concept as well. From deadly slime walk in search of the Redeemer to a campable position to control the amp. | |
| build 10 | build 20 |
 |
 |
| build 30 | build 37 (Beta 1) |
 |
 |
| build 59 (Beta 2) | build 65 (Release) |
 |
 |
