
The Battle of Winchester
Photo comments and text below are by Jim Pitts

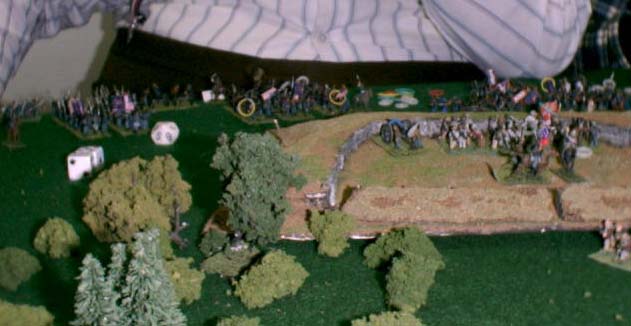
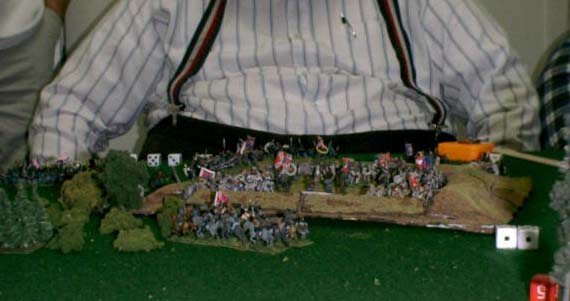
View of fort on right of Confederate lines manned by Josh Switzer’s Confederate division at start of battle. Bill Estes’ Union division is concentrated around road in right background while part of Fred Diamond’s Union division is lined up along the table edge facing the fort. Most of Josh’s troops are "hidden" from Union view and so are not placed on the table.

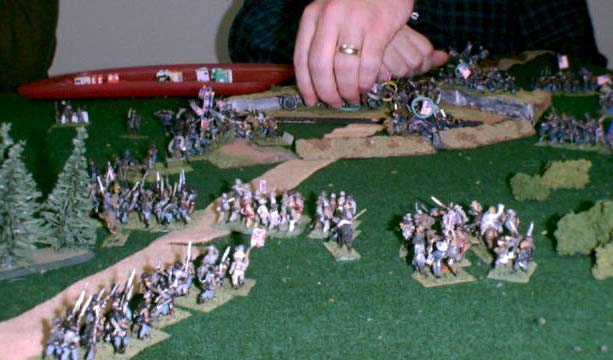
Entry of Jim Pitts’ Union cavalry brigade along road in center of picture. One of David Causey’s Confederate cavalry regiments has just "revealed" itself at the edge of the woods to the right, threatening the left of the Union cavalry brigade. Mark Gilbert’s Confederate division mans a fort in the center of the Confederate lines just off the left edge of the picture. (That’s me standing to left in blue jeans).

View of the rear of the rear center Confederate fort manned by some of David Causey’s artillery. The command group in the fort is that of the Confederate Army commander, Gen. Jubal Early (Tim Latham). The division under his command is positioned to the rear (towards camera) of the fort, but not placed on the table because they are not visible to the Union troops.

Rear view of the fort on the left of the Confederate lines manned by Ashley Koostra’s Confederate division. His troops aren’t deployed because they are behind the fort’s ramparts and hidden to the view of the approaching Union troops. Sean Pitts’ Union division is advancing in left background while Union Army commander (Gen. Phil Sheridan) Robert Whitfield’s division is in right background.

Simpson Whitfield’s Union division is deployed in front of her on the far side of the road. Whit’s left flank brigade is just visible over the side of Ashley’s fort. Mark’s fort is behind the trees in the right background of the picture.

Bill’s Union division is in the right background around the road with Josh’s fort in front of him. Fred’s left flank Union brigade is lined up in the center and left background. The road coming toward the camera leads to the rear center Confederate fort (shown in photo #3 above).
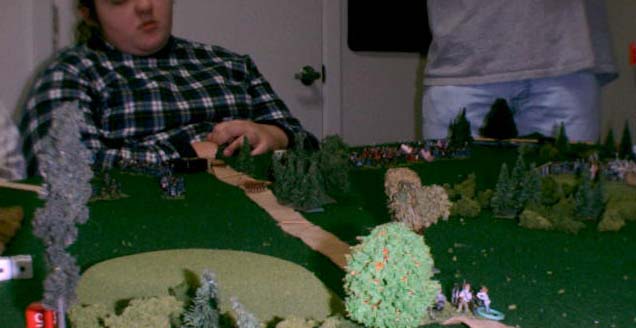
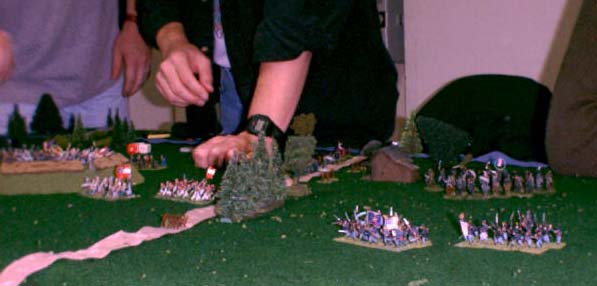
Sean Pitts’ Union division in left background approaches Ashley’s fort. The woods in the left foreground conceal one of Ashley’s Confederate regiments, which was later routed by one of Sean’s Union brigades.
Mark’s fort and flank regiments are on the left, with Jim’s Union cavalry along the road in the center. David’s Confederate cavalry regiment (see photo# 2 above) is just visible by the trees on the right, while part of Fred’s Union division is in the far right background.
Bill’s Union division assaulting Josh’s fort with part of Fred’s Union division closing in from the left. [That’s Fred’s hands shuffling the cards
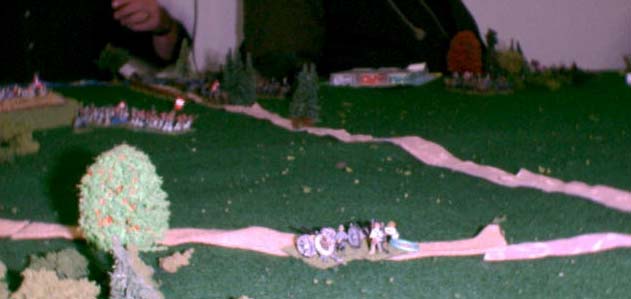
Distant view of Simpson’s Union division with Mark’s fort on the right. (That’s Mark standing next to her) There is one of David’s CSA batteries on the road by the apple tree in the center foreground. David had six 2-section batteries, one with each of the forward three forts, two with the rear center fort, and this one which was on the hill to the left. It had been forced back by Union artillery fire and was just returning towards the front.
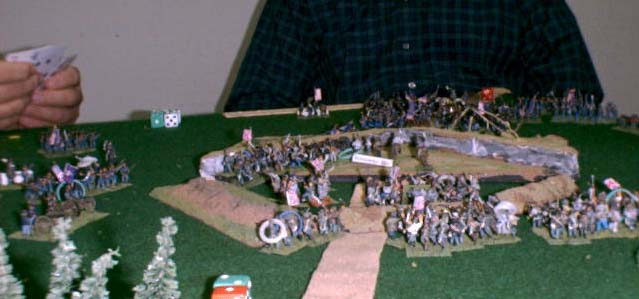
Good shot of Ashley’s fort now filled with his troops. Another of David’s cavalry regiments is behind it, trying to make up its mind whether to venture dismounted into the woods or turn around and go to the right of the fort where a 3-section Union battery awaited it. It decided to take to the woods. Every time David said he was going to move around the fort into the open ground, Tim would point out the Union artillery and ask him if he really wanted to do that.

Sean’s (on left) and Whit’s (on right) Union divisions come over the ramparts in their attempt to storm Ashley’s fort. Notice all the gold rings on the Union regiments. Didn’t help, they were all repulsed, I think.
The Hand of God (actually Josh) adjusting one of David’s artillery batteries in Josh’s fort. Bill’s Union division is visible beyond and to the right of the fort and Fred’s Union division has a brigade (or more) on the fort’s left wall. Tim’s Confederate division is in the foreground, along with at least one of Josh’s routed regiments, trying valiantly to come to Josh’s aid. But lack of the command presence of Gen. Early (Tim left him back in the rear center fort by mistake) doomed them to wait until he arrived
Mark’s fort and his Confederate division are to the left with Simpson’s Union division on the far side (not easily seen). The remnants of two of my cavalry regiments are deployed dismounted behind the fenceline along the road in the center background. The two Union regiments in the right foreground are part of Fred’s Union division. Behind them is David’s Confederate cavalry regiment (see # 0002 & 0008) with the last of Jim’s Union cavalry regiments just beyond them (the fourth regiment had already retired from the field after going below 50% and failing its major morale). This is just before David’s regiment charged and forced Jim’s regiment to rout away.
Simpson’s Union division assaulting Mark’s fort on the last turn. All of her regiments (5) were repulsed, with at least two and maybe three routing. In the left foreground is another of David’s Confederate cavalry regiments as it routs away from the previous turn’s melee against Simpson’s right flank Union brigade.

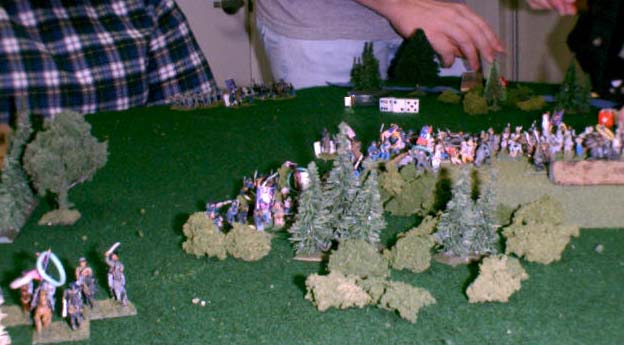
Parts of Whit’s Union division are in the foreground assaulting Ashley’s fort. Simpson’s Union division is in the background assaulting Mark’s fort behind the trees. [I’m standing in the background to the right of the picture.]
Jim Pitts writes: "The game was your standard ACW slug fest. The Union forces were Robert Whitfield (Commander in Chief) , Sean Pitts, Bill Estes, Fred Diamond, Simpson whitfield, and myself. We were trying to take four forts around Winchester from Jubal Early's Confederates, who were Tim (Commander in Chief), Josh Switzer, Ashley Koostra, Mark Gilbert, and David Causey. John Switzer was there for a short while and took some pictures, as did Tim. Larry Reeves was game master and umpire.
Bill and Fred with a division each attacked one fort (defended by a division under Josh) on Union left and were ruled to have taken it by game's end. Whit and Sean with a division each tried to assault a fort on the far right (defended by a division under Ashley) but without success. Simpson, with an infantry division, demonstrated as ordered, but her lack of agression was reinforced by two straight "10" (no move) command response rolls against a fort defended by Mark with a division in the center. She finally assaulted it on the last game turn without success.
I had a Union cavalry brigade which either got shot up and fled from the battlefield - as my usual crummy dice rolls plagued me throughout this battle. David Causey commanded the Confederate cavalry and artillery which was spread out all over the battlefield. Tim had a division behind a fort to the center rear. At the end he tried to come up to reinforce Josh but waited too late and then rolled a "10" (no move) on command response the next to the last turn . The army commander had lagged behind so he didn't get that automatic movement bonus.
As I mentioned earlier, it was a hard fought battle. The Union had 34 infantry regiments, 4 cavalry regiments, and 5 artillery batteries of 3 sections each. Of that, we lost one or two gun sections, almost 1/2 the cavalry, two brigade commanders (me and one inf brigadier), and the equivalent of over 6 infantry regiment.
The Confederates had about 24 infantry regiments, 4 cavalry regiments, and 6 artillery batteries of 2 sections each. I don't know how many they lost as our staff (Union) were only really keeping track of the Union losses for points. The final point count was:
The other two forts would have been worth 72 points to the Union only if we had captured them!"
Return to Jackson Gamers' homepage
Angelfire - Free Home Pages
Free Web Building Help
Angelfire HTML Library
htmlGEAR - free polls, guestbooks, and more!
Thank you for visiting The Jackson Gamers' pages at Angelfire. Please come back and visit again!
