Brandywine
The Americans stand up to the British and their Mercenary Germans!

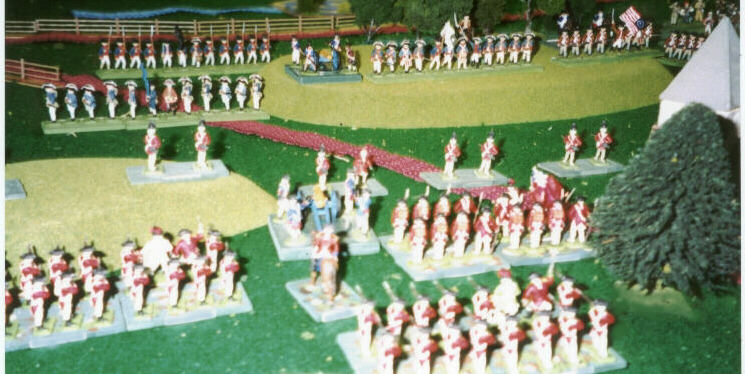
On the left, cornwallis' outflanking column deploys against the hastily assembled American Defenses. This image is a bit blurred, but it, and the next one show the entire game table. These are the "game start" positions.

On the British Right, von Knyphausen's column desmonstrates against the American defenses along Brandywine creek. The game scenario would not let von Knyphausen attack across the stream until a die roll allowed him to "hear" the British attack from the left. Acoustics were poor that day and three turns were spent "demonstrating" till the sound of the British attack was audible.

An overall view of the battlefield. The game table was 8 feet long and 6 feet wide (our standard Hobbytown table). The combat took place in an "L" shape about 6' by 5'. The space behind the main British assault was not fought over, but served as a deployment area for Cornwallis' forces.
This is a view from behind the attacking British on the left of Cornwallis' column. Early in the battle, both sides are still in neat lines.
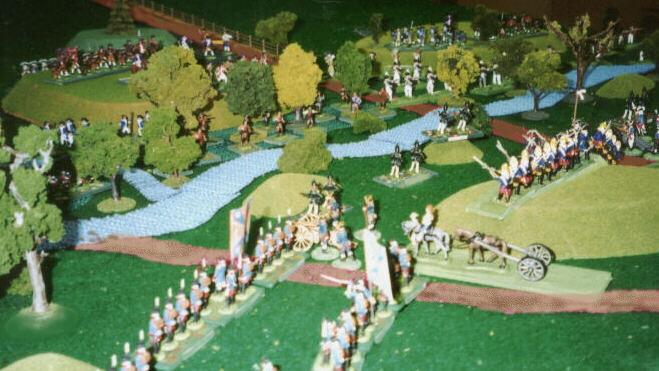
The German brigade of von Knyphausen's column prepares to attack across Brandywine creek. The game master allowed the crossing only at two fords, both of which were heavily defended. Poor morale dice by von Knyphausen did not help either.

Cornwallis' infantry begins its attack on the American lines. Americans are on left, in two lines, and the British are on the right.

The Guards Brigade deploys across the road as it supports the attack. "Can't have those nice-looking uniforms dirtied by being the front rank now, can we - old boy!" The Americans are in blue, with the gun, facing away from the camera.

As the Germans (note flag emerging from woods) cross Brandywine Creek on the left, the American center begins to collapse.

The American second line prepares to engage the British breakthrough.

The British infantry finally force Chadd's ford. The unsteady American Militia unit (red ring indicates pretty poor morale) on the road actually contested the British advance for two turns (Jay Stribling as the British had the WORST morale dice ever thrown) before withdrawing under the pressure.

As the British left and right wings attempt to close the neck of the sack into which they had forced the rebels, the Amerian troops flee through the gap. Not all of them made it!
Summary of Brandywine Creek
The battle went amazingly like the actual fight. The American right flank was able to hold off Cornwallis' outflanking force for about the same amount of "game-time" that they did in the real battle. The Americans left along Brandywine Creek did the same, delaying the British and Hessians attacking there.
The big differences were that Washington, Greene, and von Knyphausen were rendered hors de combat (just "wounded" and removed from play). Luckily for the Americans the loss of Washington and Greene happened right at the very end of the action.
When "darkness fell" we calculated that the Americans would have been able to get about 2/3 of their units off the field, although many were badly knocked about and all the artillery was lost. All in all it was a pleasant game to play and I was surprised by how "realistic" the battle was.
We used the Sons of Liberty rule set which is available from www.freewargamesrules.co.uk.
Jim Pits

The American defenders along Brandywine Creek. They held off four separate assaults by the Hessians, but the last assault, not long before dark, caught them (apparently) with ammunition supplies running low. The German troops and their shining bayonets finally splashed across the Brandywine and the patriots fell back.
Go to the Master Index of Photos and Games
Return to the Jackson Gamers' Homepage
Angelfire - Free Home Pages
Free Web Building Help
Angelfire HTML Library
htmlGEAR - free polls, guestbooks, and more!
Thank you for visiting The Jackson Gamers' pages at Angelfire. Please come back and visit again!