A game in our 2009 Mini-Campaign game series
The Red Desert
Part II - The Imperials Strike Back!
This is our second game for the year 2009. We played this at The Dragons's Lair in Pearl Mississippi on January 17th. Our rules were The Sword and the Flame by former Jackson Gamer Larry Brom. This is the second of a trio of games, all using the same rules and all set in the 1885-9 (or so) period when the British and Egyptians were attempting to reclaim areas that had fallen to the followers of the Mahdi a prophet of the Muslim Religion who preached rebellion against the Egyptian government.
The Imperial Forces were commanded by Jim Pitts, Phil Young Travis Melton and Bill Hamilton.
The forces of the Mahdi were commanded by John Murdaugh, Sean Pitts, Larry Warnock, Ed Sansing and Fred Diamond.
Jay Stribling was the Game-master for all three of the games in this mini-campaign. He freely admits to editing comments below attributed to others. His reason - because he can!
Unlike the first game in the series, the Anglo-Egyptian Imperial forces were able to get onto the game table easily. The Mahdist forces only had about 50% of their army on the battlefield, the rest coming on later.
One of the Mahdist forces' main objectives was to seize the compound of the missionary John Wesley Smith and put to the sword, all within. The main Imperial objective was to hold this place. They came up to the mud and stone walls surrounding the outpost, but could go no further.
Photos and comments by Jim Pitts

Photo by Jim Pitts
The Egyptians and Weslyan missionaries man the walls of the missionary compound, anticipating a Dervish attack. Although unarmed, John Wesley Smith's prayers carried the power of three pistol shots at short range, but he was struck down by a bullet early in the action. The Lord spared his life, and he was only wounded, returning to England along with his wife and children after this battle.

Photo by Jim Pitts
The first wave of Dervishes approach the defenses. These are Ral Partha "True 25mm" figures. Some of these figures may look like Pathans, but that is merely an illusion.
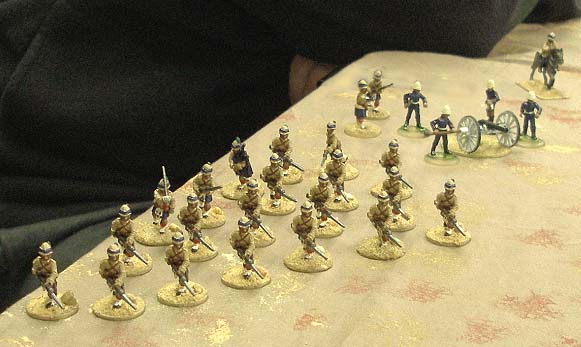
Photo by Jim Pitts
British reinforcements arrive. A Highland platoon supported by a gun move out to protect the right flanks of the expeditionary force, knowing that there are only rags and tags opposing them. Note that in TSATF, it can be dangerous to fight with the table edge to your rear. If the melee is lost...ah but the Highlanders would never lose!
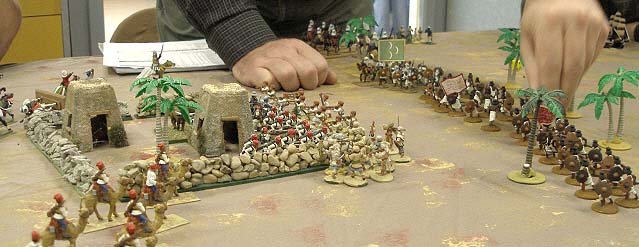
Photo by Jim Pitts
As the first wave of Dervishes break against the stout stone walls, the second wave, this time of Beja warriors, approaches. In the left foreground is one of the platoons of the Egyptian camelry riding to the rescue.
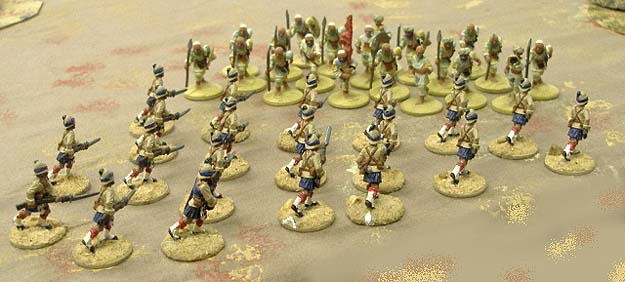
Photo by Jim Pitts
The Highlanders prepare to fire at a Dervish unit charging them. A few casualties were inflicted, but then the fighting got down to bayonet versus spear and sword. At the end, the "rag-tag" Dervishes were cut to ribbons, but not before they did the same to the Highlanders and forced the stalwartless Scots to flee in the bargain!
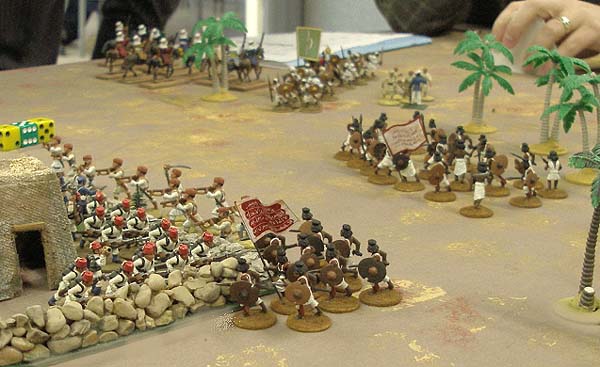
Photo by Jim Pitts
A portion of the second wave crashes against the stone wall. The plucky Egyptians have already inflicted serious casualties on the Beja warriors.
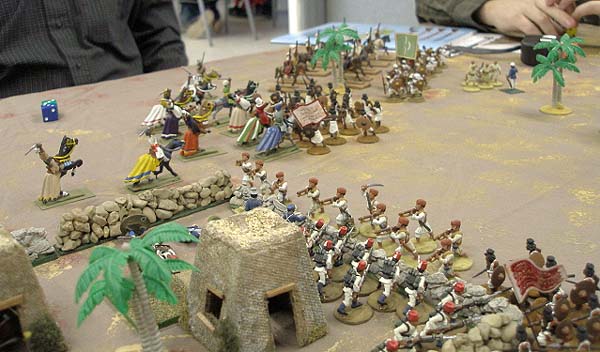
Photo by Jim Pitts
While all this was going on, the British allied "Sons of the Desert" are also having fun as they shoot up and ride down several Dervish units, keeping them away from the missionaries and Egyptians.
The "Sons of the Desert" are Falcon Arab cavalry aqquired in a trade by Jay Stribling years ago. They were allowed the power of very accurate rifle fire while mounted in this game and shot up a number of Mahdist units.
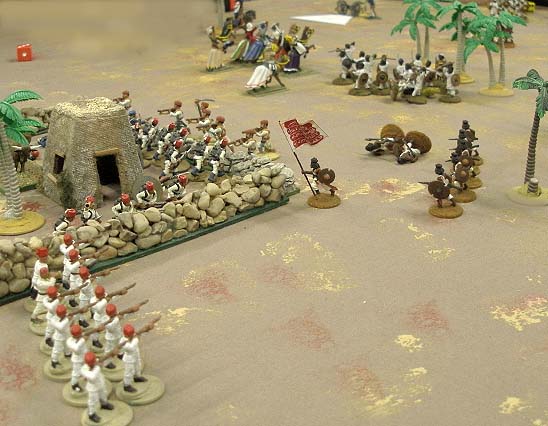
Photo by Jim Pitts
With help from the dismounted camelry troops, the Egyptians repulse the Beja warriors and end the threat to the missionary compound.
Photos and comments by Bill Hamilton
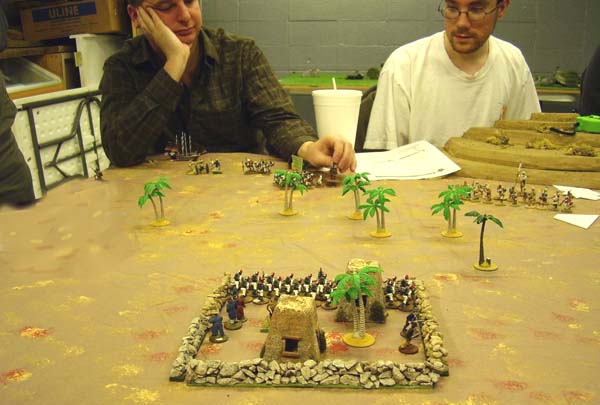
Photo by Bill Hamilton
Early in the game, after movement, on the first turn. Travis Melton, face in hand, awaits the bloodshed to come. Sean Pitts in white shirt seems to be mentally measuring the distance to the missionary compound.
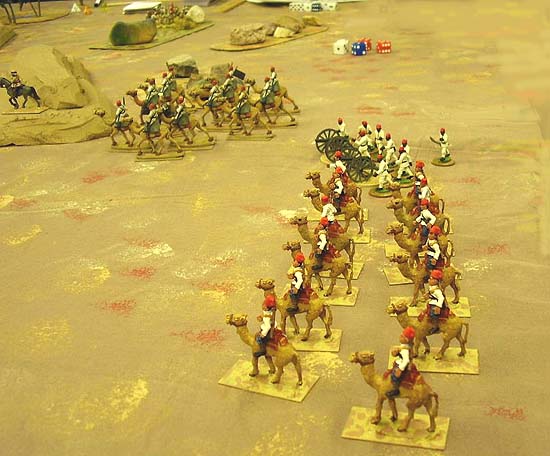
Photo by Bill Hamilton
A bit later, the Egyptian Camel riders and artillery form a rought line after movement, This is on the second turn.
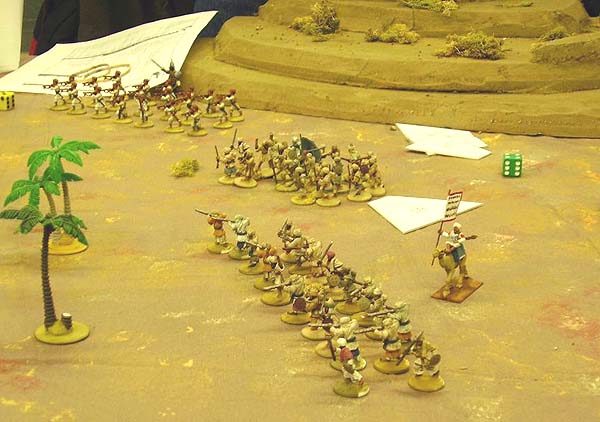
Photo by Bill Hamilton
Mahdist forces in a large crescent formation begin thier movement to assault the missionary compound. A mounted emir urges them onward from the rear.

Photo by Bill Hamilton
Yet a different perspective, after movement on turn 2. The Sons of the Desert are in position to fire into the Mahdist's flank.
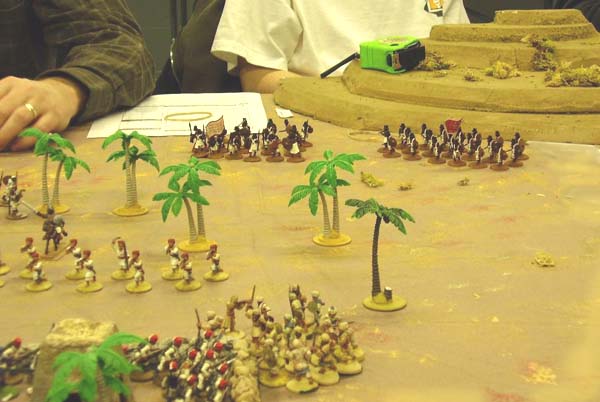
Photo by Bill Hamilton
Fuzzys arrive on turn three. They will form the second wave against the missionary compound if the first one does not succeed (it did not).
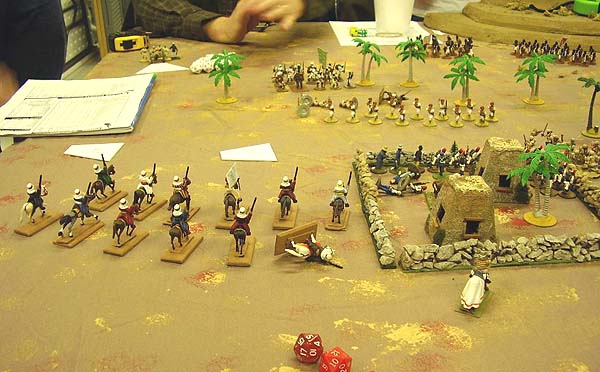
Photo by Bill Hamilton
The results of cannon and gunfire, at the end of turn three show one of the Desert riders down, and several Egyptians, but the Mahdist casualties are at least double that.
In this game, unlike the first in the series, the gamemaster severely limited the number of firearms that the Mahdists were allowed. Only four of the Mahdist foot units were allowed firearms and their two cannons only had four shells each.
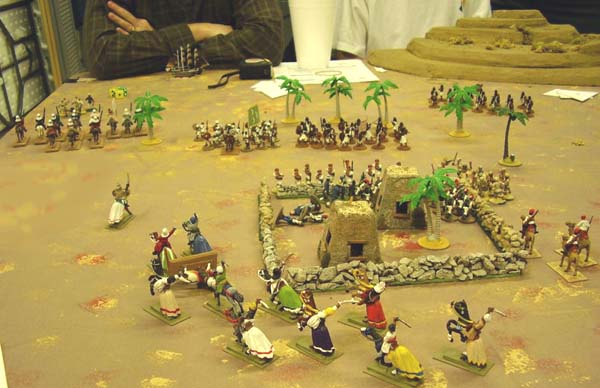
Photo by Bill Hamilton
On the extreme left the "Sons of the Desert" charge the dervis gun and fall just a bit short. This is after movement on turn four.
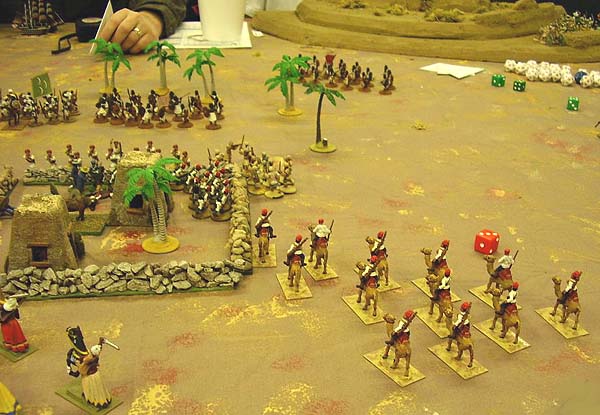
Photo by Bill Hamilton
Another view after movment on turn four. The Egyptian camel riders trod over the horsemen gunned down by their own cannon and threaten the dervish at the wall.
The Egyptian camel riders are old Frontier figures - a bit hard to get these days.
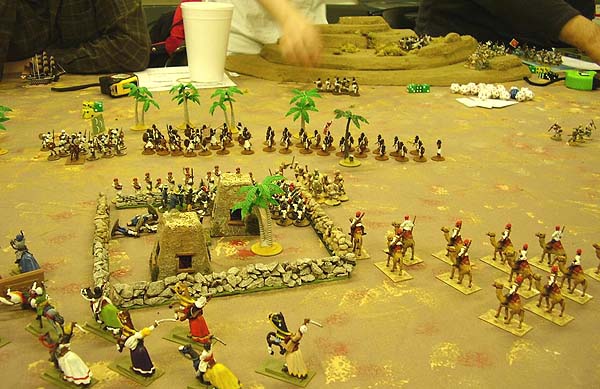
Photo by Bill Hamilton
Fuzzys approach the wall as their gun-wielding friends shoot it out with the Egyptian defenders at point-blank range. Again, this is after movement on turn four.
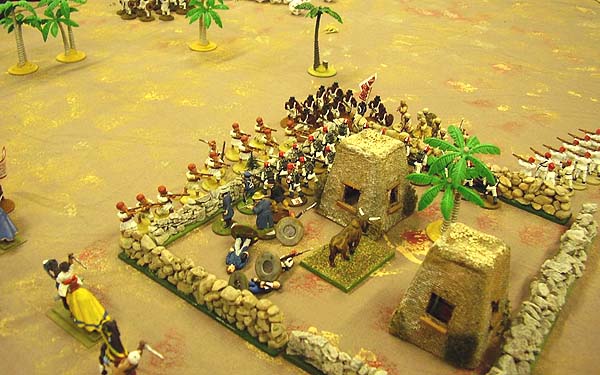
Photo by Bill Hamilton
Dervishes crowd in against the wall. On the right, the Egyptian camelry have dismounted to fire more effectively. Note the bullock in the compound. He could have been a "Key figure" to absorb a hit from the attacker's fire. However he came through the battle unscathed.
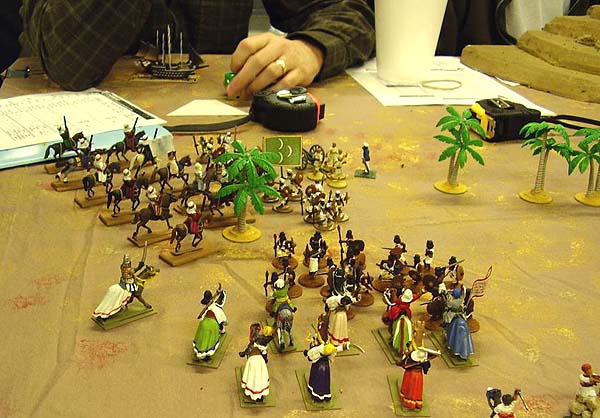
Photo by Bill Hamilton
Fuzzys and the "Sons of the Desert" in close combat. A bloody battle ensued but this broke the power of the second wave of the attackers, before they got to the missionary compound.
So, Who won this battle?
The Imperial forces won the battle. The TSATF rules for storming a fortified place, and the walled compound qualified as that, give a good bit of a bonus to the defenders. The attackers must move up to the wall and stop, they take the defender's fire although they can fire also. On the next turn the attackers must climb to the top of the wall, again taking fire. Only on the third turn may they melee with the defenders.
The valiant Egyptian infantry held, helped by the few armed missionaries and the fire of the Egyptian Camelry and the efforts of the "Sons of the Desert."
Go to the first game in this series of three.
Go to the third game in this series of three.
Return to the Master Index of Photos and Games
Return to the Jackson Gamers' Homepage
Angelfire - Free Home Pages
Free Web Building Help
Angelfire HTML Library
htmlGEAR - free polls, guestbooks, and more!
Thank you for visiting The Jackson Gamers' pages at Angelfire. Please come back and visit again!