SATSUMA REBELLION
 INTRODUCTION
Card Game for 2 players.
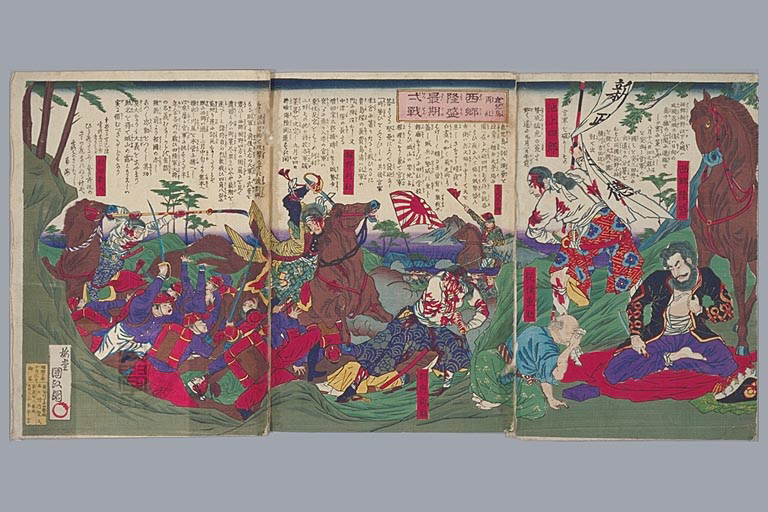
Theme: The Satsuma Rebellion in Japan in 1877.
The Modern Imperial Army destroyed the last of the Samurai.
One player is the Samurai.
The other player is the Imperial Army.
VICTORY
The game ends when the Samurai player has accumulated 9 Casualty Markers.
At that point, the last of the Samurai have been wiped out.
Victory is a function of how many casualties the Samurai were able to inflict on the Imperials.
Imperial Casualties: Victory:
7 or less Greater Imperial Victory
Exactly 8 Historically Equivalent
9 or more Greater Samurai Moral Victory
TERMINOLGY
The terms hand and turn are equivalent.
CASUALTY MARKERS
Players start with no Casualty Markers.
The loser of every hand gains 1 Casualty Marker.
THE DECKS
There are 2 decks:
1. The Samurai Deck
2. The Imperial Deck
Each card has a Strength value.
There are 8 suites:
1. Force
2. Reserves
3. Leader
4. Attack
5. Defense
6. Morale
7. Weapons
8. Escape
SETUP
Players pick who will be the Samurai and who will be the Imperials.
Players shuffle their respective decks.
TURN SEQUENCE
Each turn has 3 Phases:
1. Logistics Phase
2. Strategy Phase
3. Clash Phase
LOGISTICS PHASE
Each player draws 7 cards from their own deck.
If a deck ever runs out, shuffle the discard and draw from it.
STRATEGY PHASE
Each player may discard up to 3 cards and draw replacement cards.
ATTACKER & DEFENDER RULE
One player is the Attacker and the other is the Defender.
In the first turn of the game, the Samurai player is the Attacker.
On all subsequent turns, the player who won the previous hand is the attacker.
One exception to this is the Escape rule: If the Samurai player used an
Escape card the previous hand and won the hand, he remains the defender.
CLASH PHASE
Players reveal their hands.
Each card has a Strength Value.
Each player adds up the Strength values of all his Useable cards.
A player may only use 1 card from each suite.
The Attacker may not use Defense cards or Escape cards.
The Defender may not use Attack cards.
The player with the highest total Strength is the winner.
The loser gains 1 Casualty Token.
If tied, both players gain 1 Casualty Token and both retain
Their Attacker/Defender status for the next turn.
All cards are discarded at the end of the phase.
CARD LIST NOTATION
F = Force
R = Reserves
L = Leader
A = Attack
D = Defense
M = Morale
W = Weapons
E = Escape
SAMURAI DECK CARD LIST
Card Name: Notes:
Takamori Saigo L10
Samurai Warriors F7
Traditional Army W5 or M6
Tragic Hero M5
Foxholes D2
Kyushu Samurai R2
Shigakko Schools R2
Bushido M8
Satsuma Armories W5
Student Agitators M3
Iso Arsenal W3
Honor M9
Raiders A5
Armed Uprising R2
Bodyguard T2
Volunteers R2
Skirmishes A3
Small Clashes F4
Suicidal Ferocity F6 or M7
Rebel Detachment F3 or A4
Block Passes D5
Night Assault A7
Out Fight & Outmaneuver F9
Dug In D3
Popular Support M3 or R2
Kichijuro Ikebe L3
Satsuma Army F5
Isolated Sword Duels F1
Discover Imperial Spies M2
Sentinels D1
New Positions E5 or D6
Break Out E6
Fight to the Death M7
Retreat E3
Kagoshima Samurai R2
Guerrilla Fighting F3
Surround Imperials A6
Vintage Matchlocks W3
Mount Enodake D5
Slip Through Fog E5
Divide Forces F4
Heavy Rain E4
Shinsuke Beppu L4
The Last Samurai F2 or M7
Dispatch Guards A2
Vanguard A5 or F4
IMPERIAL DECK
Card Name: Notes:
General Taketa Tani L5
Imperial Guard F6
Peasant Conscripts R4
Meiji Emperor M8
Westernized Army W6 or F5
Tokyo Police F4
Crush the Rebels M4
Systematic Attacks A8
Trap Rebels A6
Kumamoto Castle D7
Determined Resistance D5 or M4
Garrison D5
Advance Guards F5
Concentrated Fire W8 or F7
Relief Force F4
General Yamagata L8
Frontal Assault A6
Cold Steel W3 or F2
Small Arms Fire W4 or F3
Dislodge Rebels A6
Marine Landing R4
Infantry Companies F4
Modern Firearms W8
Rebels Surrender A7
Infantry Brigade F6
Naval Bombardment A4
Rear Attack A9
Sniping F1
Rebel Supply Problems M5
Mountain Artillery W6
Sortie F4
Link Up M6
Breakthrough F7
Replace Losses R5
Government Offensive A5
Regroup R3 or D2
Mop Up A3 or M3
Rapid Forced Marches A5 or F4
Encirclement A6
Fierce Battle F5
Heavy Casualties F6
Outnumber Rebels R4
Patrols D3
Siege A4
Krupp Field Guns W6
Gatling Guns W7
INTRODUCTION
Card Game for 2 players.
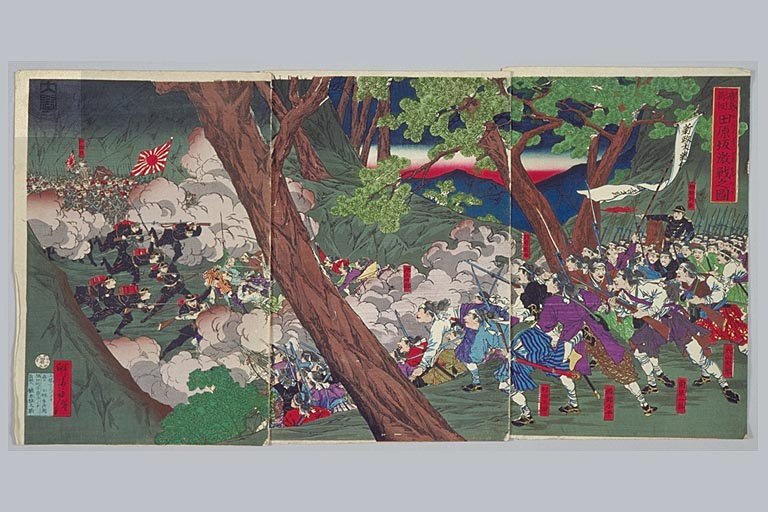
Theme: The Satsuma Rebellion in Japan in 1877.
The Modern Imperial Army destroyed the last of the Samurai.
One player is the Samurai.
The other player is the Imperial Army.
VICTORY
The game ends when the Samurai player has accumulated 9 Casualty Markers.
At that point, the last of the Samurai have been wiped out.
Victory is a function of how many casualties the Samurai were able to inflict on the Imperials.
Imperial Casualties: Victory:
7 or less Greater Imperial Victory
Exactly 8 Historically Equivalent
9 or more Greater Samurai Moral Victory
TERMINOLGY
The terms hand and turn are equivalent.
CASUALTY MARKERS
Players start with no Casualty Markers.
The loser of every hand gains 1 Casualty Marker.
THE DECKS
There are 2 decks:
1. The Samurai Deck
2. The Imperial Deck
Each card has a Strength value.
There are 8 suites:
1. Force
2. Reserves
3. Leader
4. Attack
5. Defense
6. Morale
7. Weapons
8. Escape
SETUP
Players pick who will be the Samurai and who will be the Imperials.
Players shuffle their respective decks.
TURN SEQUENCE
Each turn has 3 Phases:
1. Logistics Phase
2. Strategy Phase
3. Clash Phase
LOGISTICS PHASE
Each player draws 7 cards from their own deck.
If a deck ever runs out, shuffle the discard and draw from it.
STRATEGY PHASE
Each player may discard up to 3 cards and draw replacement cards.
ATTACKER & DEFENDER RULE
One player is the Attacker and the other is the Defender.
In the first turn of the game, the Samurai player is the Attacker.
On all subsequent turns, the player who won the previous hand is the attacker.
One exception to this is the Escape rule: If the Samurai player used an
Escape card the previous hand and won the hand, he remains the defender.
CLASH PHASE
Players reveal their hands.
Each card has a Strength Value.
Each player adds up the Strength values of all his Useable cards.
A player may only use 1 card from each suite.
The Attacker may not use Defense cards or Escape cards.
The Defender may not use Attack cards.
The player with the highest total Strength is the winner.
The loser gains 1 Casualty Token.
If tied, both players gain 1 Casualty Token and both retain
Their Attacker/Defender status for the next turn.
All cards are discarded at the end of the phase.
CARD LIST NOTATION
F = Force
R = Reserves
L = Leader
A = Attack
D = Defense
M = Morale
W = Weapons
E = Escape
SAMURAI DECK CARD LIST
Card Name: Notes:
Takamori Saigo L10
Samurai Warriors F7
Traditional Army W5 or M6
Tragic Hero M5
Foxholes D2
Kyushu Samurai R2
Shigakko Schools R2
Bushido M8
Satsuma Armories W5
Student Agitators M3
Iso Arsenal W3
Honor M9
Raiders A5
Armed Uprising R2
Bodyguard T2
Volunteers R2
Skirmishes A3
Small Clashes F4
Suicidal Ferocity F6 or M7
Rebel Detachment F3 or A4
Block Passes D5
Night Assault A7
Out Fight & Outmaneuver F9
Dug In D3
Popular Support M3 or R2
Kichijuro Ikebe L3
Satsuma Army F5
Isolated Sword Duels F1
Discover Imperial Spies M2
Sentinels D1
New Positions E5 or D6
Break Out E6
Fight to the Death M7
Retreat E3
Kagoshima Samurai R2
Guerrilla Fighting F3
Surround Imperials A6
Vintage Matchlocks W3
Mount Enodake D5
Slip Through Fog E5
Divide Forces F4
Heavy Rain E4
Shinsuke Beppu L4
The Last Samurai F2 or M7
Dispatch Guards A2
Vanguard A5 or F4
IMPERIAL DECK
Card Name: Notes:
General Taketa Tani L5
Imperial Guard F6
Peasant Conscripts R4
Meiji Emperor M8
Westernized Army W6 or F5
Tokyo Police F4
Crush the Rebels M4
Systematic Attacks A8
Trap Rebels A6
Kumamoto Castle D7
Determined Resistance D5 or M4
Garrison D5
Advance Guards F5
Concentrated Fire W8 or F7
Relief Force F4
General Yamagata L8
Frontal Assault A6
Cold Steel W3 or F2
Small Arms Fire W4 or F3
Dislodge Rebels A6
Marine Landing R4
Infantry Companies F4
Modern Firearms W8
Rebels Surrender A7
Infantry Brigade F6
Naval Bombardment A4
Rear Attack A9
Sniping F1
Rebel Supply Problems M5
Mountain Artillery W6
Sortie F4
Link Up M6
Breakthrough F7
Replace Losses R5
Government Offensive A5
Regroup R3 or D2
Mop Up A3 or M3
Rapid Forced Marches A5 or F4
Encirclement A6
Fierce Battle F5
Heavy Casualties F6
Outnumber Rebels R4
Patrols D3
Siege A4
Krupp Field Guns W6
Gatling Guns W7
 LINKS
Wikipedia
LINKS
Wikipedia