The Hurst wheels have been one the most desirable options that you could add to an early GTO. Every year they seem to appreciate in price, and become harder and harder to find.
While some of my friends were able to purchase them cheaply, or stumble upon them during the early 80's, I hadn't seen too many sets, and never thought I'd be able to own a set.
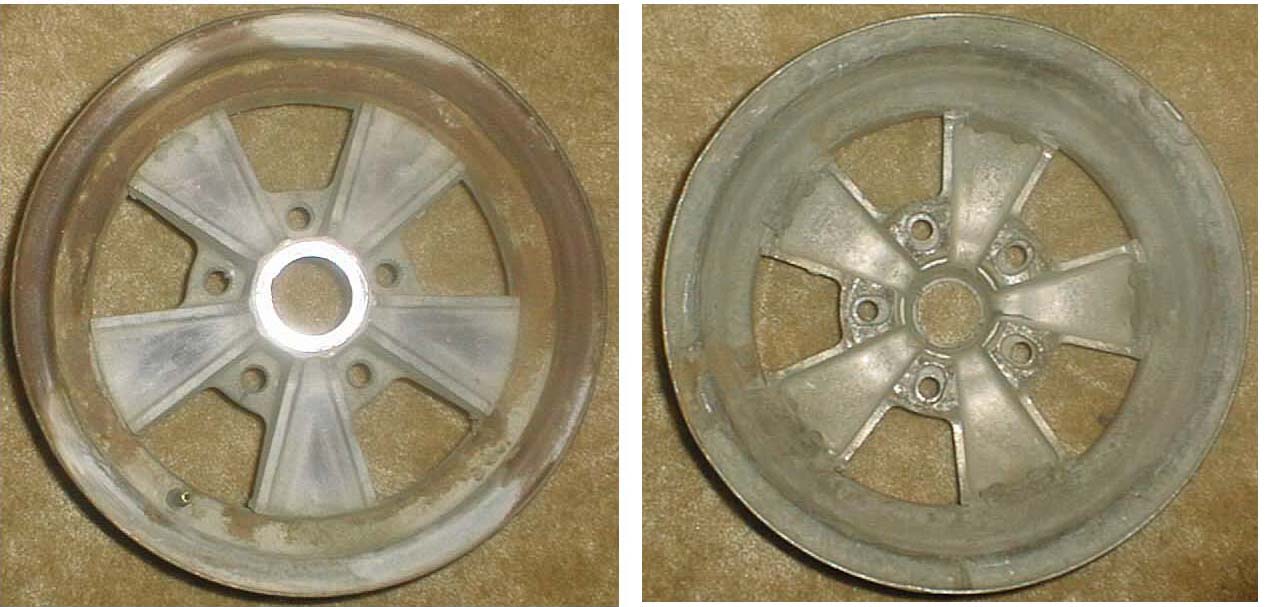
In 1996 I purchased my first set. They were from a 65 2+2 Catalina. They were straight, but that is about the only good thing that I could say about them. These Hurst wheels would only fit a car with a 5 on 5 lug pattern. That was fine for me, as I had a 66 Bonneville convertible to put them on.If you look at the before picture, you can see that the rim was surface rusty, and the spokes were dull. In addition to these maladies, the trim rings were pitted and rusty, and through a chemical reaction, they had welded themselves to the wheel. The center caps were also hideously pitted.
Now that I had 4 wheels to start with, it was time to begin the restoration/learning process.

The center cap problem was easily solved by making a phone call to Performance Years. Their second generation reproduction is an almost exact match to the original, and features the recessed area for the decal. I could have had the originals replated, but the cost differential versus buying the repos made the repos a more favorable option.
Next problem was removing the trim rings from the wheels. After soaking the wheels for several days, I was able to gingerly tap the ring out from behind using a block of wood as a striker. This worked well with a minimal amount of damage to the rings. I took these to the local plater, and was quite pleased with the job they did on them. Since these are stamped steel, they were restored easily. The platers were happy to see that I had not brought in pot metal for restoration.
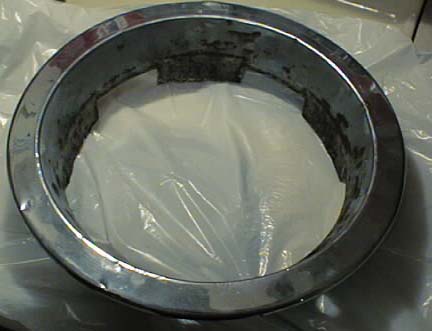
As you can see above, the rings weren't very much to work with. However, trim rings are harder to find than the wheels, so it was good to at least have something to work with.
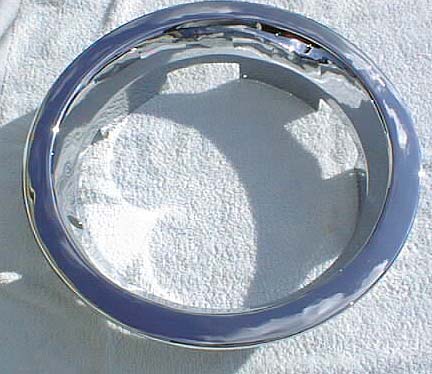
After the fellows at the plating shop got done with the rings, they looked NOS. Hurst wheels are known for casting a strange pattern on the ground from light reflecting off the trim rings, and I knew these would be up to the task. The replated ring can be seen below
With the rings removed, it was time to begin actual wheel restoration. During my research, I found that the Hurst wheels were available in 28 different styles. These were augmented by 3 different style of center cap- flat, bullet, and spinner.
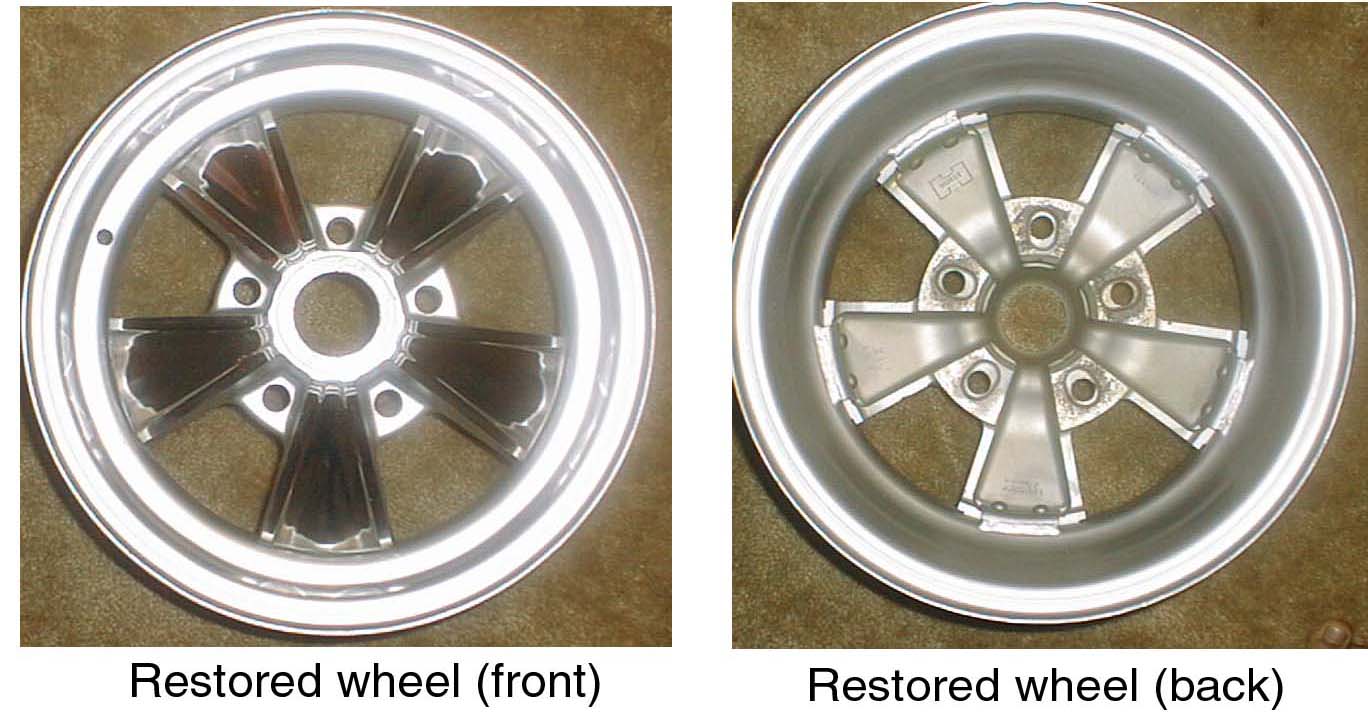
I took the bare wheels in and had them completely beadblasted. Next, I had the faces of the spokes polished to a chrome like finish. Finally, I took the wheels to my body guy and had the rim, and the sides of the spokes painted flat silver. The result was quite good, and the finished wheel can be seen below.
Once the wheels are restored, I took them in to a tire shop that I could trust to mount the tires without destroying all my hard work, and balance the assembly.
With the tires mounted, it was time to attach the trim ring. It is a tight fit, and takes patience to install the ring without using too much force. The fit is such that it seems like the ring will not fall off. This is not true however, and it is essential that the retaining clips be used. There are 5 per wheel. Fortunately these were easy to find since they were reproduced. Later style trim rings did not use these clips.
Here is the final product


