This (and one other job) has been my life for the last year and a half. It was originally built in about 1937 – the year I was born. When we got into it, we found a lot of termite and rot damage. Work actually started almost two years ago – clearing out the old domestic stuff and demolition of the interior down to the bare studs and replacing the termite damage. We used old lumber furring off the ceiling to replace bad sub-floor boards. All of the studs that we took out were reused somewhere unless they were just horribly warped. Where we had to buy new lumber to repair the joists, sub-floor, exterior studs, etc. we used pressure treated lumber.
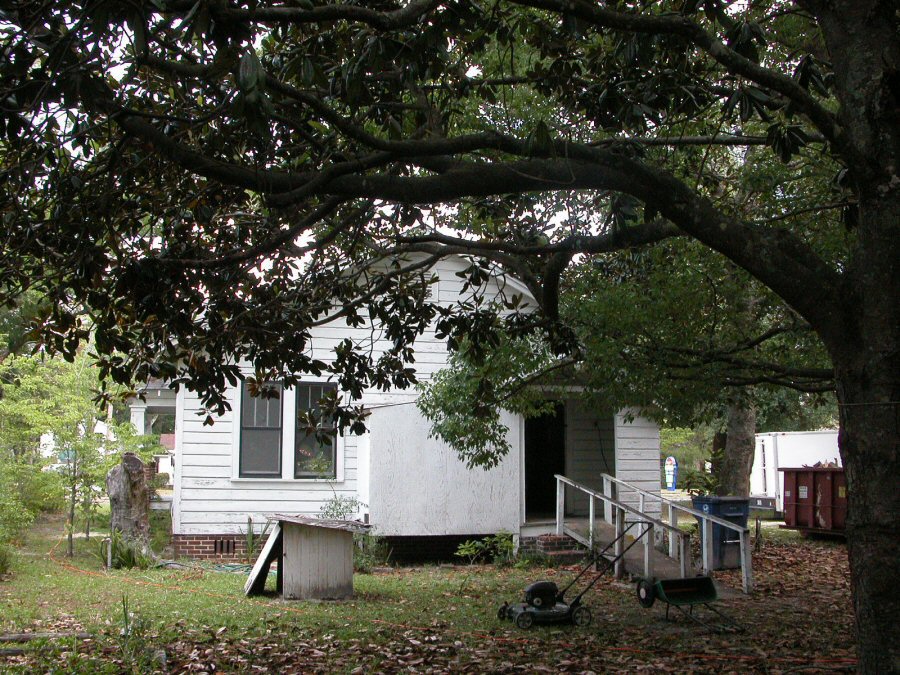
This is the old back side of the house, which is going to be the new entry side. This is going to be a commercial (office) building with parking in the rear. All of the big old trees had to come down – except the big oak tree beside the driveway in the picture above, which blew down in a Hurricane.
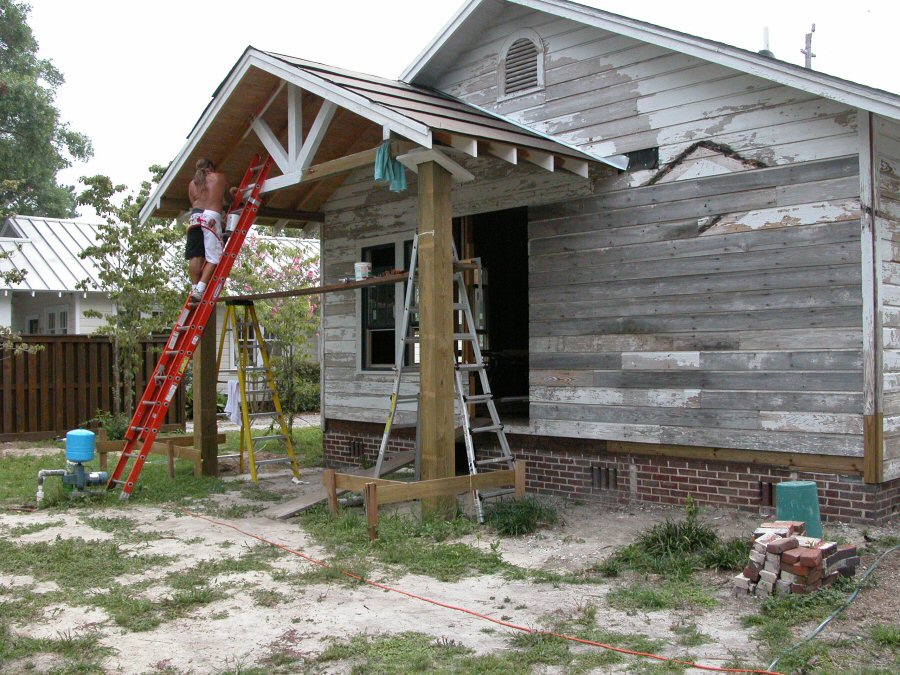
The back of the house is where most of the changes took place. Fortunately, there was an old two story WWII era apartment building on the back of the lot - not occupied since 1974 - and the siding on that was a good match for the siding on the house. We were able to cannibalize enough to replace all except one board on the old house and I made a new board for that, because it needed to be wider than the original siding so that it came out right at the bottom.
This shows the work going on – that is Gary, a friend of the owner, up on the ladder. As my health deteriorated I came to depend on him more and more for the heavy lifting (although as this was taken, I was still pretty spry – I could still get up on the roof, etc.). We had closed off the old back door and made a new entry door into the new waiting/administrative area. The corner where the old back door had been (the kitchen) became the Restroom.
The old roof needed a lot of work because of old leaks and rot and just poor design. The new porch roof was built reminiscent of the era. No plywood decking here – the deck is Yellow Pine T&G 1 X 4s (the first three rows along the eave are pressure treated. If you look under the eaves of the old roof you see 1 X 4s but that is only were you can see it – the rest is just 1 X6s. The porch rafters are exposed on the underside and the deck is the ceiling. The 6 X 6 columns are structural – they are hollow and have a 5/8th inch steel rod down through them to a bolt set into the concrete foundation. In this hurricane prone region that is the only thing that holds this house to the ground. The original house is just setting on a one course brick stem wall – nothing holds it there.
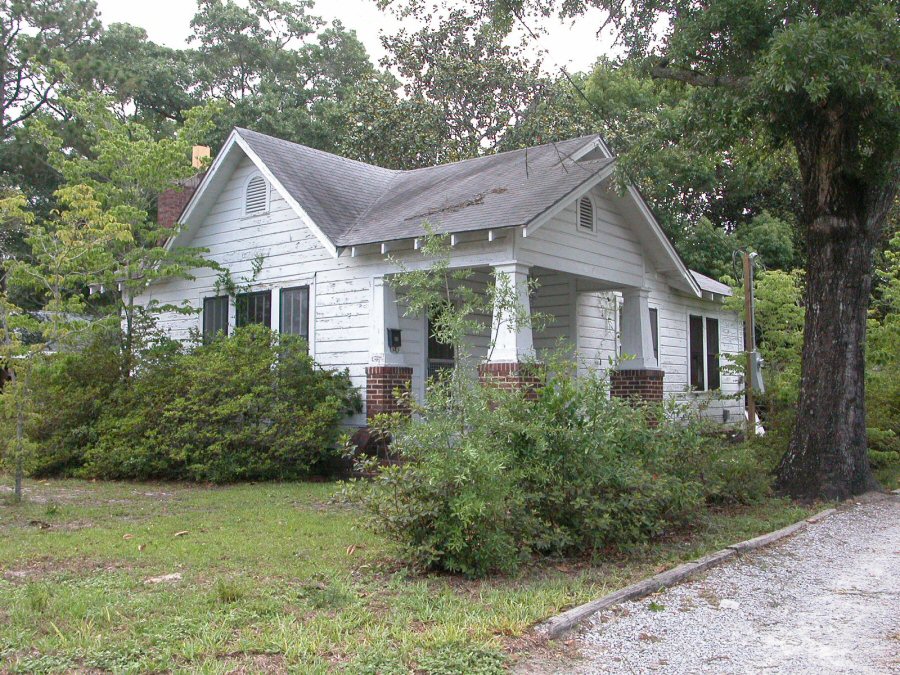
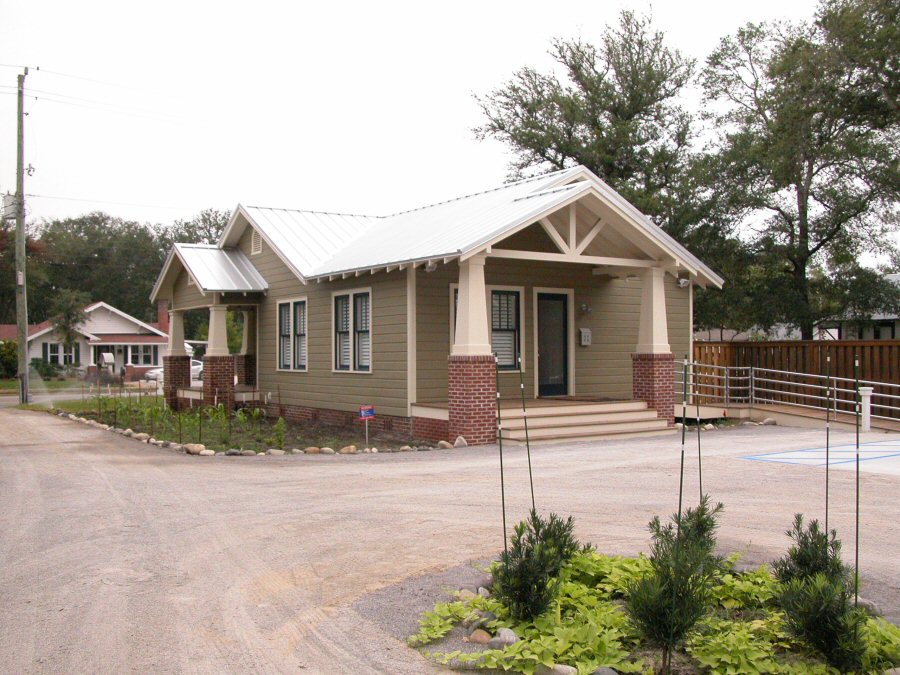 This is what it looks like today. The
owner did the landscaping himself –
and yes that is corn growing between
the building and the driveway. The structural columns were hidden inside Craftsman columns patterned after the ones on the from porch (which had to be rebuilt, as well).
The whole place got a new metal roof.
This is what it looks like today. The
owner did the landscaping himself –
and yes that is corn growing between
the building and the driveway. The structural columns were hidden inside Craftsman columns patterned after the ones on the from porch (which had to be rebuilt, as well).
The whole place got a new metal roof.

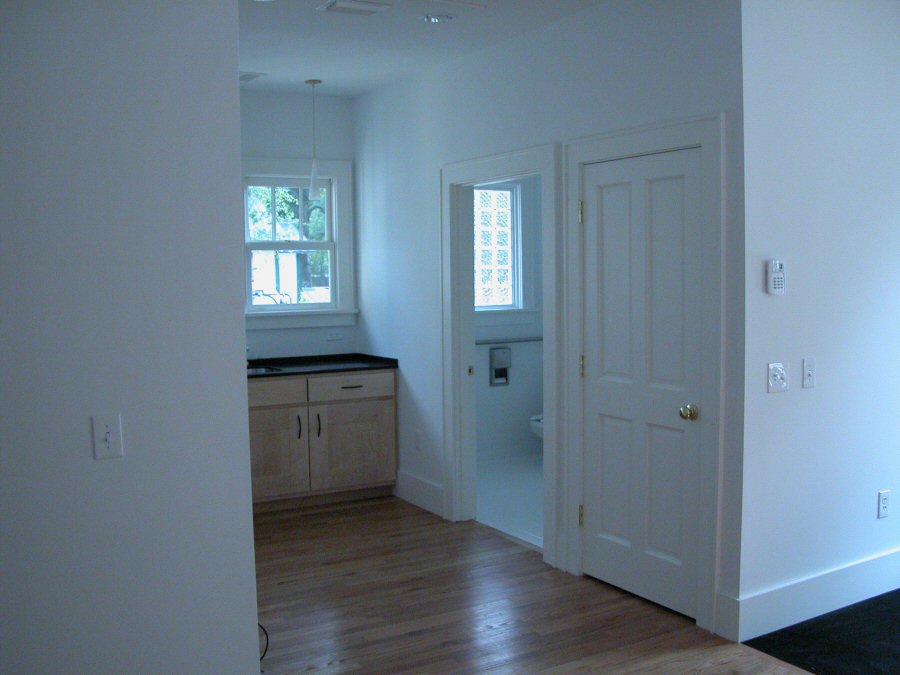
I do not have any interior “before”
pictures. It was just to dark and dingy and chopped up to get anything usable. This is the “now”. It shows
the Rest room and the small “Kitchen” area (just a small sink and some counter space to put a coffee pot on. There is an 8 gal. hot water heater tucked inside the cabinet and an under counter refrigerator (out of sight on the left). Behind the door is a closet for the HVAC and brooms and mops. New Red Oak flooring was put down – except for just inside the main door, which is
carpeted. This area is to be an administrative area with, maybe a counter to come later.
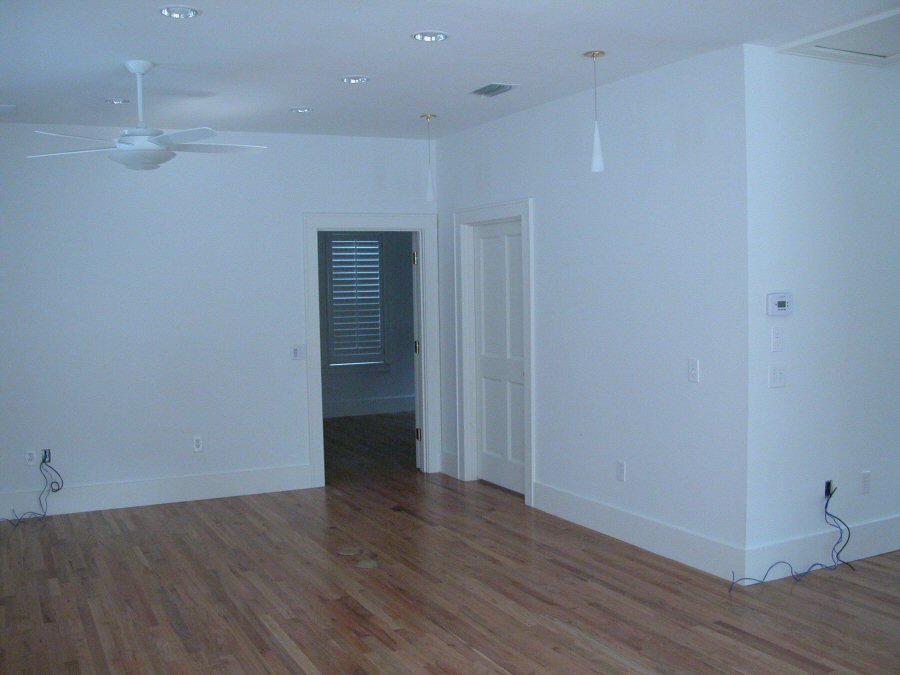
There are two offices – through the
open door is a large one where the old
living room was (it has a fire place
which we have cleaned up but it is not
finished – it needs a gas insert) and
through the closed door is a smaller
one where the old dining room was.
On the corner where the
communication wires are coming out
of the box is a place for a copier and
fax machine, etc. Everything is wired
with Cat 5 cable as well as co-ax. All
interior walls are insulated against
sound transmission and the offices and the Restroom have the added protection of ½"
sound board behind the 5/8" sheet rock. The ceiling has 9" insulation bats (not blown) and
there is a pull down ladder going up to an area that is decked for storage. The two offices
and the waiting area have Trayed ceilings. The owner has his office just next door (I worked on that remodel 10 years ago) and
there was a fence along the driveway that came from the alley to about even with the
back of the building. When I set those posts, I did not put concrete around them. I set
them deep. Ten foot 4 X 6s set 4 feet in the ground. When we got ready to take the
fence apart we were able to take the sections out, intact, by cutting the nails with a recip
saw and pull the posts out of the ground. All of that was re-used around the new parking
lot and then we finished it with new material. The parking lots are graded together as
one, with a common driveway.
 The lot on this side also belongs to the
owner and his intention is to build a house on
it at a later date. I show it because the
chimney needed some “enginuity”. When we looked at is close we could see that the
chimney and the house were trying to separate. It was pretty pronounced at the top. In
order to encourage them to get together again we glued some bolts into the brick up in
the attic and over several weeks of tightening the nuts we pulled them closer together.
It’s not perfect – but better than it was. Also the Restroom window (which is acrylic glass
block) had to be put into a frame that, as close as possible matched the rest of the
windows (painted a matching blue as are the outside doors). The new windows were a
challenge because they are modern flanged units and we wanted them to look like they had
been in there since 1937. The inside and outside casing are just like what was there –
right down to the window sills. It
took a lot of pieces to get it
together.
The lot on this side also belongs to the
owner and his intention is to build a house on
it at a later date. I show it because the
chimney needed some “enginuity”. When we looked at is close we could see that the
chimney and the house were trying to separate. It was pretty pronounced at the top. In
order to encourage them to get together again we glued some bolts into the brick up in
the attic and over several weeks of tightening the nuts we pulled them closer together.
It’s not perfect – but better than it was. Also the Restroom window (which is acrylic glass
block) had to be put into a frame that, as close as possible matched the rest of the
windows (painted a matching blue as are the outside doors). The new windows were a
challenge because they are modern flanged units and we wanted them to look like they had
been in there since 1937. The inside and outside casing are just like what was there –
right down to the window sills. It
took a lot of pieces to get it
together.