
Project 1 ~ Adding a Frame and Name to Graphic
Move your cursor to FILE >BROWSE. Browse to your Desktop and in the browser feature double left click on your graphic. You should be able to notice that Desktop is always the first file at the top of your tree. When working on a Graphic I save everything to my Desktop so I will be able to find it quickly and easily when I need to reuse it. Once done with a graphic I can move it from my Desktop to the Recycle Bin or another folder using the same browse feature using a single right click
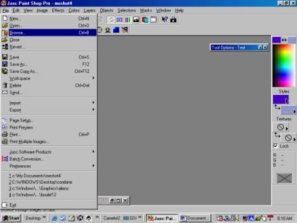
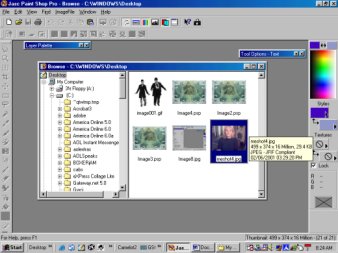
Your Graphic should now be sitting on your PSP Desktop
Next Step
Go to VIEW highlight and single left click on NORMAL VIEWING to check the size of your graphic
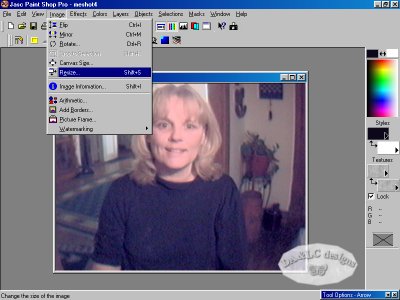
If your graphic is too big your may resize it by going to EDIT>RESIZE and a box will appear with our new choices.
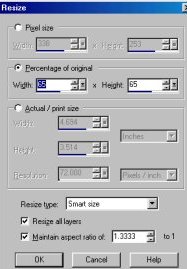
Notice we have a choice of Pixels or Inches. For Computer Graphics I choose to use Pixels, and pictures I would like to print I use Inches. Both “Pixel” and “Inch” Graphics will show on your desktop as the actual size they will be if you choose to email or print. I choose to use “Percentage of Original” until I get a size I am comfortable with
Go to IMAGE ADD PICTURE FRAME
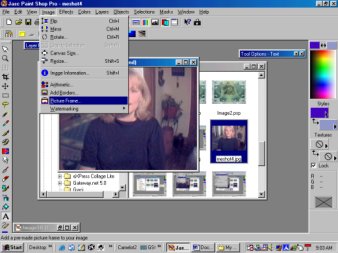
A box will pop up that allows you to choose your frame.
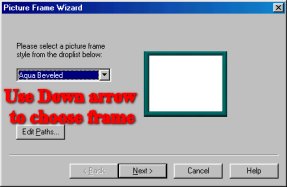
Once you pick the frame you think would look best right click on next.
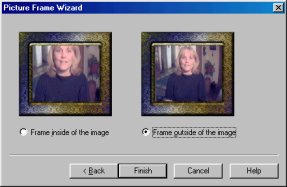
Here we have a chance to see how it looks with our picture and decide how we want our picture placed in the frame.
Next:
Your picture should be framed and ready to write on. Left click once on your Writing Tool, it's the A on your toolbar. Notice your cursor turns into two lines with an A to the side. This means the tool is active and ready to use. Left click one time anywhere on your graphic and another box will appear with choices.
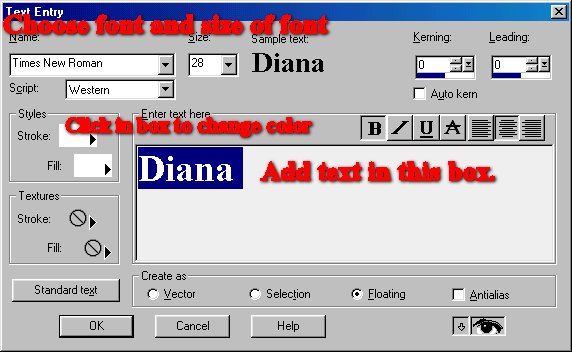
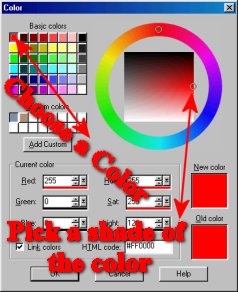
Paint Shop Pro will access all fonts you have in your C:\WINDOWS\FONT folder. Use the drop down menus in this box to choose your font and the size of your font. I choose Times New Roman and a font size of 28, Western Style. I choose to use the Floating feature so I can move my name anywhere on the picture or to change the angle. To change the color of your words right click one time on the colored boxes under the heading of “Styles". A color box will appear that lets your choose a color in any shade.
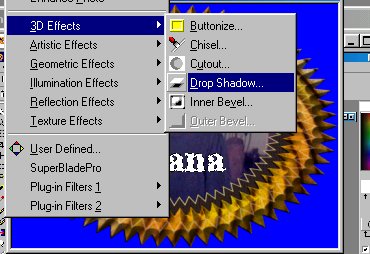
Stoke is the “edge color” and fill is the “inside” color. Once your name is on the Graphic with “Marching Ants” to show it is active Go to Effects Drop Shadow .
Go to SELECT ALL
SAVE AS name of your Choice, I called mine YIKES.jpg

Go to file "SAVE AS" and save as a "GIF" or "JPEG" extention and you are done.
All Tutorials and Graphics on this site ©byDiana/Laura 2000 do not use without permission.
