|
|
|
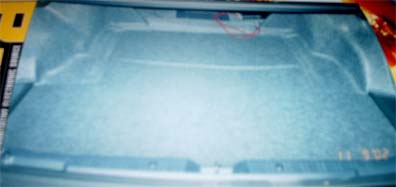
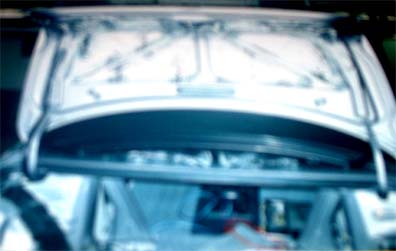
As you guys know, if you have a system in your car, you really need some sound deadening in your car to stop or minimize the rattle in your car which just makes it sound like ghetto from the outside. I got a dynamat trunk kit but it wasn't enough to cover my whole trunk, so i am planning to get some more to finish my trunk off and to cover most of my car. You guys should take a look at "Second Skin" sound dampening, it's very affordable and has had very good reviews. Check my links page for more info. This is my trunk before i took all the carpeting out and before i even started to put the dynamat.
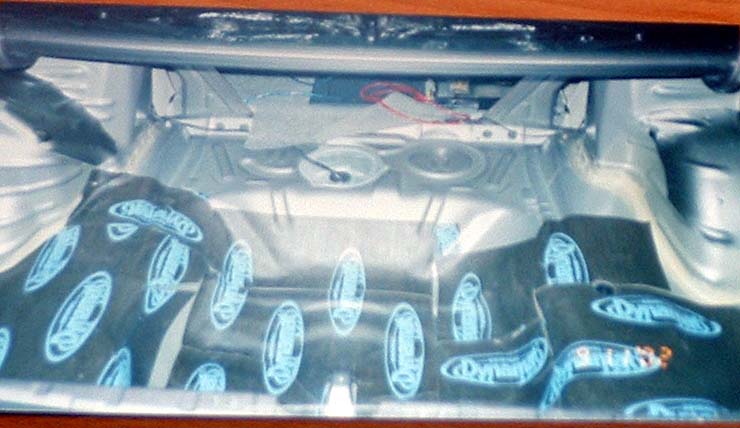
Well, after you strip the whole trunk you have to use a car cleaner solvent to clean the trunk of any paint or rust or anything. After you do that, let it dry for a while and then start putting the sound deadening material (dynamat). It's easier to cut the squares of dynamat into pieces so that it contours to the body of the trunk. It's also important you use a roller to smooth out the edges, it's gonna faciliate your life.
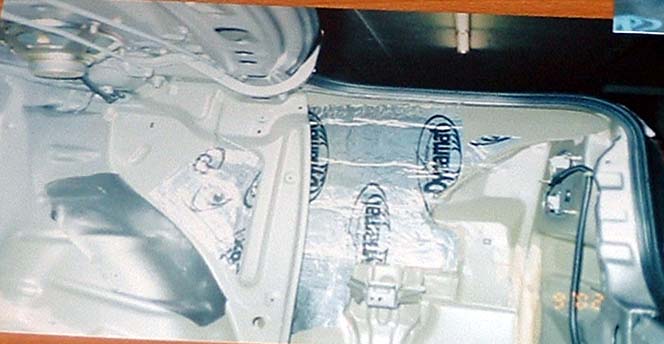
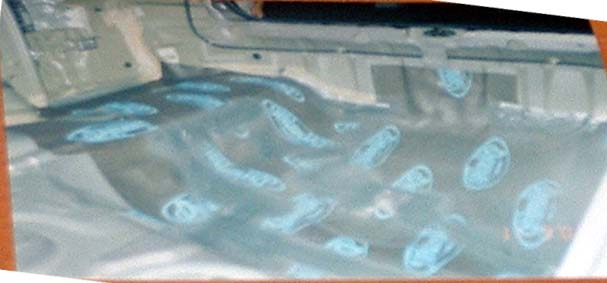
This is my right side of the trunk. As you can see, i didn't have enough to cover the sides so i covered the places where i thought that it would rattle the most. The dynamat extreme is thicker and it works better.
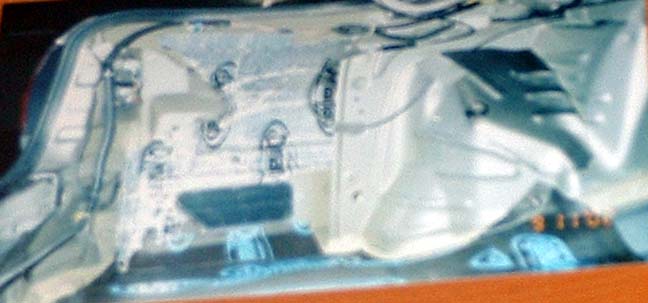
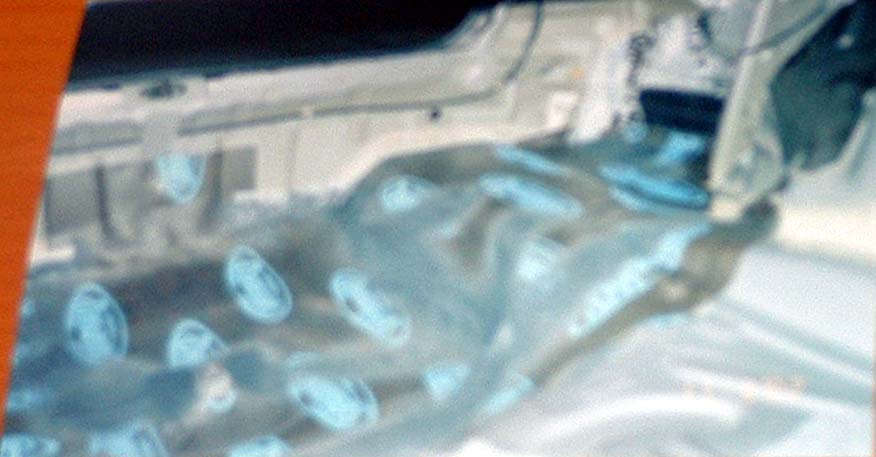
Bad quality, but you can see the left side of my trunk.
One of the most important parts is the lid, as you guys know, it can rattle like hell, so i put a decent amount in there and it doesn't rattle as much. However, before when i used to open my trunk with my remote opener it used to open like 1/3 of the way. Now with dynamat in there, it barely opens =(. The prices you gotta pay to get rid of the ghetto rattling.
Now these are pics of the "finished" products, i meant it this way since i didn't have enough to cover the whole trunk.
I also used duct tape and dynamat spray to cover the holes or the gaps between the layers. I first put duct tape in them, and then spray them. It's supposed to cure in like an hour or so, but it takes quite a while. I would say that you should be planning to spend close to 6 hours to do everything right and stuff. I took a while cuz i was goofing off too.
|