Changing Plugs and Wires

When choosing plugs, I recommend going by the old rule of thumb, which is: go one step colder for each 2 lbs increase in boost.
There are MANY threads about which spark plug to run on ClubGP, don't be affraid to hit up the forum and do a search.
Like plugs, there are numerous options when choosing a spark plug wire. In my honest opinion, the Stock AC Delco wires are the best choice for the average owner who does not change their plugs on a monthly basis. Since I run a colder plug to help fight detonation, my plugs tend to foul out more regularly than the next guy's.
Generally, the stock wires cannot handle the abuse of frequent plug changes and tend to go bad with time. The best way to know if this is the case, is to monitor Misfires with a scan tool (ie: Autotap).
Therefore, to avoid spending money on new plug wires every 3 months, I decided to go all out and purchase PRJ Performance Wires. Although they are expensive, they pay for themselves after only a few plug changes, since they do not tend to go bad.
So let's get to it!
These are the EASY ones.
IMPORTANT TIP: MAKE SURE THE MOTOR IS COLD BEFORE DOING THIS!
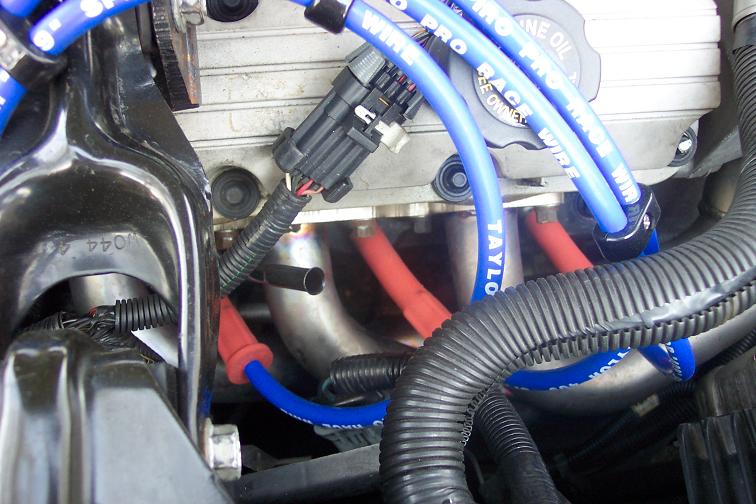
- Begin by removing the plug wire boot from the cylinder #5 spark plug. In order to do this, you need to carefully rock the plug boot/heat protector back and forth a bit to loosen it up. Once it is free, trace it back to the coil packs and remove it from there also.

- After the boot is off, this is what you will see. Use a spark plug socket to remove the spark plug from the head.
- Now, put in the new plug, (Don't forget to use Anti-seeze compound on the threads of the new plug!!!) and install the new plug wire on the coil pack and plug.
- Repeat these steps for the remaining two front plugs and wires.
- OK, you are done with the easy part. Go take a break and clean out all the cuts on your hand. Once you feel ready to tackle the rear plugs, read on...
Rear Plugs
- From personal experience, I've determined that the best way to gain access to the rear plugs is by rocking the motor forward slightly.

- As you can see, the rear plugs are a pain to get to. There is no trick to actually getting these plugs out. Some people sit/lay on the motor to get better access.
- You will most likely need a wide variety of extentions and universal joints to get the plug socket where it needs to be.
- The most important thing to remember is PATIENCE. It will all be over soon!
- After all three of the rear plugs and wires have been changed, check the plug wire order again, just to make sure that all the wires are going to the correct cylinder.
- Once you are sure that everything is good, fire up the car and let it idle. Listen for any misfires in the exhaust. Follow this up with a quick trip around the block to ensure that you are not getting any misfires.
- If everything seems normal, then you are finished! Congratulations!!!
Please send any additional tips or questions to My email