
Ok, if you're in here, you're probably here so that you can learn how i do those wicked cool renders in bryce 5.
well you've come to the right place.
if you're here, then you want to learn about abstract 3d art. all of my renders are considered abstract 3d art.
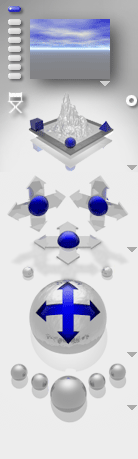
ok, so you start up bryce. on the left, there's a mess of futureistic looking mechanisms. the ones with the arrows are your camera controls. the box uptop, should have a picture of a sky with a grey ground, that is your preview window. below the camera controls, are five glass orbs. the center one, the biggest is the one you'll be using once we get out project made. here is a picture of the controls i just described to you.
up top, is a mess of shapes and such. for the most part, you'll only be using the spheres and tori (yes, the plural for torus is tori) here's a picture.

above those, are three tabs. click on edit. it should look like this:

you'll usually only be using the ones i've circled.
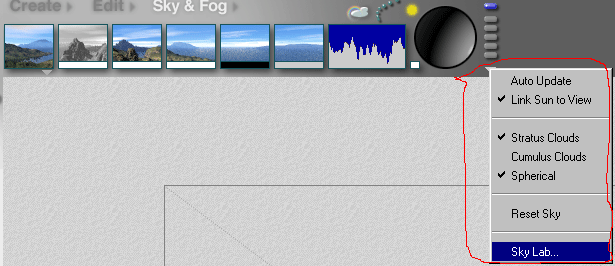
now, since this is abstract, you usually don't want any sky. so, click on 'Sky & Fog' click on the arrow i've circled and then the "sky lab" selection.
you should get this.
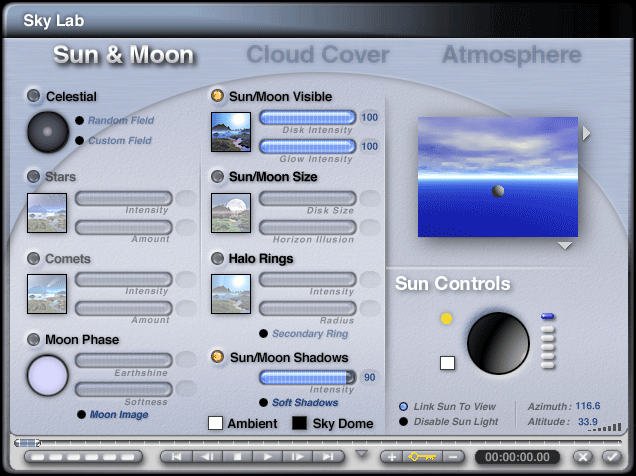
there are three sections to the sky lab. sun&moon, cloud cover, and atmosphere.
what we want to do is click on all the gold bullet holes  like this one in all three sections. this should get rid of the sky, and the box to the right should look something like this.
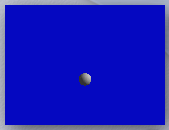
click the check mark, which is like ok.
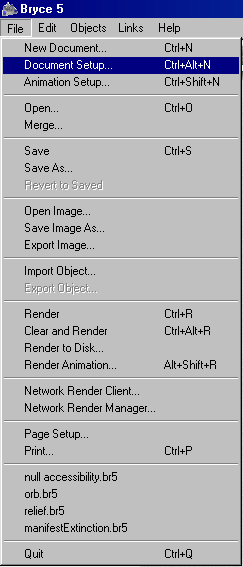
ok, now, go to file. i know what you're thinking "there is no file!" but yes there is. move your mouse up to the top, a bar should drop down with all the normal type things, like file, edit and such. go to file and click on document setup.
set the document resolution to 1024x768, or 1280x960 depending on the size of your resolution for your screen. i'm going to set mine to 1024x768, because that's my resolution.
ok, so, first thing we want to do is get rid of the ground. so, click on the plane on the bottom and just hit delete.
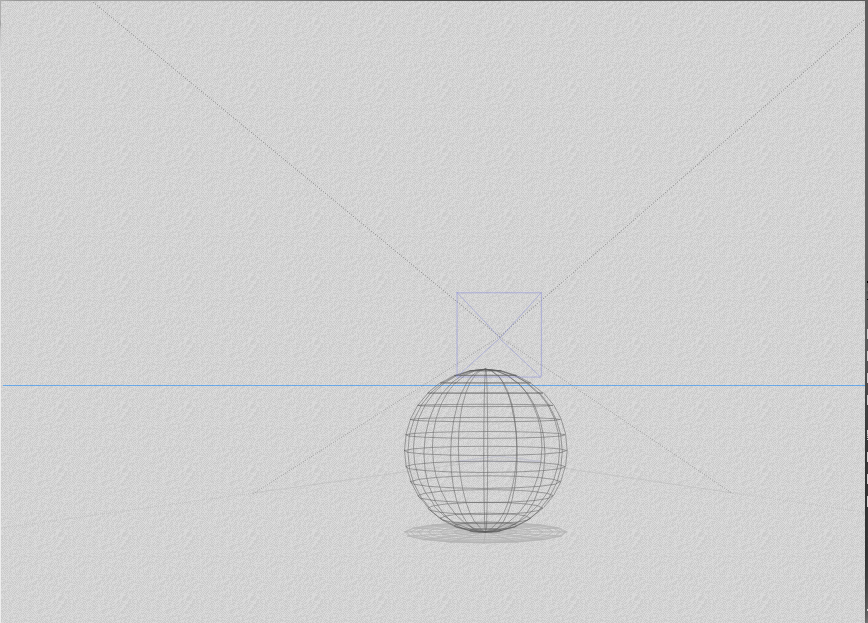
ok, so go to the create tab at the top, and click on the blue sphere. it looks like this.

move your camera around with the camera settings until you get something like this.
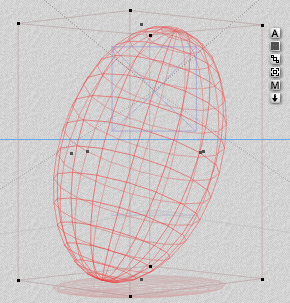
click on the edit tab. move your mouse along this tool until you get it too look like this, it will be animated.

stretch it out just a bit... and then rotate it along the x axis i have put a line on the one you want to use.

after that, you should have something that looks like this.
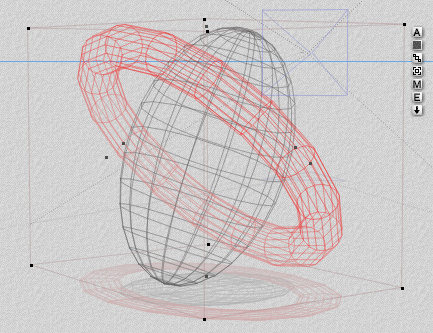
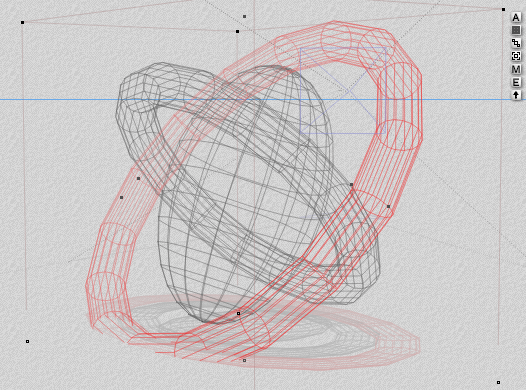
now create a torus. click on the e next to it and set the radius to 130. now, rotate it and put it into position. you can move your camera angle around to see better if you need to. should turn out something like this. you can also resize it, because it probably wont fit.
now, duplicate it by pressing ctrl+c, and then ctrl+v. rotate that around, adjust the inner radius to 100, and make it a little bigger until it looks like this.
now, select all of the objects by clicking and dragging your mouse over them. go to materials. it should be an 'M' next to them in the view. you'll get this window.
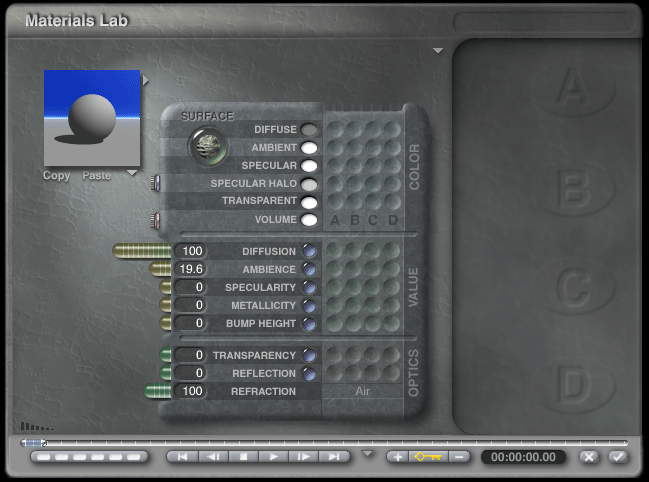
there are two arrows next to that little window with the ball in it. click the one pointing to the right.
this is the materials window. for most abstract art, you want a completely reflexive surface. for this, go to simple&fast. and find mirror it should be third row down, second from the right. click the check mark. on the surface tab, click on the little blue oval next to diffuse. click and hold. get the color black and hit the check mark.
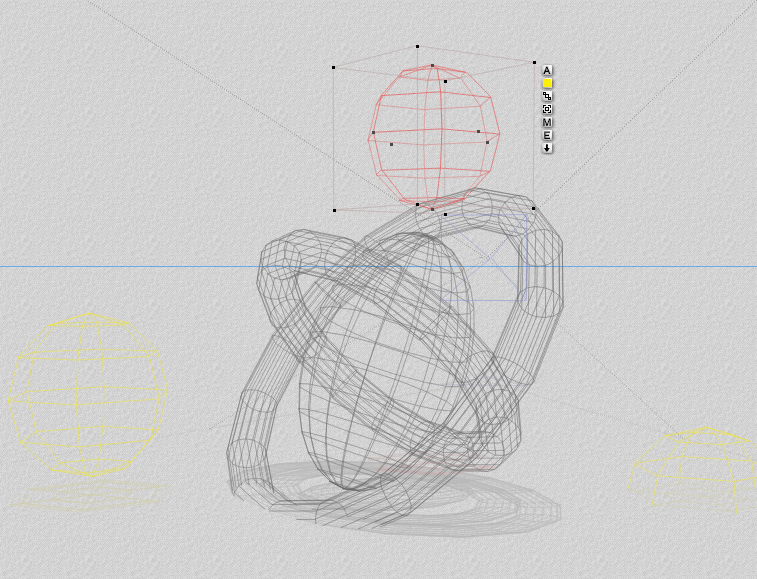
ok, now we need to add some light. in the create tab, click on the gold sphere. place three of them around the objects.
now we need to create a room. make a large sphere and stretch it out a little bit, rotate it a little bit until you get something like this. use the camera controls that are flat on the ground to move back so you can see.
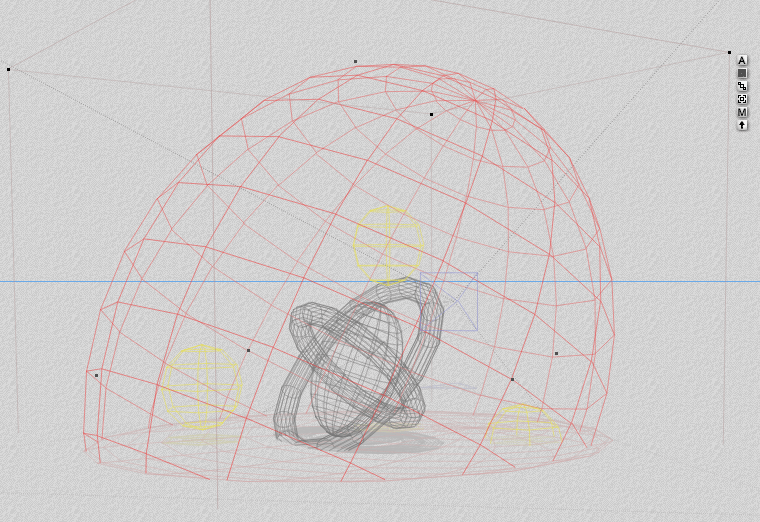
now, we need to use the same material for this sphere as we did for the other objects. check back to refresh your memory if you need to.
use the same camera that you used to pull out, to go in. your small preview window will give you an idea of what it's gonna look like.

now, what we want to do is turn up the render settings. click on the arrow right next to the render controls and go to render options it should be set to super in quality mode. if not, do so. what we need to adjust is the rays per pixel. select 36 if you want it done before midnight. lol. no but seriously.
there are different settings, 16 isn't too great, there are quite a few "jaggies" which is like grainyness. i have found that 36 produces fairly decent results, and doesnt' take too long. while 64 takes quite a bit longer and produces excellent results. 144 is only if time isn't an option, and 256 (the one i used for inane void) is for people who don't want to be able to use their computer any time soon. i would suggest using 36.
now, depending on what you chose, it could take anywhere from 3 to sometimes up to 12 and 15 hours depending upon your machine. if you have a kick ass machine, like a p4 2.0... then you'll be fine to set it at 64.. but it's really totally not needed. i usually set mine to 64 just because i'm very anal when it comes to my graphics. 36 will be just fine for your first project, and it should be done in a couple of hours.
alright, so click on the large sphere. you'll see it go by pretty quickly, but the pixels are huge! don't worry, there are 5 passes when rendering. first pass, is this one, huge pixels. it obviously takes the shortest. by the end of the first pass, you'll get an estimated time. mine sais 4 hours, but i have a p3 500, so if you have a p4 1.0, then theoretically, it should only take about 2. (twice the speed) now if you have a p4 2.5, then it'll take somwhere in the ball park of 1 hour.
you'll also notice on the second pass, that it's breaking all those large pixels into four smaller ones. this is what it does... on the third pass, yep, you guessed it, it'll break all those pixels that it created four from each pixel on the first pass (is that a run on sentence?) into four. on the fourth pass, you should be able to tell your graphic pretty well, and see what it's going to look like. now, that little line will go off the screen, don't worry! it's still working, it's just that the image is larger than your view window.
oh, i forgot to tell you. DON'T CLICK! if you do it will pause the render.. i have walked away, not knowing that i accidently clicked the button and come back 2 hours later and it was in the exact spot. now, if you do accidently click (this is in the bryce window btw...) then click the first ball to the right of the large ball. this is the resume render button. mine is already about an 8th of the way through the 3rd pass.
oh, also, the 5th and final pass usually starts at about 30% this pass is very very long. it takes a long time, but you'll be able to see your final product.. or at least part of it as it goes.
also, when the render is totally done, go up to file> save as> bryce render 1, or if you already have a name for it, then save it as that. also, after that, go back to file and go to file> save image as> and name it the same that you did for the .br5 file. make sure the quality is set to max.
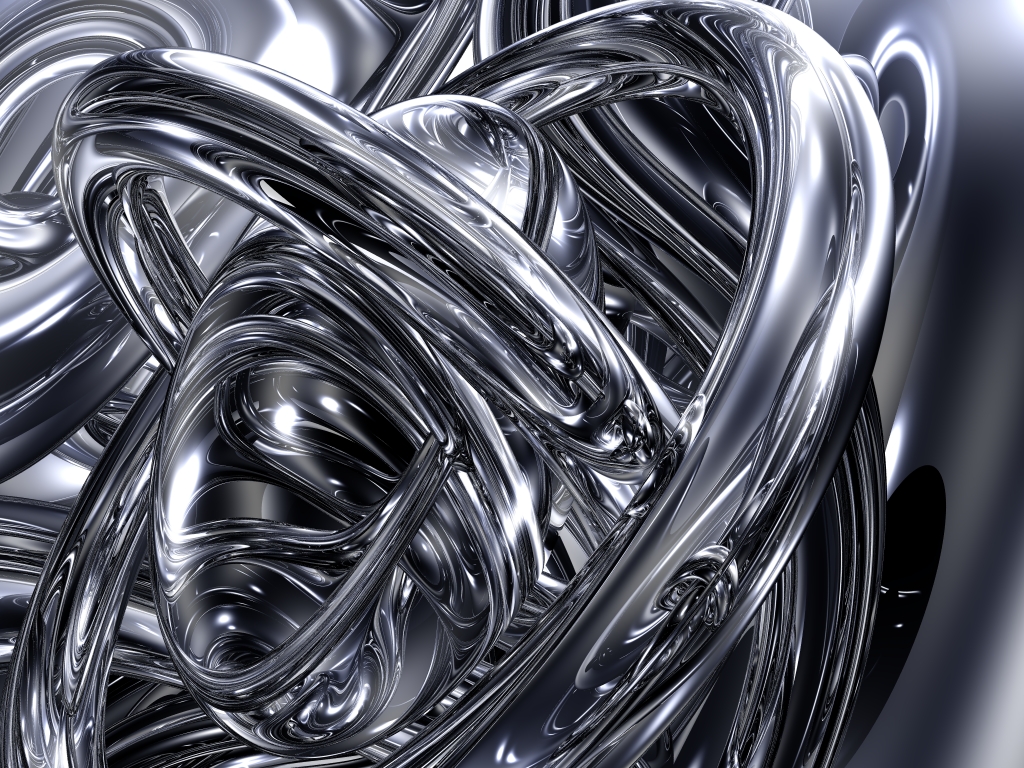
now, if you want your render done faster, i suggest you close this window until it's done. when you come back, hopefully your image will look something like this. this took just shy of 4 hours.
congradulations! you have just created your first 3d render in bryce. now, jump on over to the photoshop tutorials so i can show you how i put those cool 2dimensional effects on there, and give your picture a title! thanks for staying, it's been fun having you here.
and for your next render.. practice practice practice until you get something that you really like. after about your 10 or 15th render (i haven't gotten there yet) you should be able to have an idea of how things are going to reflect off eachother, and be able to adjust things to make them look the way you want them to accordingly.
happy rendering!
