
Rick's LilJon10 Row
Click on a thumbnail to see a larger version.
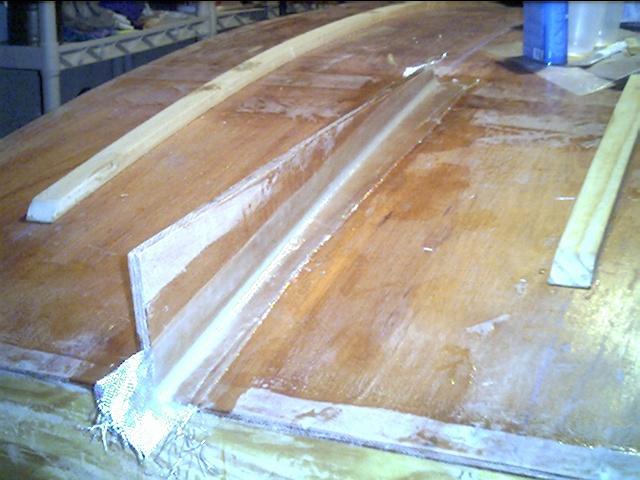
Update: 12-20-02: Putting on Skids and Skeg


Rick is building a LilJon10 rowing version in Alabama. He will also be using an electric trolling motor on it, I think. He is dealing with as much rain as David has been. As you can see he is really coming along. Go Rick Go. Below are some of the comments he has made in the emails that accompany the pictures he sends.
Hey Steve,
Congrats on the Chugger!
I decided to go ahead and build a jonboat, maybe learn a few things to use
on the next one, and have a usable (fishable) boat in the meantime.
Not a whole lot to look at right now since I'm waiting for the butt splices
to dry, but if you can use these photos on yourwebsite, have at it.
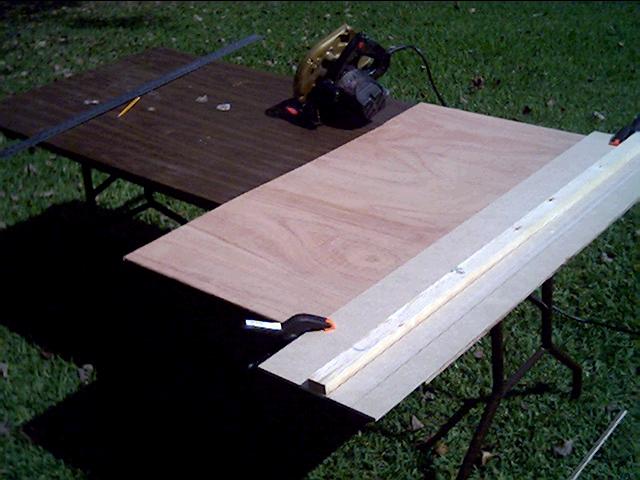
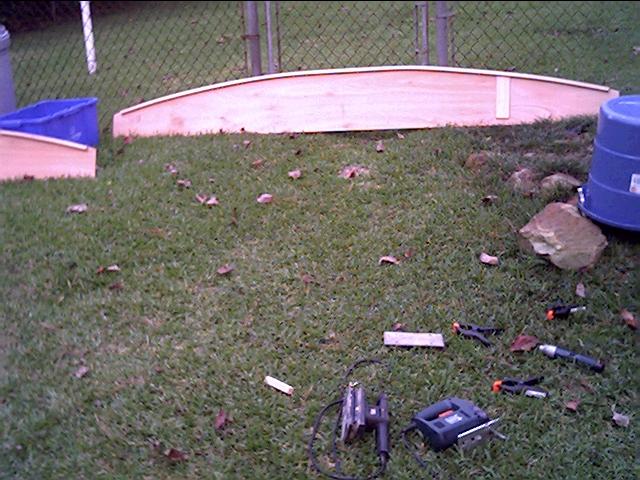
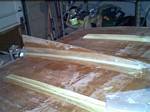
I built two simple jigs for cutting plywood-- I can't saw a straight line
freehand worth a flip. An old fold-up lunchroom-type table makes a pretty
good portable workbench since my one-car garage is full of um, stuff. Here;s
the setup for 4' and shorter cuts
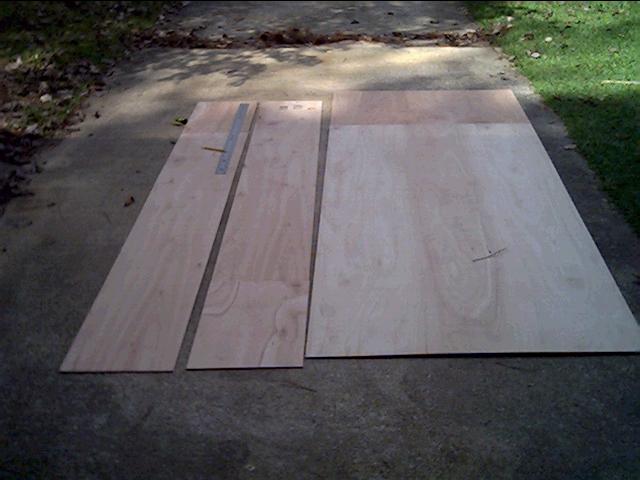
Sides and bottom layed out, ready for butt boards (note dogwood leaves and
pine straw blowing all over the place)
If the side pieces aren't -exactly- the same width, no reason for panic
(though I did). Since this splice is 2 feet from the end it'll be somewhere
in the curve up to the transom. I'll just line up one edge and make that
the bottom since it's gonna be cut off anyway
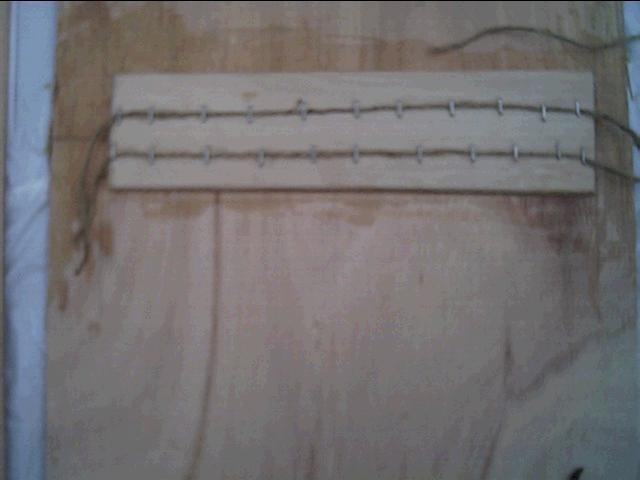
Taking a page from David Bede's book, I plan to make the butt board joint
with PL Premium, twine and staples. No particular reason other than it seems
to make sense, I can save my marine epoxy for glassing the outside, and
I happen to have a lot of 1/2" staples on hand. Boatbuilding is new
to me-- staples I understand! Here we go, hope it works
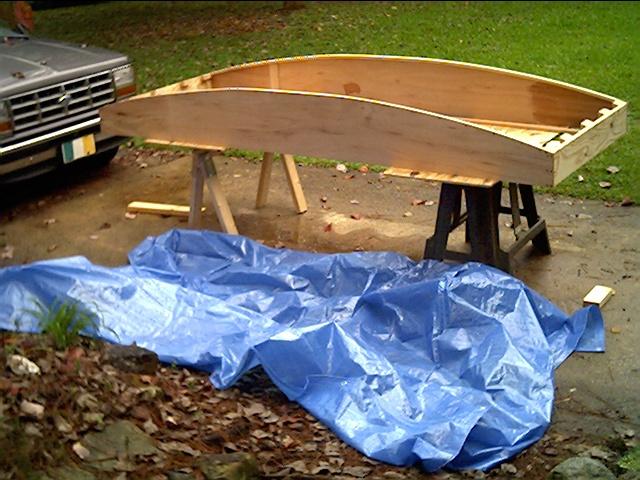
Here are the three joints, stapled, twined, and PL'ed to death, complete
with trash bags confiscated from the kitchen so the plywood won't be permanent
additions to my driveway. Hope the cat stays away for a few hours
A crummy closeup of one of the side panel joints waiting to cure-- I left
1 1/2" at the top for inwales and 3/4" at the bottom for the 1X2
chine logs.
Some observations so far:
1. It was a lot harder to come up with decent plywood and clear straight
lumber than I'd counted on. Home Depot and Lowe's are the big chains down
here, and I've been to both in several cities in Alabama over the past week
looking for materials. When I could find 1/4" plywood that was clear,
it was warped. The only pile of Luan I found that looked good had very thin
outer plies. I ended up digging through a huge pile of 1/4" Luan this
morning at Lowe's in Birmingham to find 3 usable sheets.
2. Too bad the Skil saw I got for father's day uses a different rip fence
than all the -other- Skil saws-- I'll have to order one or else come up
with some genius idea for a homemade one-- else I'd have bought a 12' 2X4
and ripped my own chine logs and outwales. Conclusion-- a table saw would
be great to have, even in this situation.
3.. I should have started on boats years ago...
Well, there you have it for the moment. Since I have to work outside and
am a slave to the weather on the weekends (two hurricanes in a week), I
hope to have the sides cut out and the bottom glued on by dark tomorrow.
We'll see.
Enjoy the Chugger, I look forward to seeing photos of it on the water. I
haven't given up on a skiff, I just wanted to build something -now-, while
I had the time and the weather is good.
Hope the photos are useful, though they're pretty boring for anybody who's
ever done this-- but photos like that are what made me decide that maybe
I could build a boat-- we'll see if that's true! Thanks for all your help,
I'll keep you posted.
Rick
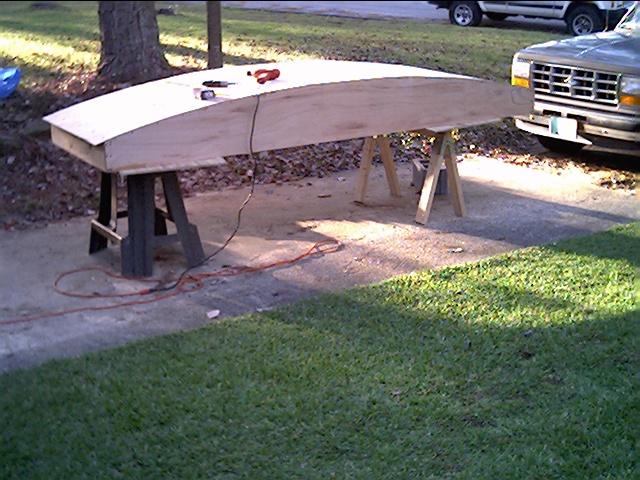
Hey Steve,
I guess you'd have to be an SEC college football fan to get the joke, but
if I have to name this boat, that'll be the name.
I'm finding ways to correct all the mistakes I'm making, but this thing
may be a boat yet. I decided to try the 3/4" square molding and it
was much easier to handle than 1X2 stock for the chine logs. I managed to
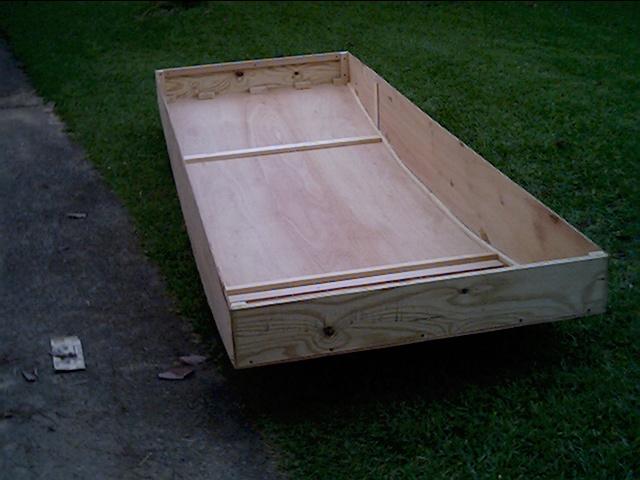
get both sides glued/screwed with the chine logs today, and this is finally
beginning to look "boaty", as my daughter said.
Note the curve toward the end with the butt plate is a bit more abrupt--
that's because I let the cut wander a bit when the waste started to drag
on the saw blade- but both ends with the butt plates are the same, so I
hope it'll be OK.
I also did not take into consideration that leaving 3/4" at the bottom
of the butt plate for clearance of the chine log would only work if the
bottom panels were -straight-. Had to deal with that 40 grit paper on an
orbital sander did the job. Not an exact fit, but PL came to the rescue
later.
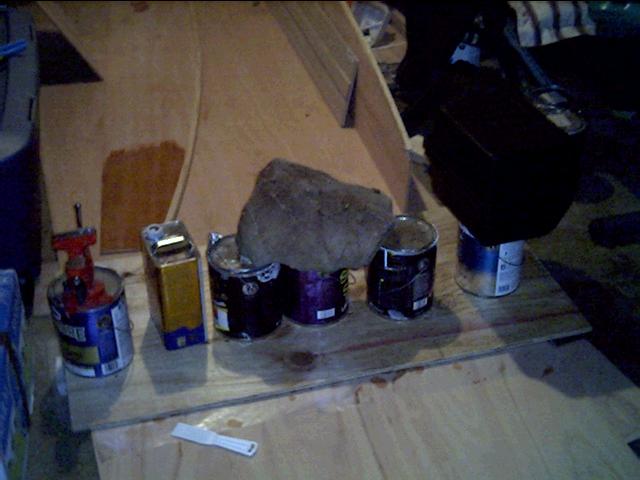
Went ahead and glassed the other side of the bottom's butt joint. Here's
a good example of everything but the kitchen sink used as a weight-- paint
cans, a vise, my circular saw and case, and a rock from the driveway I had
a little epoxy left over and used that to start the coat on one of the sides.
Did a few bonehead things:
1. That brilliant idea about putting blocks cut from 2X4 stock onto the
transom neatly cut to the same 15 degree bevel as the transom? Worked great--
only I put them on the outside of the transoms. Have to cut new transoms.
I realized that mistake about a half hour after doing the second one, thought
I might be able to salvage it if I took the screws out and smacked the blocks
with a hammer. Quit after the first block came off, tearing a large piece
of plywood with it. PL don't play.
2. Cut the 8' part of the bottom to 41 7/8", the 2' extension to 42"
even. Must have clamped the guide to the wrong side of the wood. Will trim
the 2' part to 41 7/8" wide-- have to cut new transoms anyway.
3. One end's transom will be 6 5/8" high, the other will have to be
6 3/8". Not sure how I did that.
I hope I'm not losing too much in carrying capacity by building this with
the same (or nearly the same) rocker on both ends. Guess I'll go ahead and
put a skeg on it while I'm doing all this. Well, this may turn out to be
a good example of how NOT to build one of your designs, but I'll keep you
posted. Should have another photo or two by the time you're back from guard
camp.
See you later,
Rick
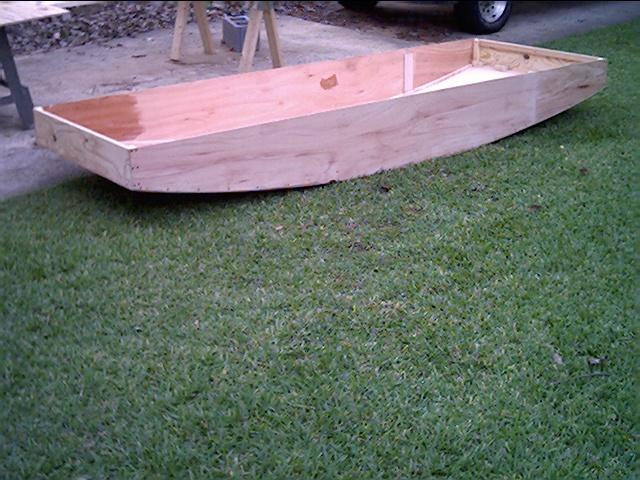
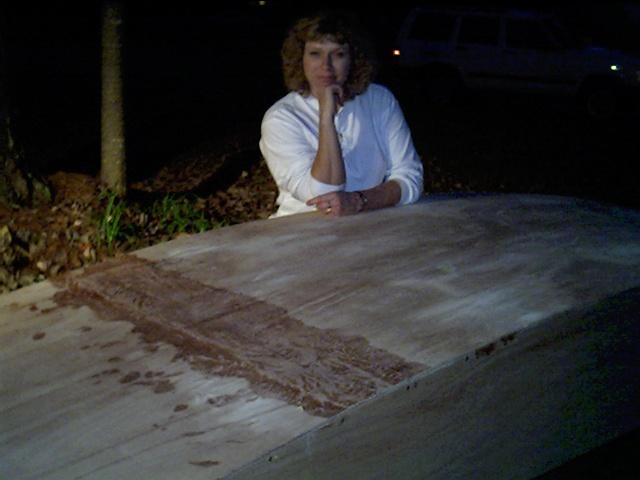
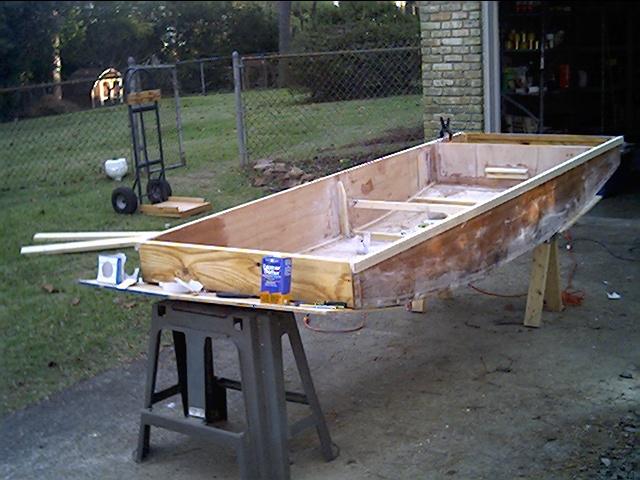
Hey Steve,
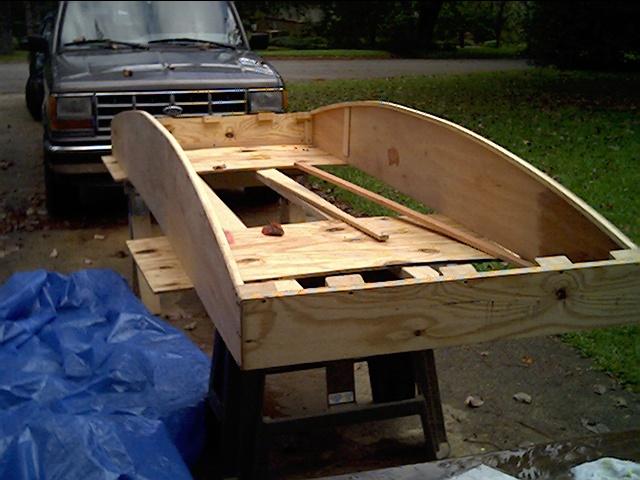
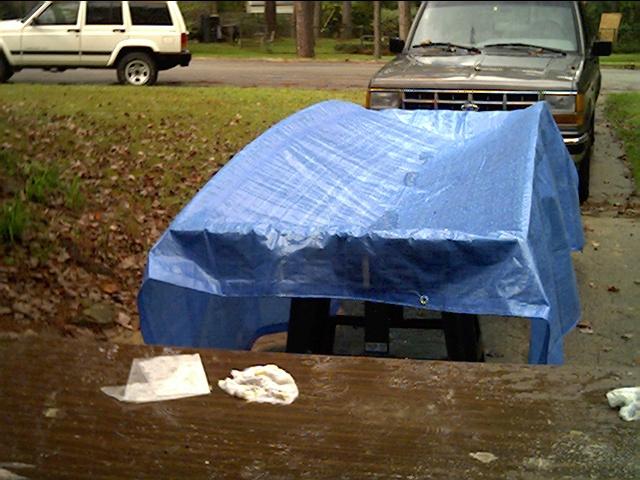
Here's the latest, though I had to stop once again due to rain.Well, it's
shaping up to look like a big sandbox. Hope to flip it over and brace it
square if the rain will blow over today.Note the ever-present blue polytarp.With
no table saw to cut bevel rips and no rip fence available for my Skil saw
(I finally broke down and ordered one) I cut blocks and screwed/glued them
to the inside of the transoms. Since I'm using 1/4" ply maybe I can
get away with it.
Oh, that crappy plywood is the B/C I'm using for a platform across the sawhorses
Not much in the Sleek European Styling department, but I hope it does what
I want it to do. Not sinking would be good for a start! What it mostly looks
like (It's not SUPPOSED to rain in October in Alabama) Having to work outside
is a real drag, I'd hoped to be a lot farther along by now. I'll keep you
posted, maybe I can get this thing finished by the end of the month.
see you later,
Rick
Hey Steve,
I was able to spend just about all day on the boat today-- had planned to
put in about 4 hours tomorrow as well, but got a phone call and will on
the road to my hometown (6 hours round trip) to attend a funeral tomorrow.
Oh well, guess this is where it will stay until next weekend.
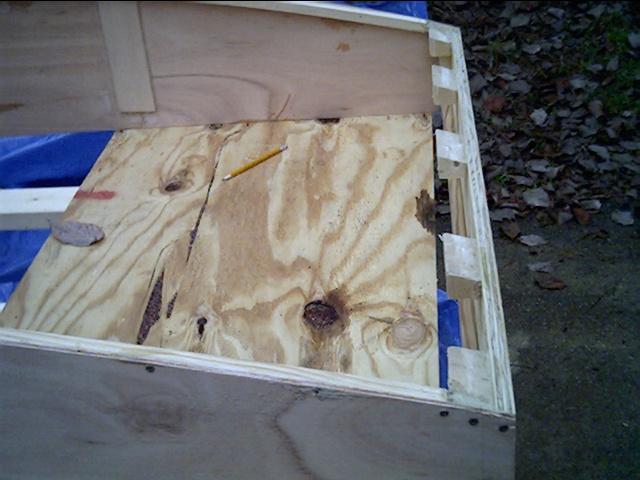
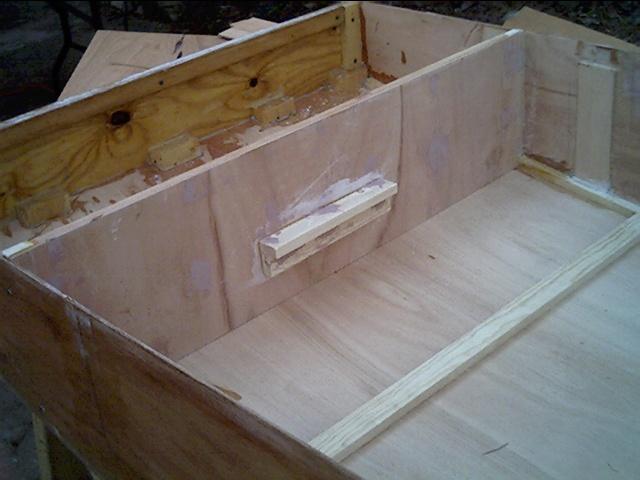
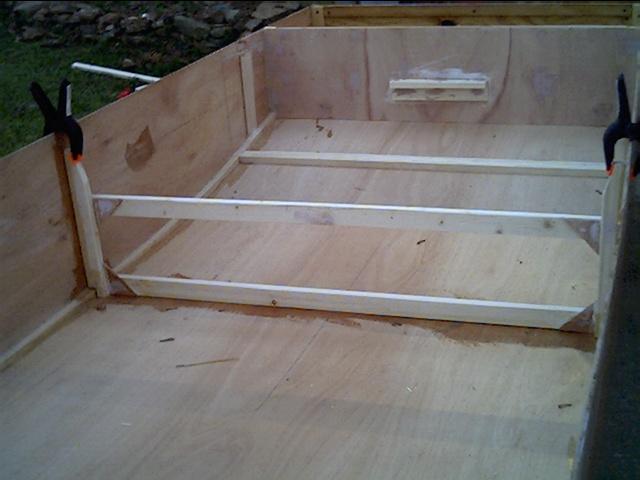
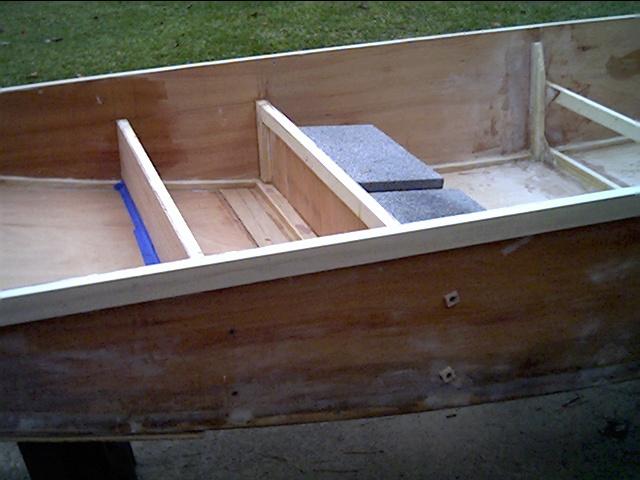
Built and installed the forward bulkhead, will attach the forward end of
the 1X12 seat to the shelf-- shelf is reinforced from behind with 1X2 stock.
Filled all the countersunk screw holes with Bondo, still not sanded down
in these photos. Lovely, eh? Ran a bead of Liquid Nails heavy duty contruction
adhesive on the sides of the bulkheads and along all the mating surfaces
on the side of the bulkhead that will be inside the tank. I was out of PL
Premium and didn't want to use any more epoxy than I had to. This won't
be seen anway, so if I have to gouge it back out and epoxy it it won't show.
Not sure how this stuff will be when it's cured, but it stayed right in
a nice bead, no bubbling like PL-- does remind me of the PL 200 I used on
my oak floors in the house though. Went ahead and glued in (with epoxy)
the center thwart, here are both of them drying-- I drilled holes through
the side panels and ran 1 1/4" deck screws from the outside into the
1X2's on the side. I'll remove them and fill the holes after I filet the
bulkhead and thwart: I settled on 18" for the depth of the forward
tank/deck, so the long seat will be 4' long-- hopefully that will give me
enough flexibility to handle most situations. I haven't done this before.
so I don't know. Ha, this is pretty neat-- building your own boat with the
option of doing anything you want-- but not knowing for sure what effects
you'll have by doing certain things. Oh, well, I'll find out.
See you later, Rick
{Dec 7, 2002}
Hey Steve,
Amidst cleaning gutters, raking pine straw, hanging Christmas lights, and
a few other things I managed to spend a bit
of time on the boat today. Spent most of the time trying to recover from
what seemed like a good idea at the time: To filet
the forward side of the center thwart using single pieces of glass to cover
both the upright 1X2 pieces and the one running across which will be the
seat support. What a mess it turned out to be. It might have been ok if
I'd cut darts in the glass tape or used short pieces for the uprights in
between the crosspieces. As it turned out, the sawdust/epoxy filets were
too thin and the goop pooled at the bottom of the joints, leaving plenty
of air under the tape where a filet had been when I put the tape down. Pretty
crummy looking-- so I spent a lot of time cleaning that up with lots of
grinding, sanding, and choice words: Acually, this photo makes it look a
lot better than it was! The taped seams on the bulkheads were fine as were
the seams on the other side of the thwart. Since it was too cold to use
epoxy this afternoon (note hands turning blue!) I decided to try a Michalak
trick and replace those filets with Bondo filets using making tape for borders.
Looks pretty good, just sanded the filets with 100 grit wrapped over a pencil.
Hope I can get the new epoxy and tape down tomorrow.
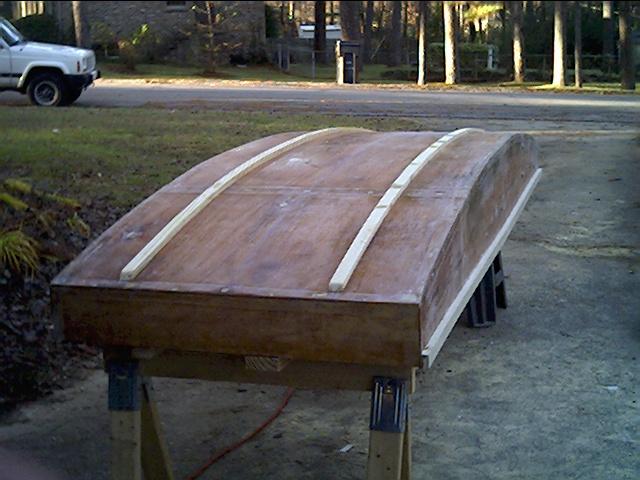
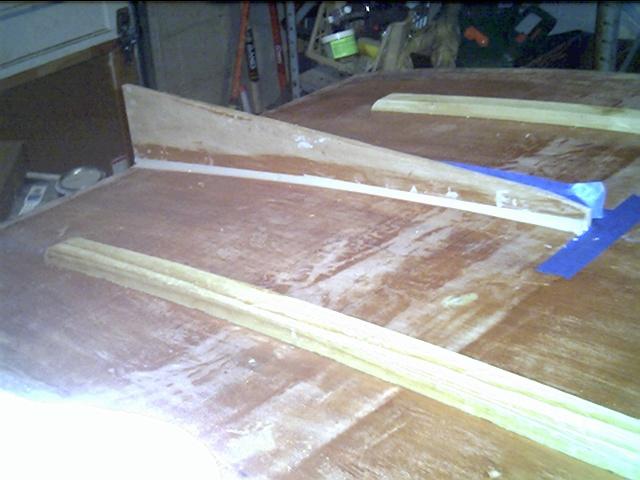
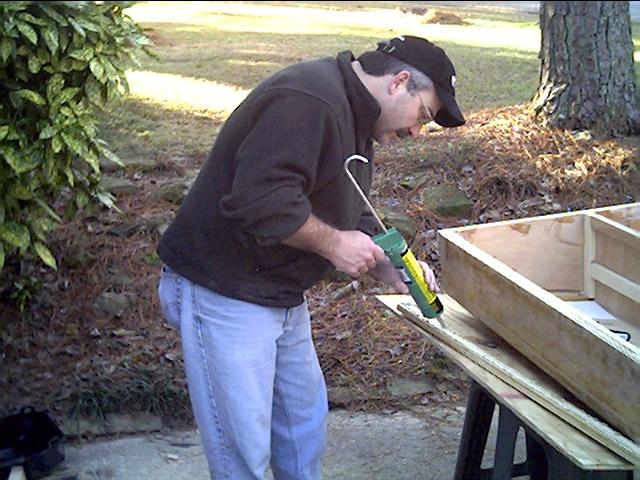
I did get the outwales on today-- screws and Titebond. Hope to get more
tomorrow and one day be able to send
you photos that look like a decent boat!
See you later,
Rick
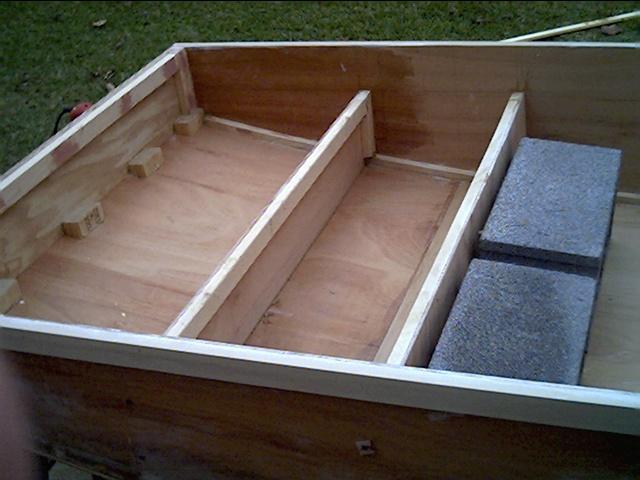
{Dec 8}
Hey Steve,
I blew off all family responsibilities today and worked on the boat a while.
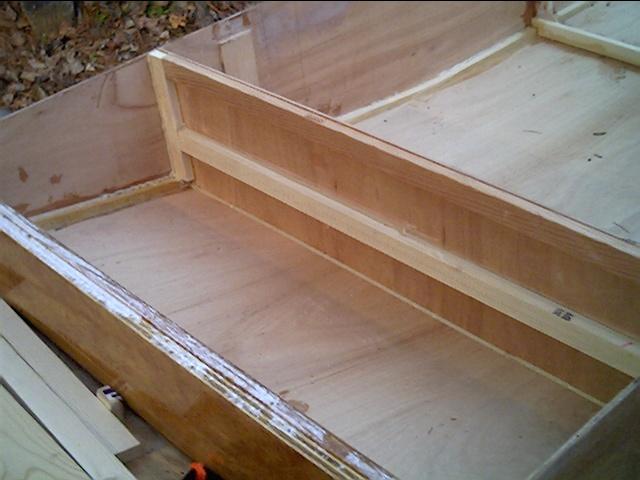
Got the two rear bulkheads built and installed:
These will be the rear seat/tank, and will enclose the bottom butt joint.
I buttered the sides of the bulkhead 1X2s with Our Friend PL Premium, and
put in two deck screws temporarily until I filet and tape the seams. I can't
remember where I saw someone using drywall screws and small plywood pads
for clamps but I thought I'd give that a try. Didn't remember that until
after I had already fastened in the rear bulkhead. I won't filet/tape the
inside of the tank, but I ran
a PL bead on all mating surfaces-- the concrete blocks are being used to
keep the inside of the bulkhead ply against the bottom support while the
PL sets up.
If you look close at the rear bulkhead, you'll see a screw-up. I was proud
of myself at measuring the bevel there at exactly 9 degrees and felt like
I was actually accomplishing something when I set up the chop saw. Only
when I dry fit the bulkhead did I realize I had attached the pieces with
the bevels backwards, and the Titebond had already set. So... I just filled
the gap with PL, it'll be on the inside anyway, thank God!
I'll have to haul it back inside the garage tomorrow, and if we get a break
with the temperature I'll filet/tape/epoxy the seams along with the ones
on the center thwart I'm having to re-do. I'll be deer hunting next weekend
(and it's supposed to rain anyway), so this may be it as far as any sawing,
fitting, etc., for a little while.
Stay warm up there-- see you later,
Rick
Well, I had to haul the boat back inside due to some very
nasty weather, so that precluded any drilling, sawing, etc. So I started
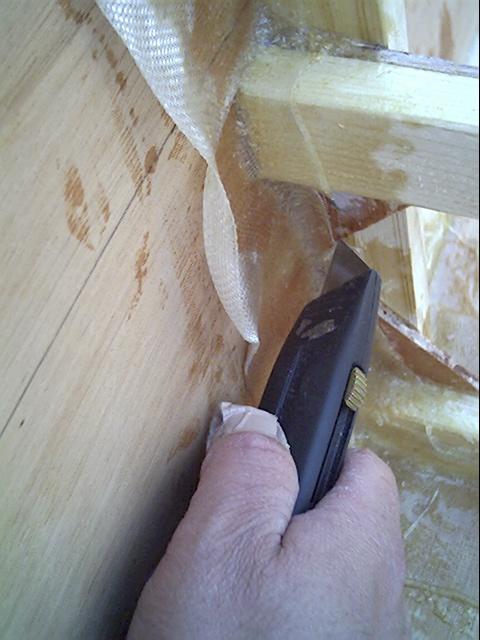
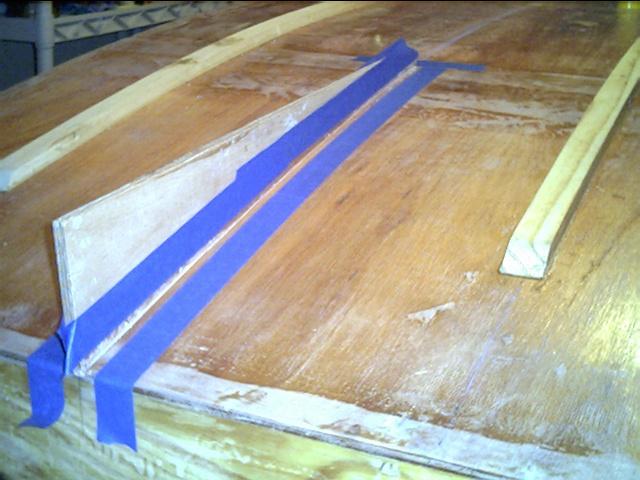
thinking, which is nearly always a dangerous thing. I had the skeg ready
to be installed, 5 1/2" high, made of two 1/4" pieces PL'd together.
Michalak states in the specs for his Robote to install the skeg with Bondo
or other fast setting putty, then filet and epoxy it with two layers of
tape. Wellll, I figured if that would work on the V-bottom Robote, it ought
to
work on a flat-bottom LilJon. So, I mixed up some Bondo with extra hardener
so it'd set up quick and held the skeg in place (and square) for a minute
or so. Then I recalled Michalak had built a bunch of boats with Bondo filets,
and that the prototype Toto had been Bondo filets with epoxy on the taped
seams. So... I masked off the edges of the skeg so I'd have about a 3/4"
filet, mixed up some more Bondo, layed down the filets and removed the tape.
Sanding them is easy with a piece of 60 grit wrapped around a piece of broomstick,
but they're pretty smooth as-is from the tongue depressor applicator. We
had a Christmas party at the house tonight so I didn't have time to glass
and epoxy the seams, but I'll get to that this weekend. I hope the 1/2"
thick skeg will be enough. I guess if it splits off the first time it bumps
a stump I'll know it was a bad idea. I plan to glass the outer edges also,
so maybe that will make up for the thinner than normal skeg. I forgot to
get in any of the photos-- not much room to turn around in my little one
car garage. I'll see if I can remember to do that this weekend.
See you later,
Rick
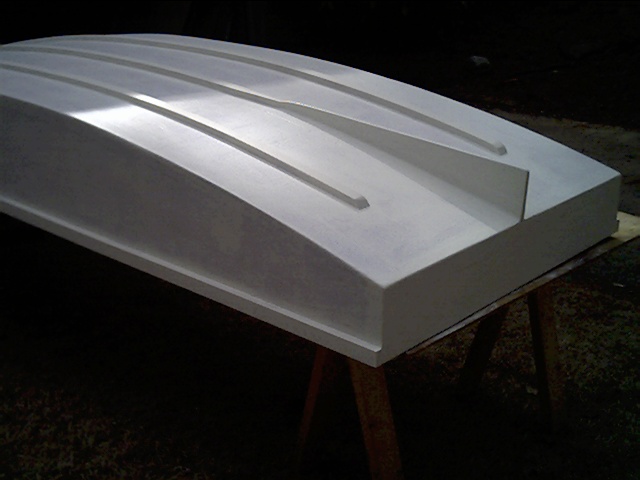
Hey Steve,
I was able to take a long lunch today and get the first coat of primer on
the LilJon-- Actually, this is the McCloskey
paint made by Valspar that Walmart sells that's supposed to be exterior
primer and paint all in one. Pretty splotchy
in some places since it's the first coat, but it seems to be sticking to
the sanded epoxy very well. The plan is
to put one more coat on the outside of the hull, then put the final color
(still haven't decided on that) on, 3 coats.
The interior will be this paint, and I'll probably make the gunwales some
other color.
Still have a little more construction work on the inside-- hopefully this
Spring won't be as wet as last Fall!
See you later,
