The Jackal's Knightmare Page
LEVEL 2

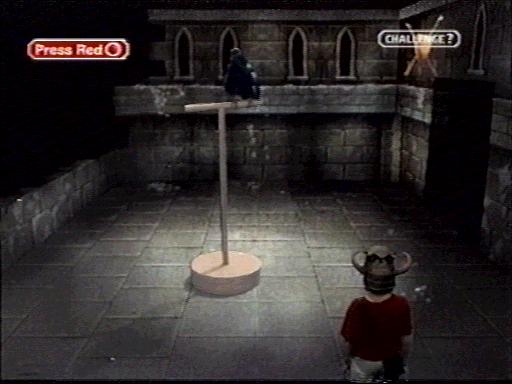
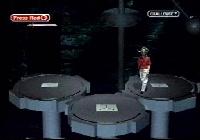
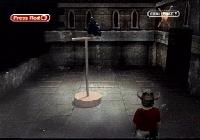
THE SPIN DIZZY - This was normally the first room of level 2. It contained a large wheel which would spin round and the dungeoneer would need to be guided to the edge and then instucted when to jump off and though a door way.
FEAR FACTOR:              30%
MENTAL POWER REQUIRED:    30%
PHYSICAL POWER REQUIRED : 35%
THE MILLS OF DOOM - If you didn't land on the Spin Dizzy, then you would definately land in this room. Basically, and again, the team would need to guide their dungeoneer across the mills which would spin round at a reasonable pace.
FEAR FACTOR:              35%
MENTAL POWER REQUIRED:    35%
PHYSICAL POWER REQUIRED : 50%
THE ROOM OF CHOICE - This was usually a puzzle type room and you would be given a riddle as to which door you should take. If after the jumbled message you were to choose the wrong one, it was game over.
FEAR FACTOR:              30%
MENTAL POWER REQUIRED:    40%
PHYSICAL POWER REQUIRED : 10%

THE FIRE ROOM - This was a fairly nasty room that took a lot of concerntration. Flames would appear from cracks in the floor and at the same time a ghost would normally chase you or cause an obstruction.
FEAR FACTOR:              55%
MENTAL POWER REQUIRED:    35%
PHYSICAL POWER REQUIRED : 60%
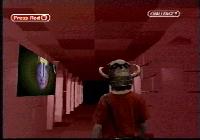
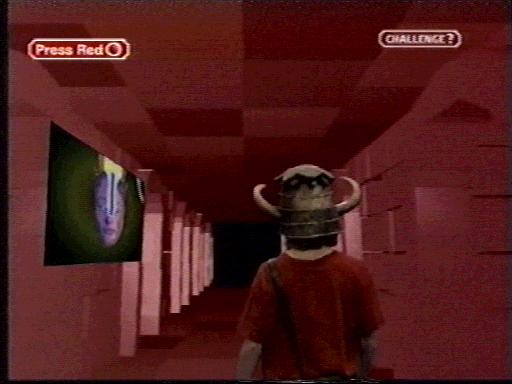
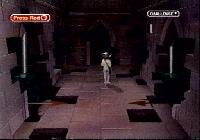
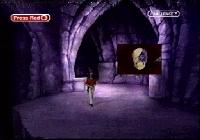
THE LEVEL 2 CORRIDORS - These were the same corridors of that in level 1, but now coloured red. Again, they would be short pathways that would take you between rooms within the level free of most danger.
FEAR FACTOR:              10%
MENTAL POWER REQUIRED:    5%
PHYSICAL POWER REQUIRED : 5%
THE BIRD ROOM - In this room was a talking bird. It spoke mainly rubbish, but somewhere in the middle would be a clue or some information that would be needed later on. Failure to take note would be fatal.
FEAR FACTOR:              25%
MENTAL POWER REQUIRED:    35%
PHYSICAL POWER REQUIRED : 5%
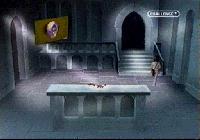
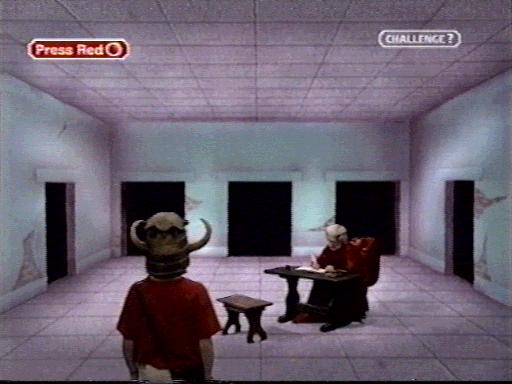
THE LEVEL 2 CLUE ROOM - This was the one and only clue room for level 2. By lifting the dungeoneers helmet slightly he could listen to an oricle which gave information on the objects on the table. Food could also be found here.
FEAR FACTOR:              35%
MENTAL POWER REQUIRED:    70%
PHYSICAL POWER REQUIRED : 10%
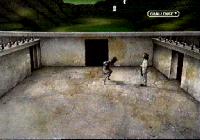
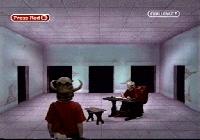
THE CAVERN - This room would usually be guarded by someone who would be in need of an object or some help. By choosing to help or handing over the right object would guarantee a safe passage.
FEAR FACTOR:              40%
MENTAL POWER REQUIRED:    35%
PHYSICAL POWER REQUIRED : 20%
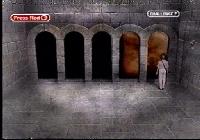
THE FOOT ROOM - This was a room with five doors at the far end and a large foot that would come down randomly across some of the doors. The team would have to decide which door to take and then time their escape.
FEAR FACTOR:              45%
MENTAL POWER REQUIRED:    40%
PHYSICAL POWER REQUIRED : 40%
THE SPEAR ROOM - This room had many dangers. Two sets of spears would open and close and the team would have to guide their dungeoneer through safely. On top of that, there were holes in the floor and it was usually haunted.
FEAR FACTOR:              60%
MENTAL POWER REQUIRED:    30%
PHYSICAL POWER REQUIRED : 55%

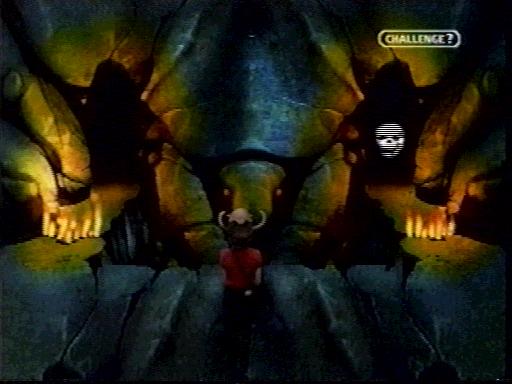
THE CATACOMBE - This was a large skeleton creature that stood blocking the two far doors of the room. Usually it was just a case of guiding the dungeoneer to the other door. Sometimes this room was also haunted.
FEAR FACTOR:              40%
MENTAL POWER REQUIRED:    35%
PHYSICAL POWER REQUIRED : 20%
MERLINS CHAMBER - This was a place of magic. But in order to receive it, you would first have to cross the gap by calling out steps that have been collected along the way, and secondly answer riddles set by Merlin himself.
FEAR FACTOR:              30%
MENTAL POWER REQUIRED:    60%
PHYSICAL POWER REQUIRED : 35%

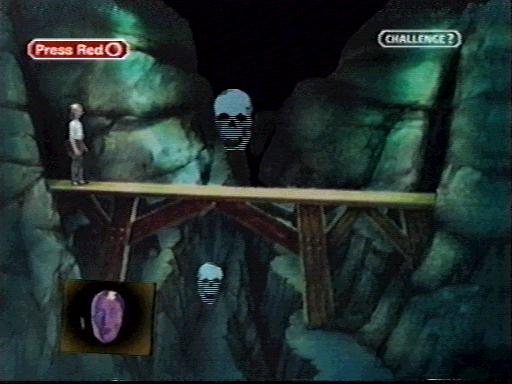
THE BRIDGE - A very dangerous place which was either haunted or inhabited by the opposition. This was sometimes the first place you would meet the evil Mogdred (usually found in level 3). Fall or fail a task here would be certain death.
FEAR FACTOR:              75%
MENTAL POWER REQUIRED:    80%
PHYSICAL POWER REQUIRED : 55%
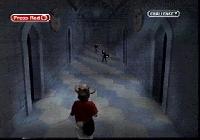
THE LEVEL 2 CORRIDOR - Another long passage with various doors to choose from as you walk down. Always guarded by either Knights or Goblins, magic would sometimes be required for a safe exit. You have got some magic, haven't you?
FEAR FACTOR:              60%
MENTAL POWER REQUIRED:    40%
PHYSICAL POWER REQUIRED : 30%
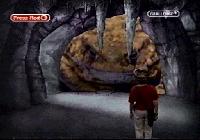
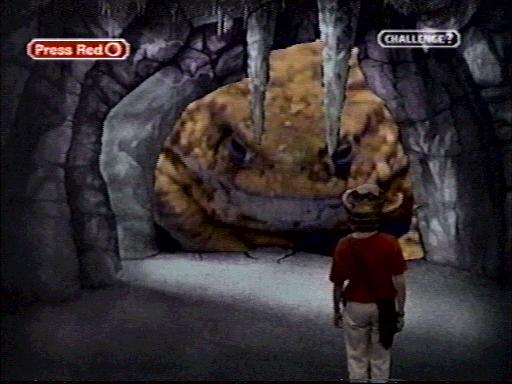
THE TOAD ROOM - This room was like a large cave with a big toad at the end that would make noises at you. Basically the team would just need to guide out the dungeoneer without getting to close to the creature.
FEAR FACTOR:              30%
MENTAL POWER REQUIRED:    10%
PHYSICAL POWER REQUIRED : 10%

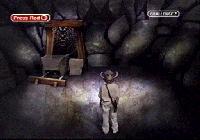
SMALL CHAMBER - In here would usually be the first piece of your quest object that would need collecting. Goblins would also chase you round, and timing would be essential. Sometimes a friendly person would assist you through.
FEAR FACTOR:              45%
MENTAL POWER REQUIRED:    25%
PHYSICAL POWER REQUIRED : 35%
LARGE CHAMBER - This would always follow on from the small chamber, and as a result the Goblins wouldn't be far behind. If they caught you it was certain death, although I dont think anyone ever did. Basically keep walking.
FEAR FACTOR:              40%
MENTAL POWER REQUIRED:    5%
PHYSICAL POWER REQUIRED : 10%
THE MINE - This was the gateway to level 3. Sometimes it was guarded and they would ask for payment in exchange for a push in the cart, othertimes you would need to call someone for help. In any event, jump in and hold tight.
FEAR FACTOR:              50%
MENTAL POWER REQUIRED:    25%
PHYSICAL POWER REQUIRED : 25%

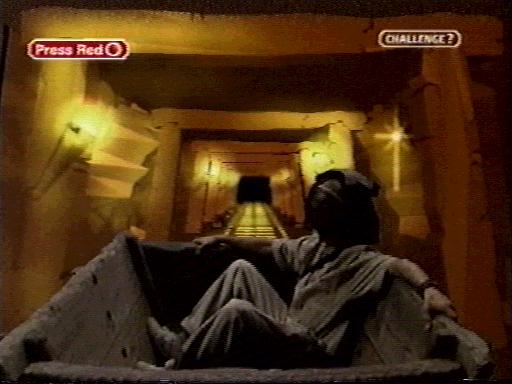
THE MINE TUNNEL - Once you've been given a push in the cart you would end up flying down this mine shaft. There was no danger here at all, you just needed to hang on and enjoy the ride down to level 3. A sort of calm before the storm!
FEAR FACTOR:              30%
MENTAL POWER REQUIRED:    5%
PHYSICAL POWER REQUIRED : 5%