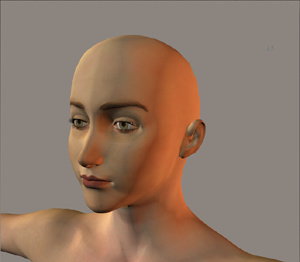
Site hosted by Angelfire.com: Build your free website today!

Making your own custom morphs


Getting started

First off you will need both Poser4 and a 3d editing program(in this tutorial we will use Lightwave).I will assume you are already familiar with the programs that we are using.

 Step 1. Load in 
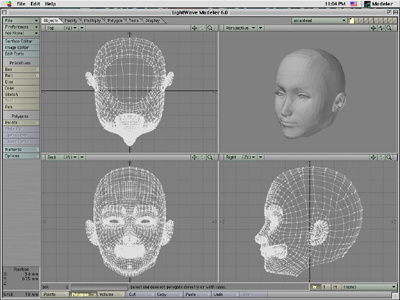
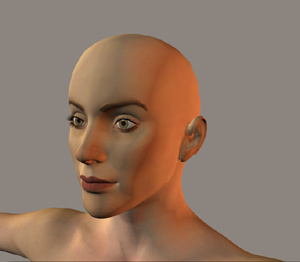
the character that you would like to create a morph for.In this tutorial we will be using Victoria 1,by Daz. Now go into the 
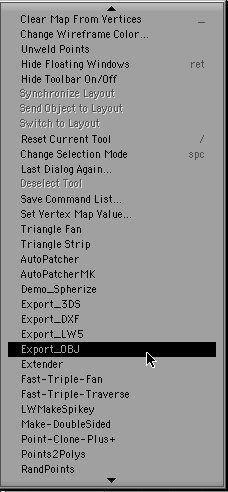
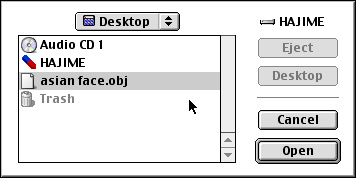
file menu and choose export.Export a wavefront.obj(you must use this format).A pop-up will 
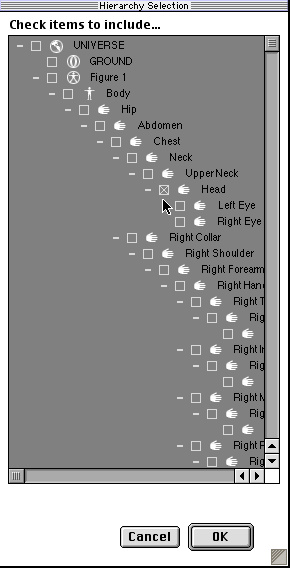
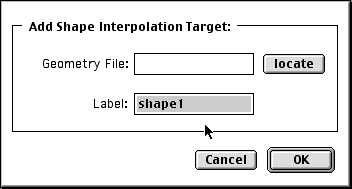
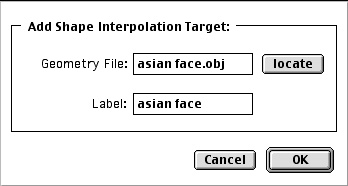
now appear.Choose Single frame,like in the picture on the right.Click OK.


 Step 2. Now a new pop-up will appear.Select the part you want to make a morph for(in this case the head).Note:if you are making a head morph do not select the eyes.Now that you have selected the part you want,click OK.


 Step 3. Now the window on the right will pop up on the screen.Select the 2 options like in the picture.It is very important that you only select the options like in the picture.Otherwise the morph target will not work right later on in the process.Once your selections are exactly the same as in the picture in the right, select OK.


 Step 4. Now boot up lightwave.Open up the .obj file that you just exported from poser.The picture on the right is how it looks when imported.Now you can change the mesh using the tools within the 3d progam you use(Note:do not add or delete any polygons,only change thier positions or the way they appear size and place).


 Step 5. After some tweaking of the mesh(which may take a few sessions at the computer)you are now ready to export the mesh again.


 Step 6. Choose to export an .obj file.


 Step 7. Ok now after you saved the .obj file,quit out of Lightwave.Now boot up Poser4 again.Select the figure you exported the part from,and add them to the current scene.Double click on the part you want to add the morph to(in this case the head).A pop-up will appear like the one on the right.Select "Add Morph Target".


 Step 8. A new pop-up will appear like the one on the right.Select "locate" and find where you saved the .obj file of your homemade morph.


 Step 9. Select the morph file.Then hit the open button.


 Step 10. This is what it should look like once it has been located and opened.Now rename what you want the label to be(in this case "asian face").Now hit the OK button.


 Step 11. Now you should have a new dial when you select the part you created a morph for,in this case Victoria's head.Now turn the dial to 1.000,and the face should change to the morph you created.


The face before...


..and after.

 I hope this tutorial has been helpful to whoever reads this.This tutorial was made mainly for Macintosh users,but i'm sure it could work with a PC as well.I can be contacted in person on the Hotline server if any help is needed,or on renderosity under the name "unityboxer"(without the quotes of course).