


OVERVIEW
![]()
The objective to this mission is to destroy the Leopold long range rail cannon. You will have three men to accomplish this task; the Green Beret, the Sniper, and the Sapper. The task is simple and can be accomplished stealth and speed if you follow these simple procedures. Good luck officer, and God's speed be with you. Click here to Review the Mission Briefing for Mission 6.
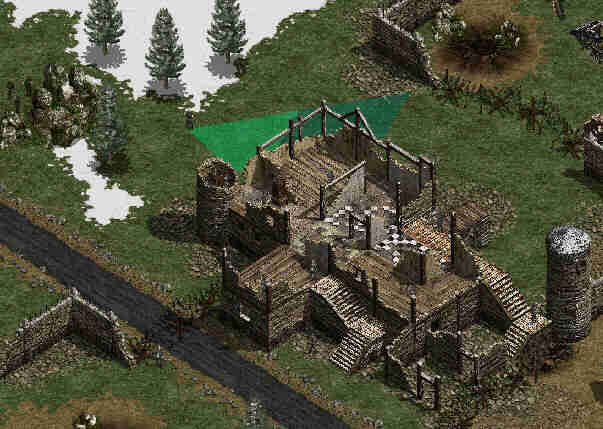
Clearing the First House - You must do this swiftly and leave all these bodies lying where they fall.
The Green Beret is the man for this part of the mission. He must use his knife with great skill and with precision timing to dispatch the guards located in the house. The first task is to remove the threat of the walking guard outside the house. It is a simple task for the Green Beret to run up from behind and dispatch this poor unsuspecting soul. Now the Green Beret must come around to the Northwest corner of the house on the West side and wait for the walking sentry to turn his back. Climb the West wall of the room with the clock and quickly hide in the upper corner of the room out of site. On the next cycle of the sentry's walk, dispatch the guard that is standing in the room and quickly run to the sentry and take him out also. Immediately run to the guard on the porch on the North side of the house. Your timing should be on the mark to be able to dispatch this guard and then hide behind the outside wall. Timing again is a factor in dispatching the sentry in the Southern part of the house. By now he should just be coming toward you. He may see the dead guard and he may not. Either way, you must wait for his reaction. If he sees the dead guard, dispatch him after he runs up to the body. If he doesn't see the dead guard, take him when he stops at his closest point near the North wall. Now dispatch the guard standing on the platform on the East side of the house. Back up into the house and go after the two guards in the Southwest wing. Use your knife on the guard by the steps first and then the guard in the corner. Place the decoy North of the second guard and exit the room back through the doorway and hide behind the wall. Turn the decoy on and wait for the guard and the sentry to come into the room. Leave the decoy on! Both men will see the dead men, but will continue to the decoy and stand there until you can dispatch their lives. The house is cleared and you have done it in record time!
Blowing the SDKFZ-231
Bring the Sapper and the Sniper up through the house and to the rock just West of the house. While they are running to do this, take the Green Beret and take out the sentry and the guard, in that order, and hide the bodies. Beware of the SDKFZ-231, it will return quickly. The Sapper and the Sniper should now be behind the rock. Wait for the armored SDKFZ-231 to come around and send the Sapper to the compound wall just West of the tower. Locate the explosive next to the wall, between the tower and the small rock West of the tower. Have the Sapper crawl behind the house located South of the compound and wait for the SDKFZ-231. Bring the Sniper and the Green Beret to the same location behind the house with the Sapper. Blow the SDKFZ-231 and prepare the three commandos for a shoot out. Line them up against the back wall and have their pistols ready. When the guards and patrols begin to look over the wreckage, shoot the pistols to attract their attention. Continue to do this killing each man as he comes into range.
Entering the Compound
The Sniper must now move into position and remove the guard up on the roof of the garrison house. Bring all three commandos into the compound and send the Sapper to the rail cannon and place the charge next to it by the ladder. Bring the Sniper around the rail car and prepare him to storm the third house. The Green Beret must dispatch the remaining guard in the compound and then move to the other side of the train and dispatch the guard between the guard house and the train. Run directly South to the wall and then West to the wall next to the sentry.
The Outer Area
The Green Beret must now dispatch the remaining guards and sentries. Wait for the sentry to come into the corner and use your knife. Run to the wall North of the rail car and wait for the sentry North of the guard house to start walking away from you. Dispatch the guard and instantly run to the sentry and take him out also. You must act quickly, or the sentry will turn and see you. Now move to the corner where the last guard is standing and take him out also. Bring the Green Beret back around to the outside of the same corner and wait.
Clearing the Third House
The sniper is best for this job. He can move quickly and silently. Climb the ladder as the sentry on the left is walking West. When you get to the top, stand on the platform until the sentry comes into view. Don't worry if he sees you, he usually doesn't fire or sound the alarm if you don't move. Use your rifle and take him out. Now move into the next room so that you can see the second sentry. Again shoot him with your rifle. Now shoot the guard in the North corner of the house and climb back down the ladder. Move into the clearing and shoot the machine gunner with the rifle. Bring the Sapper and the Sniper up to the machine gunner and lay down. Bring the Green Beret up to the machine gunner also and lay down.
Destroying the Leopold Long Range Rail Cannon
Everyone is now in position at the machine gunner. Have the Sapper
blow the explosives and quickly lay back down. Click on all three
commandos and wait for the rescue truck to arrive. Be careful not
to stand or get in the pathway of the truck. It will kill you if
it hits you. When the truck stops, crawl into the truck. Excellent
work men. If you have done everything correctly, the truck will move
out without being hit by enemy gun fire.
Go to Mission: 1 2 3 4 5 6 7 8 9 10 11 12 13 14 15 16 17 18 19 20
Return to Mission
Code page
