A couple of pics on my past mods to my pc (click on them to see a bigger pic)
|
|
|
|
|
|
Custom dragon cutout on side of case. This is not yet complete, it still needs some light behind the design. This design was cut out using a Dremel hobby drill. www.Dremel.com. This was then backed by a piece of Plexiglas cut to fit. |
Front of my case (notice no cd drives?). The dials are a rheobus to control the fans inside my case, which means silent pc (also got sound absorbing foam on the inside as well). |
Ah there they are. This is a little modification called 'Stealthing'. The link below gives you some tips on how to do this. |
The front without the cover. Here you can see the nice LED fans and fan grills. |
|
|

|
 |

|
|
This is the cutout when in total darkness. This effect is achieved by embedded EL string on the inside of the Plexiglas that makes up the window. |
An angle view of the case showing all of the lighting to full effect. |
Another angle view but this time with low light. |
Finally, an angle shot of my pc with full light. None of the lighting shows up under this level of light which is a bit of a shame. |
The case I have is a Lian-Li PC6083A Aluminium Case. This is one of the best cases that I have worked with
(when building a pc that is, this is the first case that I have modded).
It looks lovely and it is a piece of cake installing hardware into.
Now on to my Matrix Mouse Mat
|
|
|
 |
 |
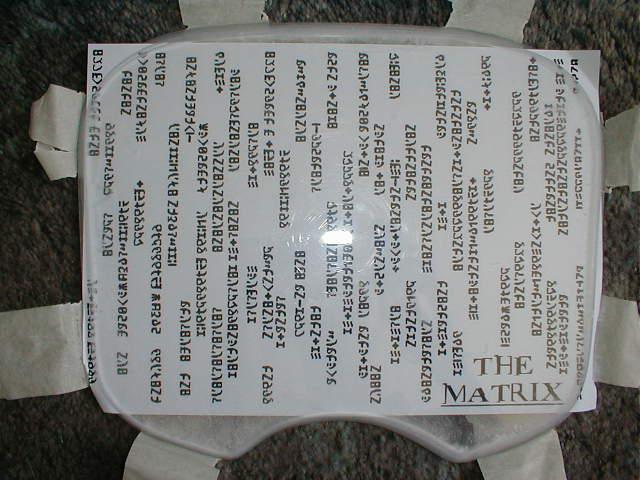
| 1. Mat with Matrix design to be etched. | 2. This is the layout of the EL string | 3. Mat lit under daylight | 4. Mat lit in subdued lighting |
 |
 |
| 5. Finished Mouse mat in normal daylight | 6. Finished Mouse mat in total darkness |
The layers of the mouse mat have been "frosted", which means each layer was sanded down to take away the reflective properties of the plexi (doing this will also aid the spread of light). This should cut out the possibility of poor mouse tracking (I use an optical mouse which relies on having a random surface that is not reflective (or so I thought)). The second layer of the mat (used four in all to give me plenty of depth to embed the EL string) has the design etched into it with the remaining surface spray painted black. This should stop any light refraction of the optical mouse. Random characters have been coloured different shades of green to make it more interesting, this along with the EL string passing under certain portions of the etch makes it's more like the matrix image in the films. The EL string is embedded into a channel cut out of one of the layers and partially into the next. The thickness of the string is about 3 mm so the channel is about 3.5 mm deep and wide. The bottom of the mat has foam pads to stop the mat sliding everywhere
Here is the design I used. I created this in MS word

Here are the font files I used to create this: