


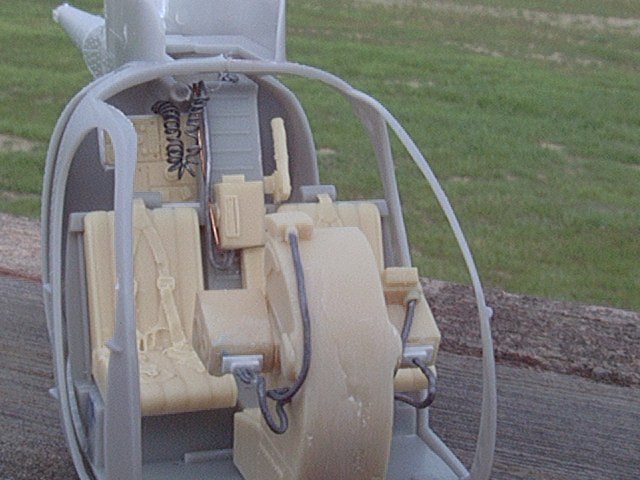
I built up the kit to a point where I could blast the whole interior with Model Master Aircraft
Interior black. After blasting the interior and cockpit framing, I started detial painting the panels
and switches. The large CRT screens are cut film negative. I wired the kit up with .010 detail solder
and painted that white. Maplight wire is also .010 wire curled around a pin, as were the commo cords added later on. The floors were appropriately scuffed with silver and chromate yellow, and a
thin coat of interior black shot over that, toning it down very convincingly!

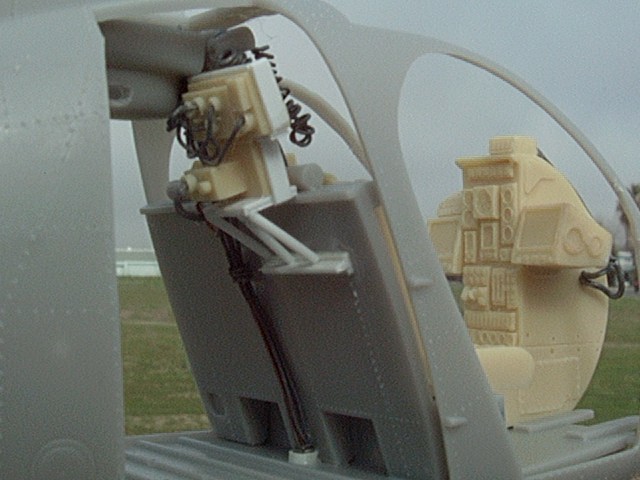
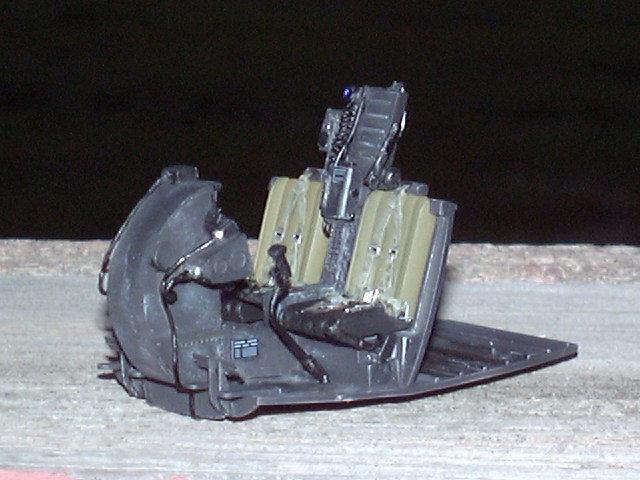
The MELB rack is all resin and quite easy to put together. I suggest a fine razor saw ( I use a Zona saw) and cut each peice apart from the stub and sand away till the depth is right. Make sure each foot part #12 fits onto the floor tracks right. I made one side complete with planks, and reinforced it from the bottom, and left the other side planks off, installing them after assembly.
Now lets move outside. I installed as many permanent fuse details as I could and put the halves together. The skids were detialied with N scale railroad lifting eyes and a large ring carved from plastic. I made the X shaped antenna from quarter round stock and mounted that on 1/16th inch rodstock which went into a hole in the fuse aft of the tranny housing. On each navlight frogeye, I cut part of it away for the lamp and later filled that with epoxy after painting the appropriate color.
Installing the bubble is the hardest part of this kit, and some people experiene problems with it.
You may find that you need to shim or add plastic to the bottom edge or the top edge, depending. Do a lot of test fitting on this kit. When you have the fit the way you want it, cement the top or bottom edge first and let that dry overnight, then slowly work your way down the side of the frame to the other end. You will find this easier than trying to do it all at once. I used Black Magic Masks for the first time on this kit and I was very happy with them!
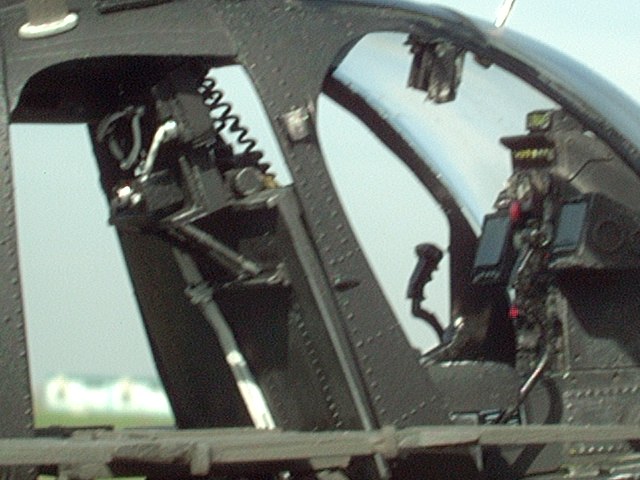
I stuffed the interior with pantyhose and sprayed the kit overall Aircraft Interior Black. It looks better than just flat black! Then, I used flat black and an automotive series black to "fix" spots where panels have had paint chipped from them during maintenance.
Rotors were again, black, coated with a coat of Future Floor Wax on the hub and the main and tial rotors dusted with Grimy Black for a different sheen.
That's pretty much it, actually a quick conversion made all the easier by the monochromatic paint scheme!
Cobra Company website.
Meteor Productions website, look for Black Magic Masks
Photos © David Campbell
27 January 2003
