BUTTON BASICS
These instructions are not to scale and are only to be used as a reference to the construction process.
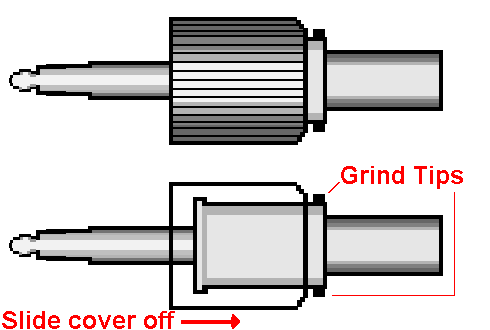
| STEP 1
Take plug, (278-96 PK2 SLDRLES PL259) and grind two tips off so that the outer cover will slide back off of the plug. |
 |
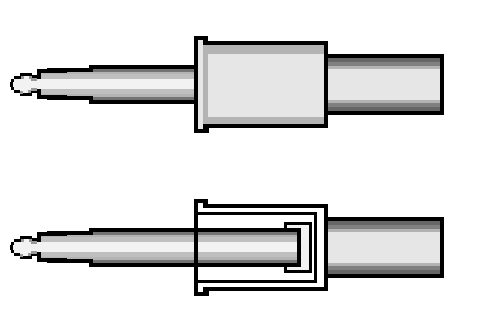
| STEP 2
Now you have the inner housing and the actual plug itself. |
 |
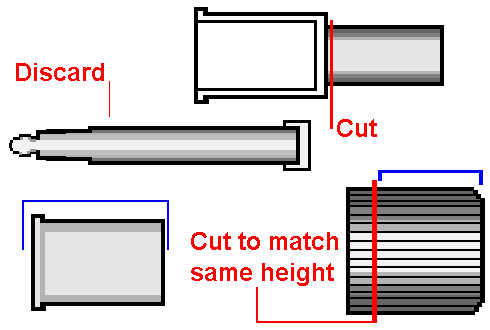
| STEP 3
Remove plug tip and discard. Take inner housing and cut end tube off. Take the outter housing and cut lower portion off so that the inner housing is encompassed by the outer housing. |
 |
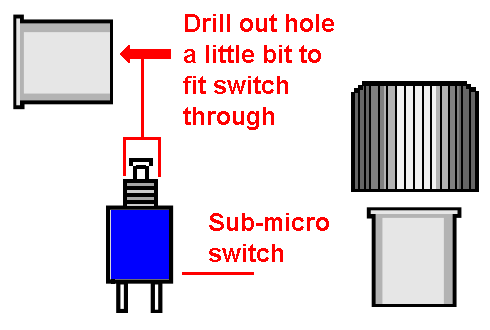
| STEP 4
Measure diameter of switch shaft and enlarge existing hole in inner housing to fit switch. |
 |
| STEP 5
Assemble as illustrated. |
|
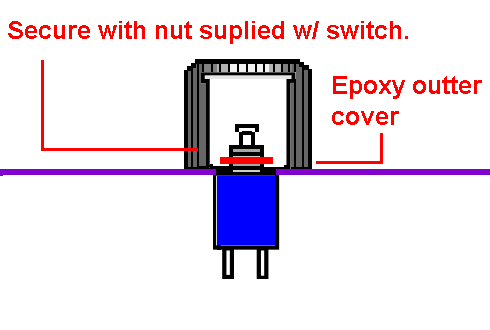
| STEP 6
Secure switch up into inner housing with nut. Carefully apply epoxy to outter housing and place over entire assembly. |
 |
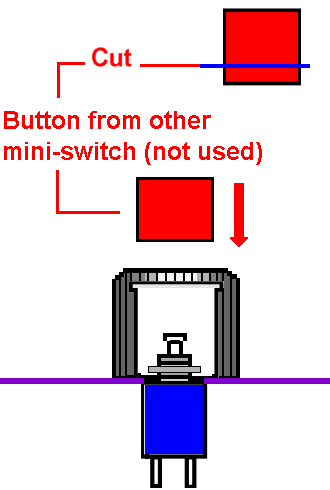
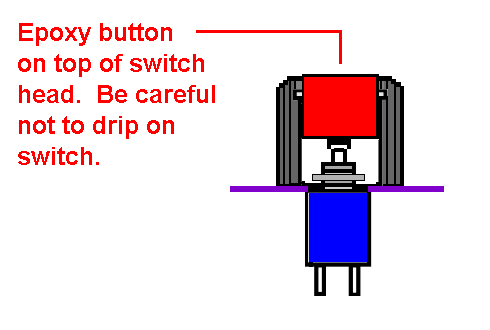
| STEP 7
Take removable button from other switch and cut down to appropriate height. (your choice) and then epoxy button onto top of sub-mini switch. |
|
| STEP 8
Complete assembly. |
 |