
WHY CBX 550F
I looked for some time for a restoration challange. This all started with seeing Evan's 1977 CB400. I knew that any honda restoration will be hard as brilliant HONDA CEOs tend to think that parts or bikes older than 20 years should not be on available or on the street. I was faced with the same issue with my 1989 civic. But to make things worse, this is an '83 bike that I was considering and was only available in Canada for one year! No matter what, the bike is beautiful. To me, It represents a change from the 70s into the new area of cycling. And so it began. My goal is to share some of my restoration findings on this site. Don't hesitate to email with any opinions you may have on the this subject. I'll try to include honda part numbers as well. For some reason, I cannot purchase honda part number catalogue for this bike. I can find it for any bike bike that's been made in the US for free. That makes a lot of sense Honda CEOs!
ENGINE INSPECTION
The oil was drained through a filter medium to analyze the condition of the motor. Oil filter was also taken apart and inspected for any metal or other kind of unwanted materials. No foreign particulates were found. Oil was dirty though so the leak down test will have to be performed later to get the over all shape of the motor.
OIL PAN INSPECTION
Previous owner indicated to puchase some good "toyota" washers as there is a small leak at the drain bolt. Upon dropping the oil pan, I found that the oil drain hole was tapped and TIG welded! Have a peak!


OIL PUMP
Due to numerous reports from many CBX 400F/550F owners of loosing motors due to oil starvation, this issue has to be addressed. Stock unit delivers 28L/min at the engine side at 7K RPM. At this time, I will not take the pump out; BUT, next time the bottom end has to be rebuild, the oil pump will receive considerable massaging. i.e. it will be ported and polished. This modifications will reduce pump cavitation at high engine RPMs and increase output by reducing losses, and ultimately netting more power at the cank. This technique has be utilized extensively by Honda Civic/Integra enthusiasts in the past to gain valuble PSI. The B16/B18 Type R motor I'm refering to is an excellet example. Keep in mind that with that upgrade, your pressure relief valve has to be modified as well.
PRESSURE RELIEF VALVE
This was tested before installing the oil pan. The Honda shop manual does not describe how to perform the test nor does it give any specifications of the pressure relieve point.
Test was simple; attach an air ressure hose to the end is see at what PSI will it open. It should be higher than 71 PSI.

OIL STRAINER
I took it off and got very scared. There was so much metal and crap on the screen! Tried to get a new one but it's discontinued. So off to the machine shop I went to have it cleaned. The guys did a good job but indicated that there was still some material on the screen that the solvent cleaner could not remove. I also tried dipping it into a rust remover (POR-15) without much luck. With some tweezers and surgical needles, I got most of it off. The seal that goes over the neck is also disontinued. I found a close match, I think it even gives a better seal.

OIL COOLER
Due to oil strainer contamination, I decided to thoroughly clean and flush the cooler. No surprises there. I'll keep the stock cooler for now but will have a look at some aftermarket units in order to inclease overall Oil volume availability for lubrication and cooling purposes.
HEAD
This is where most of the time and effort should be spent to gain any considerable performance. The head will sent off for port and polish and flow analysis. Update: I've acquired a second head but unfortunately even at 12,000km, the head needs to fixed due to oil problems. I'll have to find a new one and that's Mucho Dimero!!! Update: Found a replacement. I had it polished and ported, changed all the valve seals, lapped the valves. The head was decked. Machine shop had to take 8 thou of an inch. Valves where is such bad shape even for a motor that had only 16,000km. The only way to clean them is to glass bead. I'll post more pictures.


TUNING
When a suitable dyno comes along, carbs will be tuned on an individual basis. I'll have to have EGT ports welded into the header and wide band O2 ports as well. Having some experience with MUGEN and SPOON products on my previous CIVIC project, I'll try to incorporate those design ideas into this custom CBX's exhaust.
This bike will mostly be for street use so mid range to low top end is what I'm after. Consequently, two exausts will be utilized, one feeding off cylinders 1-4 and the other feeding 2-3.
Update: 2012 season.
In the end, I could not justify destroying the only set of exhaust I have. I took it for a 2 hour dyno tuning session. I'll scan the charts when I find time but the results where:

REASON WHY CBX550F ARE STARVED FOR OIL!!!
Countless times I see reports of CBX motors blowing due to oil problem issues in the head and in the bottom end.I decided to investigate and I found the reason for it!
The reason is a manufacturing mistake in one banjo bolt! If you look at the picture below, see what the oil feed is from the banjo bolt(the bolt with the oil pressure switch on top) to the top of the head. The hole feeding the tubing is so small! This is what the head is fed with!!!! The picute below shows original bolts. (the banjo bolt on the left is used to attached oil feed to the head).


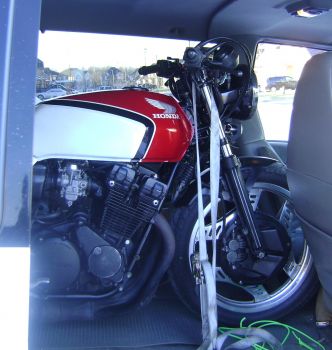
IMAGES AT THE END OF THE 1st SEASON
So far I've done well over 1,000km and it's been a lot of fun! Have a peak at some


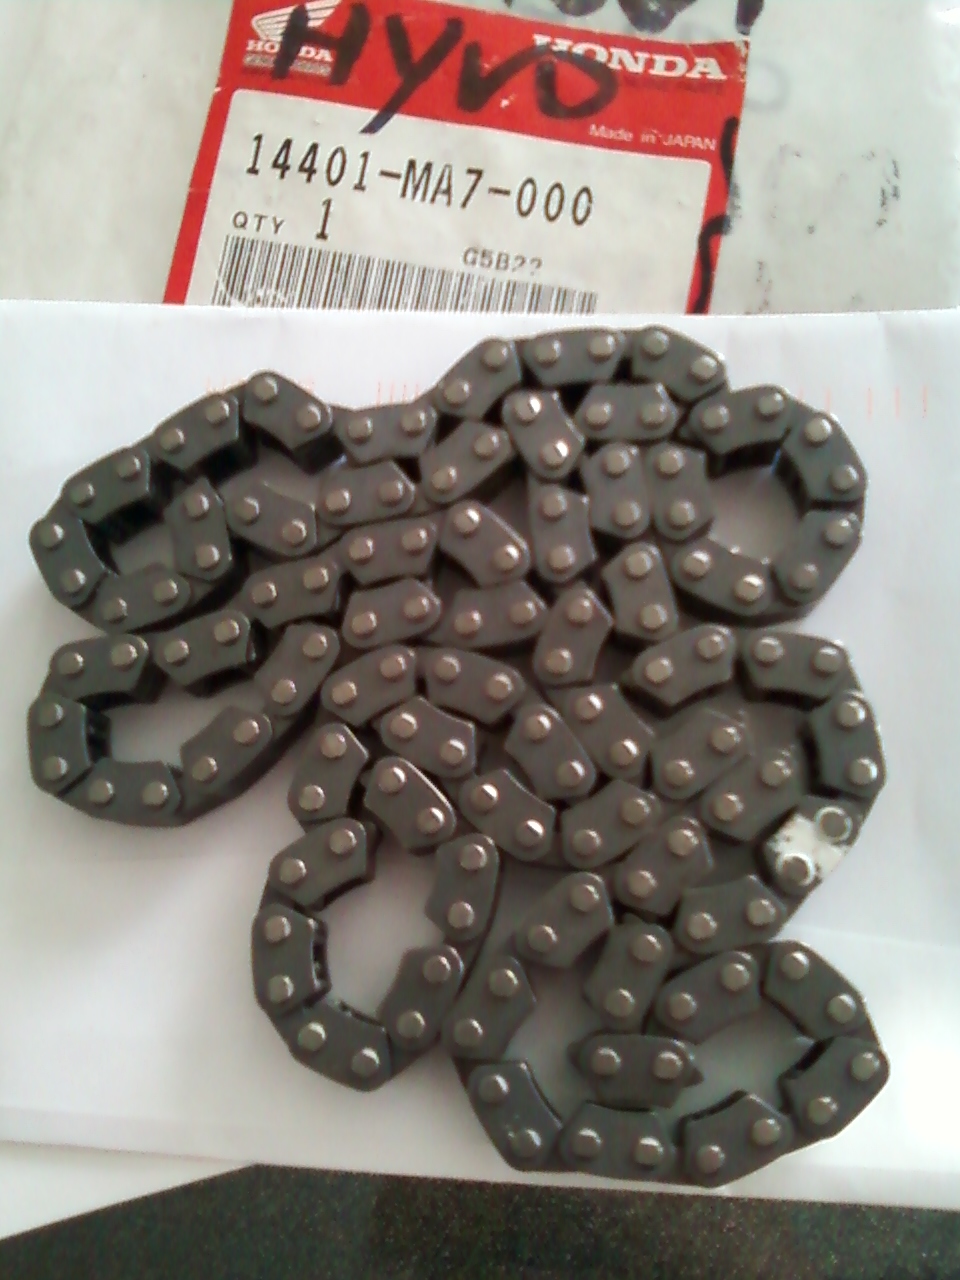
TIMING CHAIN
It took a while but I managed to get my hands on a new OEM original honda timing chain. I decided to split the chain and rivit it back with a link. There are 134 pins in a chain and it is 87.1cm long including the link.
UPDATE!!! I thought this chain was new, as claimed by ebayer. It was not new! I hate people like that. The chain I was replacing it with was 85.0 cm. I ended up getting one with 136 links and shortening it.


CUSTOM OIL COOLER LINES
Had to make them as there was nothing I could find ready for install...


WANTED
