
Part 1 - Introduction
Part 2 - Foundation
Part 3 - Eyes, Eyes, Eyes
Part 4 - Lips
Part 5 - DIX!!!!
Part 6 - Optional Blood
Part 7 - Conclusion and Costume
Part 8 - Products
Part the First: Introduction
This makeup was done by Star-sama once again (There’s no one else, Star! I swear!). It was done over two hours again, with a break for food near the end. Some was done in natural light, as it was done during an ice storm, and we were watching out the window as people got their cars stuck in the snow; and some was done by the light of the computer. I have a thingy in my eye. If there are thingies in your eyes at any point of this tutorial, get them out. They hurt. Removal of this makeup was not timed, but I went upstairs to the bathroom when it was light outside, and when I returned downstairs to watch the movie, it was dark.
We combined two looks in one with this, spending more attention to the second look because of it’s intracy. The eye makeup is the same for both looks; only the decoration under the eye changed.
Never eat spaghetti after you have your lipstick painted on with wet makeup.
And as always, products we used will be mentioned throughout the tutorial, and will be explained in detail at the end.
Part the Second: Foundation
Since the last tutorial (Le Ceil), we discovered that the powder makeup base would not do the job this time. I was suffering asthma difficulties already, and we decided that the flying powder would not help in the least. I had gotten a hold of some white clown makeup the Halloween before, so we tried that out. It was a little chunky, but we put some compact powder over it, and it looked fine. It was a little itchy while it was drying, so if you use this technique, make sure your artist is there to make sure you don’t scratch.
For this foundation, your face MUST (I repeat, MUST) be clean and free of oil. Otherwise, the cream foundation will turn into a paste, and…..let’s not go there, it’s not pretty.
We put the foundation on last, but it works just as well if you put it on first. If you put it on first, you have to be very careful, because you will have to wet the eyeliner pencil you use later on. You don’t want the foundation to start running, because if it does, it’s very hard to fix it and keep it looking consistent.
Part the Third: Eyes, Eyes, Eyes
To start off with, draw all the way around your eye with a thick black eyeliner pencil (when it’s time to get it off, you’ll have a hard time. Take it easy, or you’ll hurt yourself, cause that stuff is not coming off. Never. Stop trying.). Steer clear the little ledge above the bottom eyelashes with this pencil.
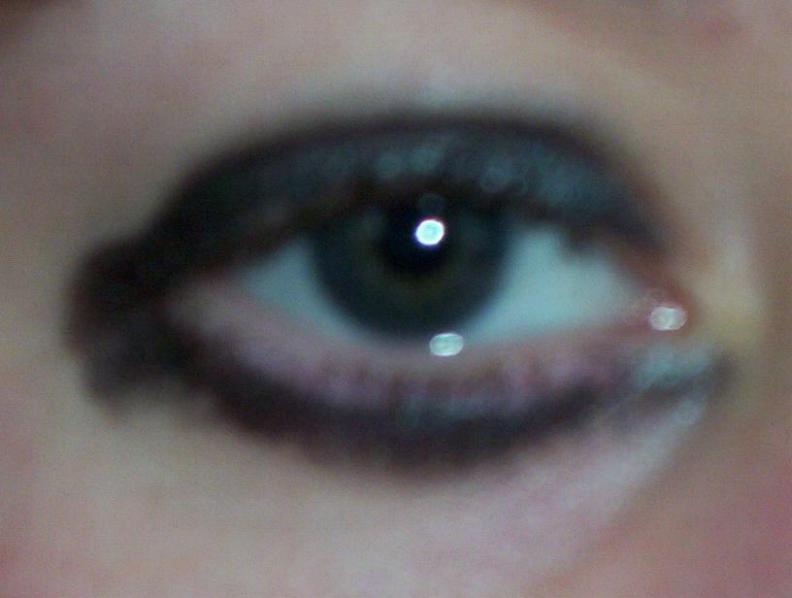
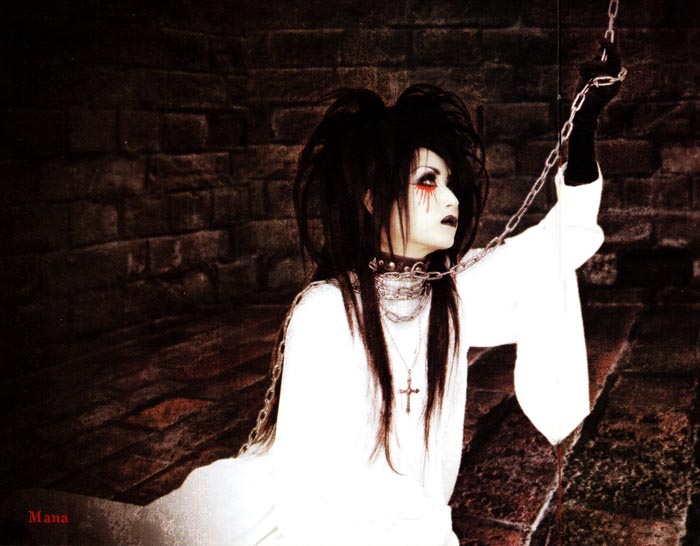
As you can see from the picture, Mana does indeed have the little ledge coloured. He’s getting braver, because he never used to colour that ledge. This posed some problems for me, seeing as I have a phobia of things touching me there, but here is where the thinner eyeliner pencil in dark blue comes in.
If you look closely, you will see that there is a hint of blue in the bottom eyeliner, and the shadow above the eye. After a couple tries, Star finally got the pencil close enough to me to actually draw on the eyeliner. I had to hold down the bottom of my eye (mostly to give me something to do so I wouldn’t squirm) to give Star easier access to the little ledge.
Please, take it from me, things go easier if you just let your artist work instead of being a sissy about it. The job gets done faster, and your artist won’t have to smack you with a rolled up newspaper. Trust me, your artist knows what they are doing. They won’t poke you.
TIP: Through this part, Star was trying to make me laugh (and doing a very good job) to make me relax. It didn’t work, it just got me more annoying. If your makeup artist makes you laugh to get you to relax, then they yell at you because you’re moving, hit them.
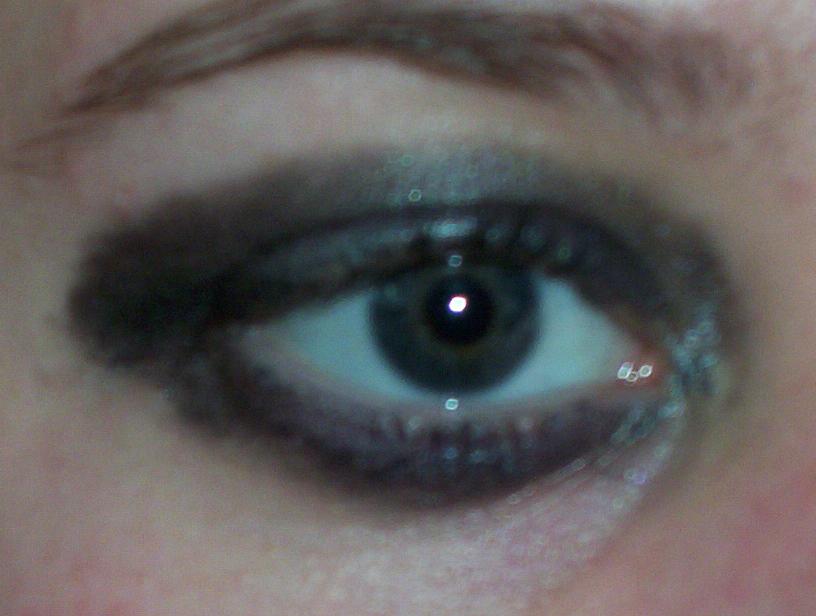
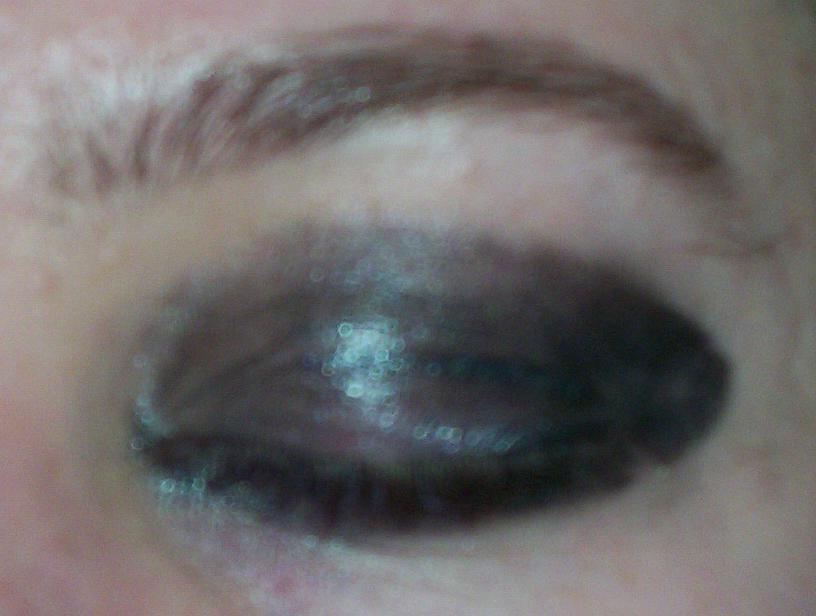
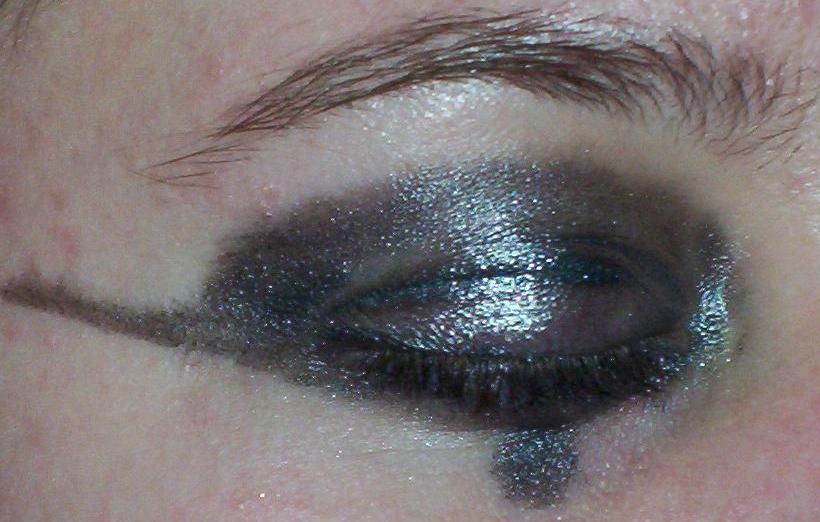
Next, we shape. Note how Mana has that wonderful shape to his eyes that takes away that Japanese look to his eyes. All you have to do, is close your eyes. Except…you might want to read the rest of this first, because if you close your eyes now, you won’t know what to do once you have your eyes closed.
Apply either black shadow, or black eyeliner (with that thick honkin’ pencil) to the top of your eyelids up to the crease. You know, the crease. That part of the top of your eye where the edge of the eye meets the bone of the socket. If you don’t know what the hell I’m talking about, feel around up there, you’ll find it.
We used the eyeliner, which I would recommend because you will have to draw the rest of the shape on with eyeliner. If you use shadow to fill in the top of the eye, it won’t match or blend well with the liner, and you start glowing. Glowing is not good. Avoid the glowing.
Start at the inner corner of your eye, the corner closet to the nose. Draw a line topping off the crease, all the way around to the opposite outer corner. You may have to round it off, depending on how thick the pencil you’re using, and how high you drew the line. With your eyes open, they should look square-ish. It’s almost like you’re just extending your eye up and out.
Next, you need to get a hold of a thinner eyeliner pencil. I found that if you get the pencil wet, it will glide on better and you won’t hurt as much. All you have to do is get a little cup of cold water (has to be cold, otherwise the pencil will melt) and dip the pencil in as needed.
The shaping you just did will make your eye look as though it tilts slightly upward toward your brows. To add the line that goes straight out from the eye to the temple, find the outer corner of your eye. It’s there somewhere, in all that black!
On the outside of the black ring around your eye, draw a thin line starting at the edge of the black where the outer corner of your eye would be. Do NOT start this line at the edge of the black, because it will be up too high. Draw the line out toward your temple and stop parallel to the edge of your eyebrow. If you lack eyebrows (which I certainly don’t), it’s best to draw on your Mana brows first, and stop the line parallel to the edge of those eyebrows.
Once you have the line to the length you want, make it a little thicker at the beginning, closer to the black ring, and thin it out toward the end.
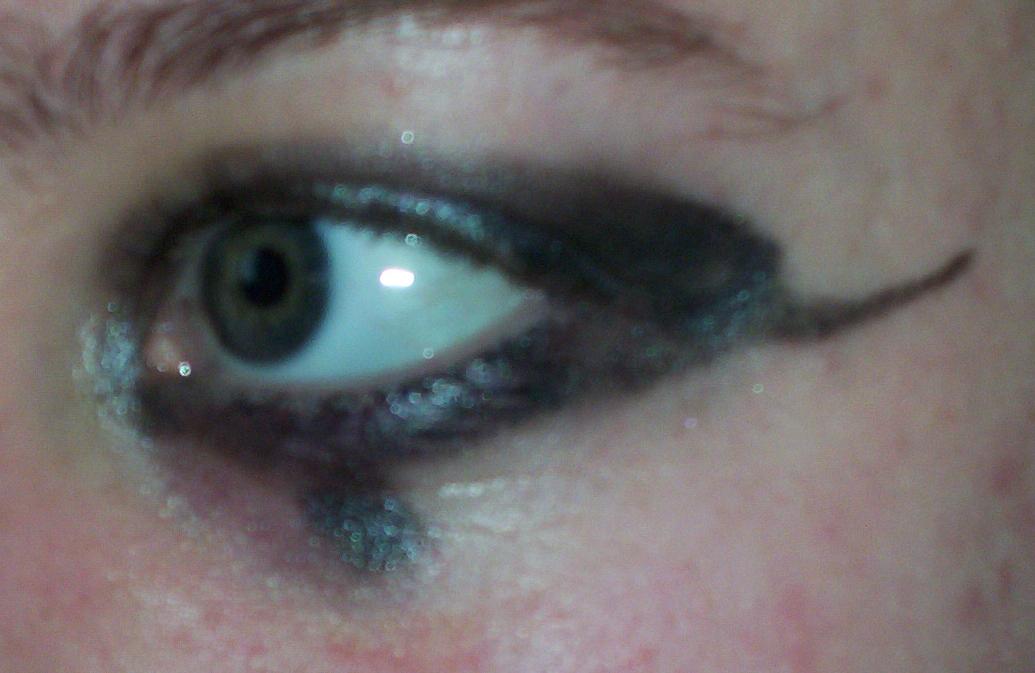
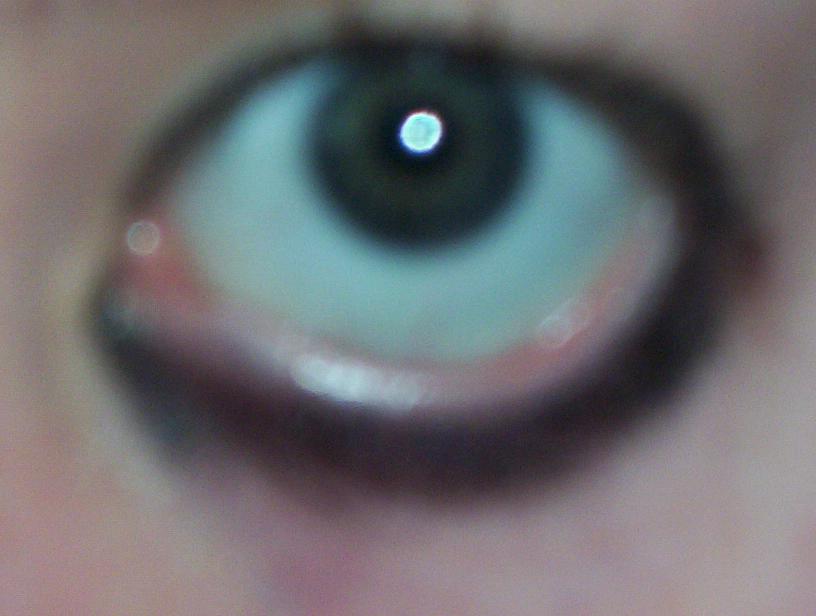
Now, look straight ahead, and with the black eyeliner pencil, draw a little circle directly under your iris. From that little circle, draw a line straight down very thinly to about where your nostril starts. This line should be thin and stay thin, because the little circle at the top of it will even it out. No shaping should be needed at this point, unless you got the wrong idea with the circle.
Now, you can put the foundation on if you haven’t already. You may need to touch up the lines around the eyes, but it shouldn’t be a problem. You may need some foundation over the lips as well.
Part the Fourth: Lips
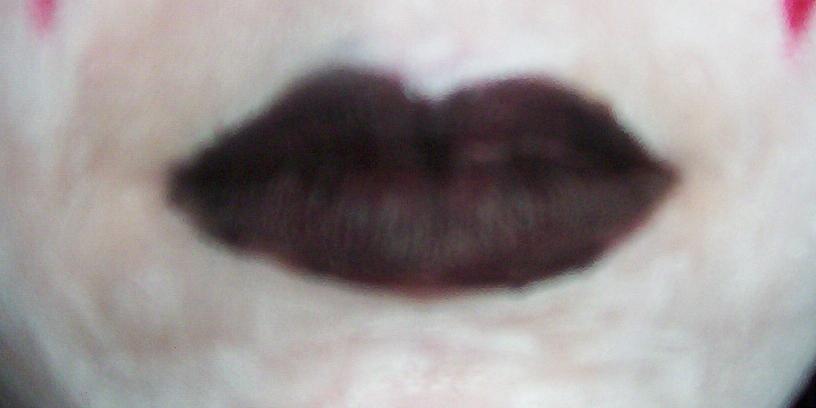
Everyone’s lips are different, which is why this is the hardest part of the tutorial. I have a huge bottom lip and not much of a top lip. This is how Mana’s lips look without makeup. He has a huge bottom lip and not much of a top lip, which is why I think the top lip is so exaggerated in makeup.
If you have lips like mine, you can follow this and it will be perfect. Otherwise, all you have to do is decide where you need to draw the little “M”. If your top lip is very thin, draw it just above the lip. If it’s big, draw it just under the lipline.
This picture illustrates how I drew the line.
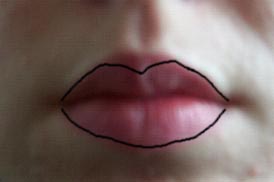
Yes, those are my lips without any makeup. The black line shows where the line was drawn and connected to the bottom lip. The little part of my lip that was left out of the black was painted over in the same foundation that was on my face.
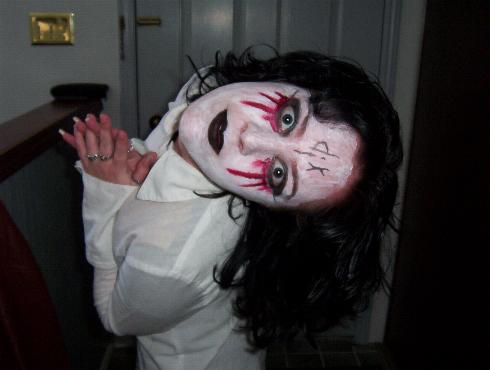
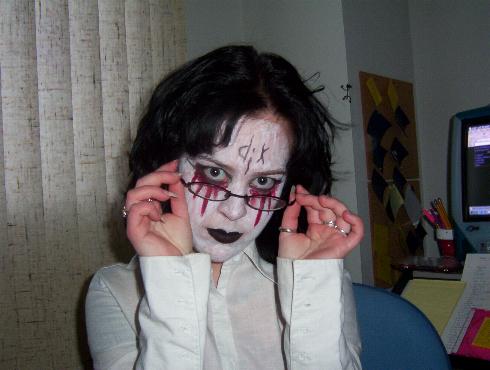
Parth the Fifth: DIX!!!!
As you may have noticed, the new Mana look includes the word “dix” written on his forehead. If you are left in the oblivion, Dix means 10 in French.
Star used a different picture than the one the eye makeup was taken from the hair was covering part of the Dix. She drew it on paper first, with the eyeliner pencil (the thin one!) to see how it looked. I recommend doing this first, before putting it on your head, because if you mess up and have to wash it off, the foundation will wash off with it, and as I’ve said: touch ups on foundation are hard because you’ll never get it to blend right.
If you do the Dix yourself, you will have to practice drawing it backwards. Backwards? I heard you cry. Yes, because you will undoubtedly be doing it in the mirror, in which case, forwards to you, will be backwards in the pictures. It’s best to have someone else to this part.
And GUESS WHAT?!?!? You’re done!
Part the Sixth: Optional Blood
This eye makeup (minus the lines at the bottom) is used at the basis for nearly all of Mana’s “Dix” makeup. You can create any of the looks using steps 1-5, minus the line and circle at the bottom of the eye.
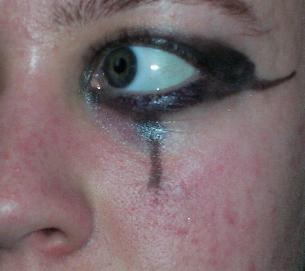
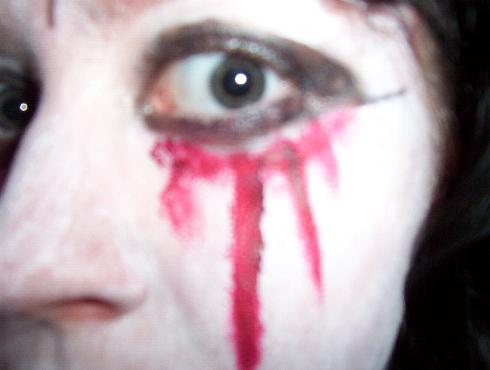
What we were actually going for to start out with, was this look:
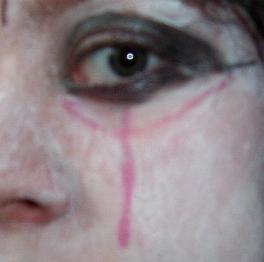
To create the “blood”, we used a red lip pencil (because we didn’t have a red eye pencil) and some red mascara. If you don’t have red mascara at your disposal, you could try red paint, it will probably work just as well. We used the mascara because it tends to come out darker than paint. The darker the better, it will look more like blood. Mascara is also made for your eyes, where paint is not, and paint will make your eyes itch after a while, and prove to be very painful to remove after a long period of time.
Star started to get the shape of the blood with the lip pencil drawn very lightly so that the mascara would cover it. You don’t actually need to draw the blood before you fill it in with mascara. If you use the mascara right away, it will look a little more natural.
The only lines that were drawn on before the mascara was measuring lines, to see where the blood needed to stop. With this look, you don’t really need to be precise to the picture, because it will look more natural if the blood is simply “dripping”. Star used her fingers to smear the mascara from the black ring down my cheek, and stopping where she saw fit. Don’t worry if there are chunks, it all adds to the effect.
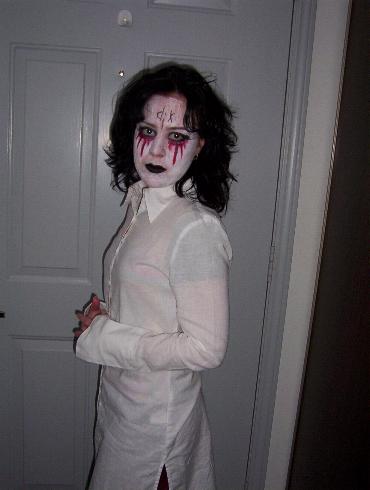
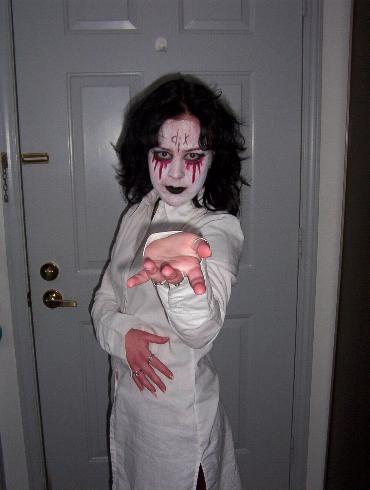
Part the Seventh: Conclusion and Costume
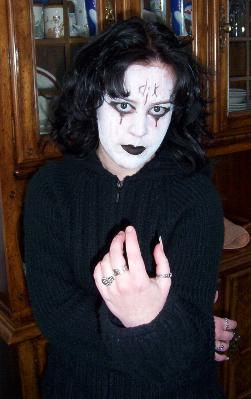
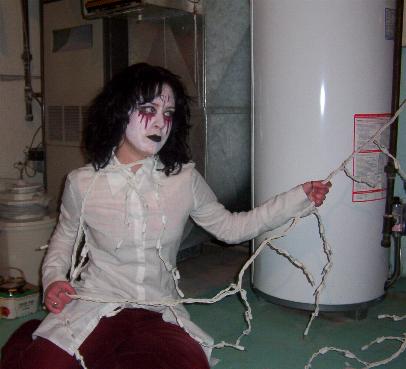
The first “clown” effect was not played up much in costume, all I did was zipper up my black hoodie and throw some rings on. The “clown” look was done mostly for the basis of the blood look to be done.
But, just because it wasn’t going to last, doesn’t mean I didn’t have fun.

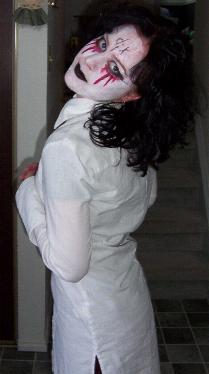
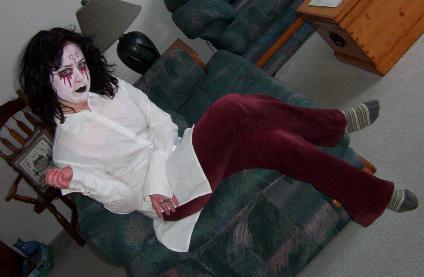
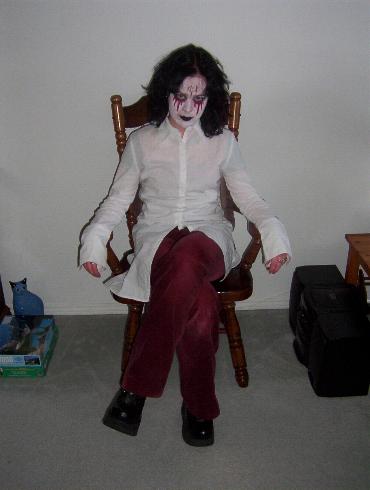
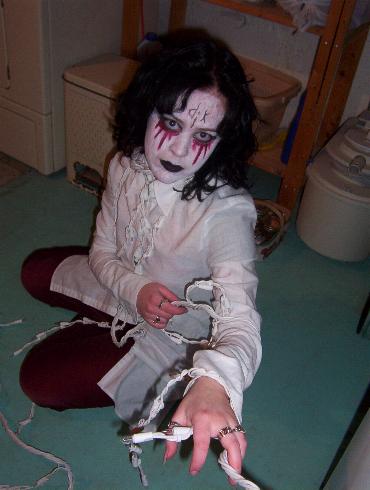
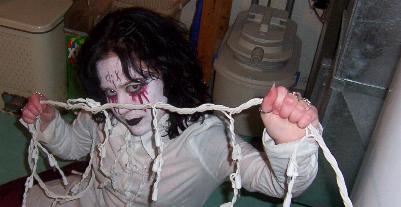
The blood, however, was a different story. I went to Star’s house for a minute (which is right across the street) in this makeup, complete with costume, and her dad said I looked like KISS. I stuck out my tongue. But we didn’t get a picture. HA!!! However, Star did snap some pictures when I was playing around, and not thinking that she WOULD actually take pictures. Oh well, more fun for you guys!


Costuming was simple, since this look called for a white robe of sorts. I didn’t have one, so I just threw on a white poet shirt over my bulky black t-shirt and left my purple cords on. You can’t see them in any pictures. But I assure you, they’re there. They’re purple. And they’re cords. And now I leave you with the rest of the pictures of me making an ass of myself and having a grand old time doing it.
Part the Eighth: Products
My apologies for lack of pictures here, but my webcam is old and the cable is shot.
The hair: You gotta understand something right off the bat here, and that is, THAT is my natural hair. Yes, I use a bit of gel, but other than that, what you see is how I look on a regular basis. Yes, I’m a freak. That’s why you love me. The gel I use is called Biosilk Rock Hard, which also happened to be the gel at disposal for this tutorial.
The foundation and black for the lips was done in
CLOWN MAKEUP
Purchased from a dollar store at Halloween. It works just fine. May be a little pasty at first, but you can always thin it down with some water or just put a powder over top.
The blood effect was done in red mascara, Caboodles Burgundy.
The two eyeliner pencils (the thick and the thin) were both purchased at a dollar store, because I don’t use them for anything and in my opinion, they work just fine for regular basis stuff anyway. The blue liner used on the ledge of my eye was Avon Glimmersticks in Starry Night Blue C. Also featured in this picture is the lip pencil that was used to draw a little outline for the blood, and a tube of liquid eyeliner, which was not needed but anticipated. Liquid is handy to have if, like me, you squirm and try to run away when someone wants to touch your eyes. It makes for quick application, but it’s a pain to try to get off.
