
Tutorials
Painting an Alliance Jaeger unit
Welcome to my very first tutorial! In this session, I will be taking you through the process I use to paint an Alliance Jaeger unit. First off let me say that there is no right or wrong when you paint, there is only what you like. I am merely offering my method and hope that someone benefits from it.
STEP #1
Obviously, remove the mini from the package. Remove all pieces from their sprues, and using a hobby knife or small file remove all flash and mold lines from the pieces. Now with an Alliance Jaeger paint scheme I recommend only assembling parts of the mini. Now I sculpted a base for this mini out of Sculpey and baked it directly onto the mini after assembling the lower part of the body. If the mech has separate arms I recommend leaving the one on the checkered side off of the main body. Also, if the mini has a separate torso and lower body I recommend leaving them apart for the time being. The pieces need to be primed for paint, I recommend priming the mini gray for an Alliance Jaeger scheme, but, to each their own.
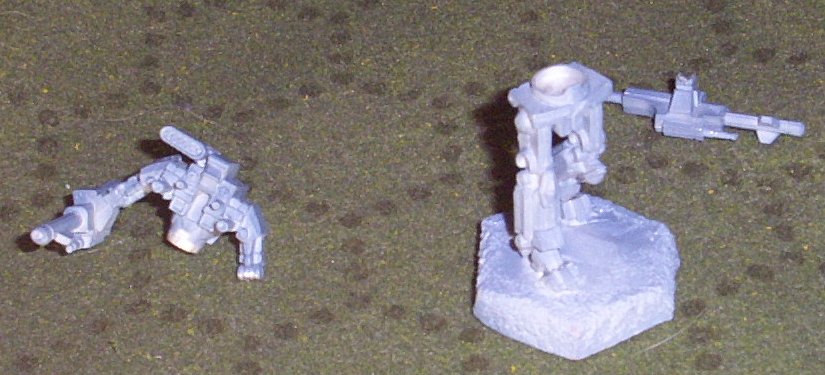
In the picture above you can see I have assembled sections of this warhammer strategically leaving certain pieces apart for easier painting later in the process. Just a note, if you get primer on areas that later need to be glued together You should file, sand or scratch it away as it will make the bond less stable in the finish product.
STEP #2
Coat the solid colored portions of your mech with a dark shade of your base color, in the case of this mech its entire right half is base-coated green. (Sometimes I leave both arms in a solid color or do some alternating on one appendage, just a matter of preference.) Now liberally dry-brush the areas that will ultimately be checkered, white. Don't worry if you get a little white on your dark color we can touch that up later.
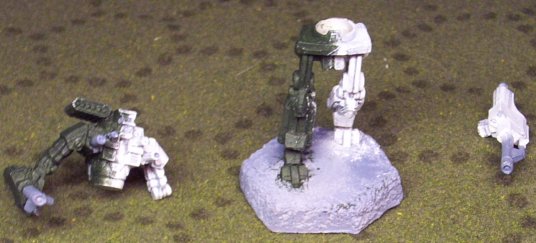
Above you see the slightly sloppy end result of this process.
STEP #3
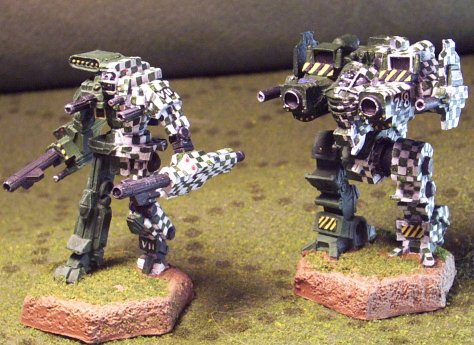
Now using a fine tipped brush, touch up the dark color and firm up your center line making it much more distinct. Now dry brush your dark side lightly and carefully with a lighter shade. Now using white and a fine tip brush touch up the white half and paint definitive high lights on the raised areas of white side.

As you can see we now have the dry-brushed highlights on the green side, strong white highlights on the white side and a clean definite line down the center of the mech.
STEP #4
Now using a mechanical pencil carefully draw grid lines on the white half, this is not as difficult and daunting as it might seem, just start with one area at a time draw all of your lines one direction first keeping them as parallel as you can, then draw the perpendicular lines across that piece also keeping them as parallel to each other as you can, until the white areas all have a nice grid covering them. Many times the natural panel lines of the mech will provide some of the grid lines for you.
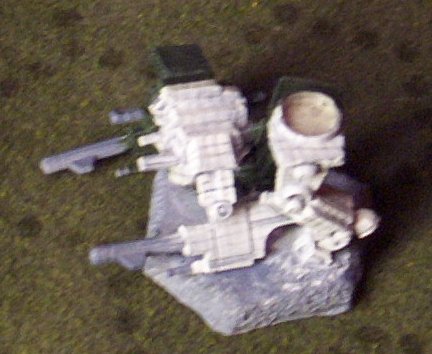
Sorry the picture is a little blurry, but, above you can see the penciled in grid lines on the miniature.
STEP #5
Now the part that frightens most people away from this scheme. Begin using your dark color to fill in alternating boxes in the grid. Again, you'll be less intimidated if you take it one section at a time.

Once this is done I go ahead and paint all the gun barrels black. I also prefer to paint the knee actuator, foot and elbow actuator on the checkered side black. Also while you're painting all the black you may go ahead and fill in the base coat on your canopy. You can see the end result of this step in the picture above.
STEP #6
Dry-brush all of your gun barrels and actuators with a dark gray, this will help bring out the details and give the pieces some depth.
Now while you have a couple of different options you may now put the mini together and apply decals and finish the base. Since I paint all of my numbers and unit insignias by hand, I opt to keep it apart a little while longer. I paint on numbers, unit insignias and warning logos, also you may wish to go ahead and detail your cockpit ( I recently learned how to jewel cockpits thanks to inrepose's lovely video but this is part of a set so they all need to match. See, tutorials can be helpful.) I also paint the tips of my gun barrels silver at this time. Also with this particular mini it is easier to get at the base to finish it. I coat it thoroughly with a dark brown as seen below.

Then, dry-brush a lighter brown on to give definition to the texture of the base. Then I brush on a thin layer of Elmer's Glue anywhere that I want the flocking to adhere to. Another little tip: I keep my flocking in an old jar, once I have coated the base with glue I take the lid off and set it upside down on the table placing the mini in the middle. Shake flocking out of the jar to fill the turned over lid. Let the mini sit until the glue is dry.
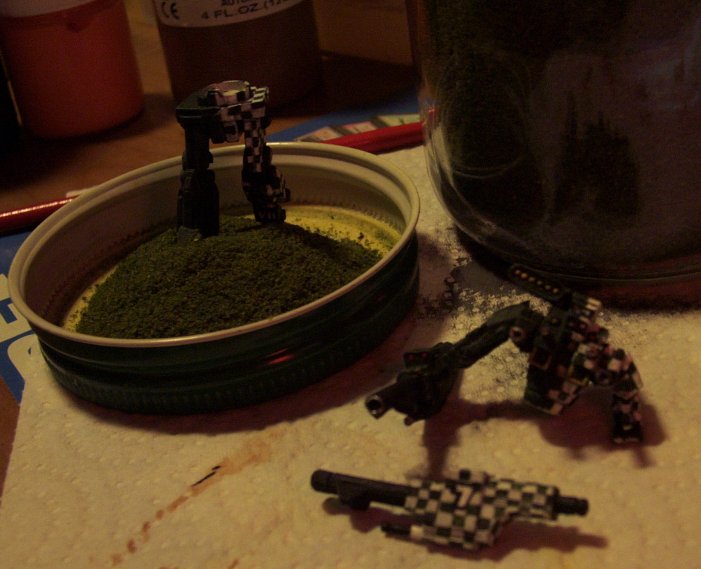
Once the glue has been given time to dry pick up the mini and gently shake off the excess. Pour the extra flocking back into the jar and voila, almost no waste.
STEP #7
Now reassemble the mini, and touch up the areas where the pieces you glued together meet. A quick shot of matte sealer, gloss coat the canopy, and you're done! Take the mini to your next game and make all of your friends jealous of the difficult paint job that you've now mastered! Enjoy