Kaleidoscope effects Tutorial
Written by MdnyteShadow@aol.com
(keep my name on this tutorial, always give credit where credit is due)
For this tutorial you will need the following supplies:
PSP 7.0
Attached mask
Tube of your choice
Any sky graphic (I am using the moon graphic included in the zip file)
Imagination!
Download supplies here
Start off with a new image 500x500 black background.
Have your mask open. (You can reduce this to the bottom of your screen)
Center your tube in the center as a new selection. Deselect (ctrl D)
Go to effects, Reflections, Kaleidoscope, use these settings...

Your image should now look something like this....(resized for faster loading)

Now add a new raster layer.. (Layers, new raster layer)
Paste your tube in the center of the graphic again.
Deselect (ctrl D)
Go back to effects, Reflections, Kaleidoscope, use these settings...

Now your image will look something like this (resized)

Now go to mask, New, from image. It will bring up a box like this, select the mask you will be using. In this case it's the twirl7.msk.

Now your image will look something like this....

Now add your original tube anywhere on the graphic you would like. (add it as a new layer)

Now you can go to layers, merge, merge all flatten
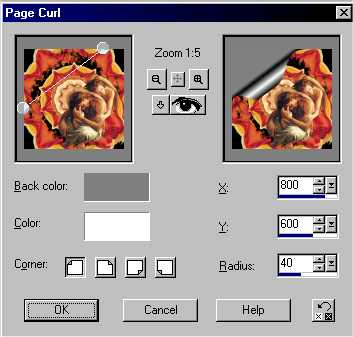
Now go to effects, geometrical effects, page curl
You can curl either side of the top you want...
Now using your magic wand, click inside the blank area where your page curl is.....
Note, you will probley need to expand this, go to selections, modify, expand. I used 10 pixals on mine.
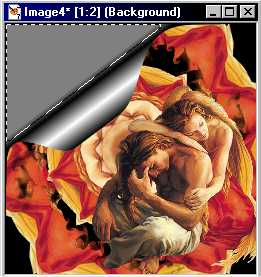
Go to your sky graphic of choice and copy it. Then paste it into the selection on the picture you are working on.

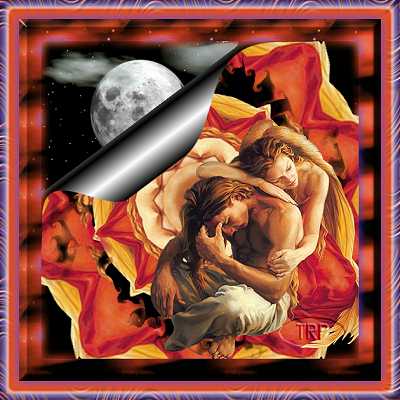
Thats it! You are done. Now you can add borders, frames or whatever to make it yours. Here is my finished graphic......