Once again, this game has a very defined loop. Nintendo Power suggests this order: Flameman, Blizzardman, Plantman, Tomahawkman, Yamatoman, Knightman, Centaurman, Windman. That's a good order, but the only problem is that some people may have trouble fighting Flameman with just the Mega Buster; Windman is much easier for a first target.
Rush once again returns in this game, but he works much more differently than ever. Rather than his normal forms, Rush can morph into different suits that fuse with Megaman, giving him a new form. The Jet suit allows Megaman to fly through the air temporarily (aquired after beating Plantman), and the Power suit lets Megaman destroy certain barracades (you get this after beating Flameman). You cannot slide while equipped with either suit, but the plus side is that they use no energy.
Beat is also back, but you also aquire him in a different manner. This might confuse you at first, but I'll explain it as best I can. Four of the robot master stages; Knightman, Tomahawkman, Yamatoman, and Centaurman, have a "true" boss and a "false" boss. The true boss is somewhat hidden (you'll need to use the Power or Jet suit to reach him); if you go through the stage normally, you'll fight the false boss. Now, don't get confused; if you defeat the false boss, you'll still get his weapon and advance the story. The only difference is that if you beat the true boss, you also get a Beat part. When you get all four, you'll be able to use Beat.
And, as in the previous two games, Eddie will show up in certain areas to drop a random power-up.
Well then, let's begin:
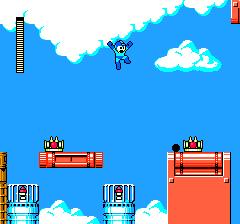
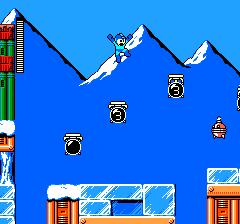
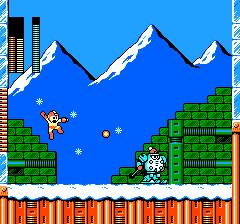
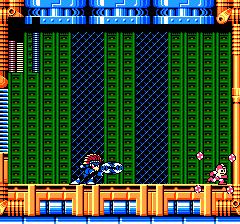
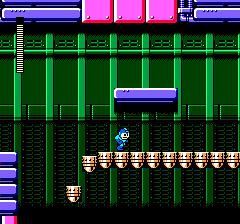
This stage is filled with fans on the floor that blow you upward when you walk across them. Some are helpful, as they help you reach high places. Others can be deadly, blowing you into spikes on the ceiling.
Other common enemies here are pandas that fire shots straight foreward as well as in an arc, and a new type of Gabyoal that can only be destroyed by the Power suit. A charged Mega Buster will stun it.
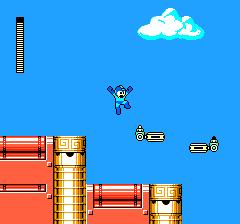
Another hazard in this level: these platforms rotate when you step on them. They work similar to the trap-door platoforms, only they rotate to the side of the contraption.

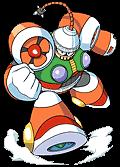
Windman: Windman shouldn't give you a lot of trouble, even with just the Mega Buster. His attacks are sucking you towards him and shooting two rotors, which travel in a criss-cross pattern. Unlike other robot masters that are invincible while pulling you, Windman is still vulernable. However, His fan sucks you to him with great force, so you should be busier sliding away from him. Centaur Flash works very well. Just make sure you wait until Windman stops flashing before using it again, so your shots don't get wasted.
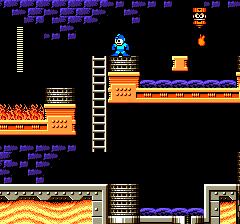
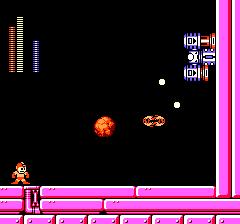
There are many pools of oil in this stage. You can walk through them unharmed, but when an enemy drops a flame into it, it turns into a blazing inferno that kills you on contact.
Hit the little orange catapault enemies with a charged shot to make them flip over and make a platform to ride across the oil pool. When you jump on the button, the platform moves forward a bit.
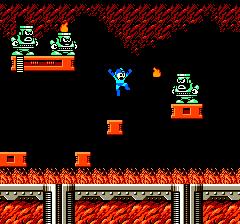
The last part of the section is filled with large fire-shooting robots that will also try to ignite the oil pools.

Flameman: Flameman has a couple of tough attacks. The first isn't too bad; he just shoots fireballs straight forward. His other attack, though, causes fire to erupt from the ground, which not only damages you, it blocks your shots. It can't block the Wind Storm, though, which is what you should use.Just find a spot to stand between the flames and fire the Wind Storm. You should blow him out in just a few hits.
This stage is filled with time-bomb platforms, like in MMW3. When you step on them, they count down from 3, then explode. So don't dally while you're on them.
There are two large squid in this stage, shooting ice blocks and homing missiles. Charged Mega Buster shots work fine, though.
Part of the stage takes place on a boat in an underground lake. It constantly rises and falls, threatening to crush you on the ceiling slikes. You'll have to find safe spots to stand. There's an energy tank to be found here with the Power suit, but you'll need to be careful to avoid being smashed.
The door leading to Blizzardman is blocked by a few time-bomb platforms. You'll need to detonate them to move on, just watch the tricky footing.
Blizzardman: This guys's attacks consist of rolling into a ball (he's invincible during this time) and charging you. He bounces back a ways after hitting the wall, so be sure to run to the middle after jumping over him. He also uses the Blizzard Attack, which makes small icy shots appear and converge on Megaman. That should be no big threat, though. Just melt him with the Flame Blast when he's not rolled into a ball.
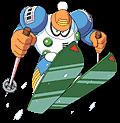
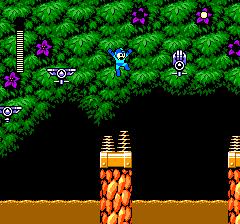
Keep an eye on the trees; flying robots will sometimes pop out of the foliage and attack. Watch for leaves dropping from where they'll attack.
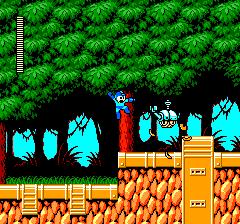
Throughout the stage, you'll fight two of these large mechanoids. Shoot them in the face with charged or rapid-fire shots. They'll also fire sprays of plasma shots as well as fire its fist. When it's standing still, shoot the arm to knock it away from you.
The last part of the stage can be especially hazardous. You must jump over pits using springs on the floor, while large figh jump out of the water to hit you, along with those flying mechanoids. Simply hod the jump button down to get the most out of your jump, and make your jump across when the fish descend back into the water.

Plantman: Plantman follows a simple pattern. He puts up the Plant Barrier, jumps then shoots it at you. Just stand next to a wall so he doen't jump on to of you (if he hits the wall, he'll go backwards a ways before landing) and jump over the Barrier when its thrown. While charged shots should do just fine, Blizzard Attack is especially devastating.

This should be a simple and straight-foreward stage for the most part. The first section is occupied by fairly weak gunslinging robots. There are some power-ups to be found by breaking the boxes with the Power suit.
There are a couple of these Metool dispensers in the stage. Aim for the spout the Metools come out of to destroy it.
You'll reach a point where the path splits, with a ladder you can reach with the Jet suit. Take the latter route for an energy tank.
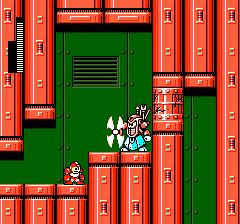
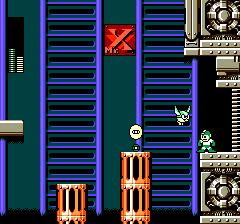
Later, the path splits again. Start by taking the high road. You should find the room pictured above. Dangling from the bottom rung, use the Power suit to break the block and enter the room it was guarding. Protoman will appear and give you the Energy Balancer, which lets you recharge the weapon with the lowest energy automatically when you get an energy capsule. After getting this useful item, return to the fork, and take the lower road, using the Jet suit, to reach the "true" Tomahawkman.
Tomahawkman: This guy puts up a good fight. He hops around, stopping to shoot the Silver Tomahawk at you, or fires three feathers from his headress. The feathers especially can be hard to avoid. The Plant Barrier causes the most damage to him, but be warned; you must get very close to him to hit him with it. Plus, remember that he's invincible for a second, so don't waste your Barriers by standing by him and hammering the fire button.
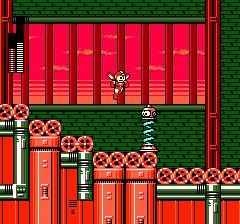
This level is frequented by warrior robots that twirl spears, which act as a shield, then throw them. Be patient and charge the buster, then hit them with all you've got when they throw the spear.
Early into the stage, you'll see a block you can destroy in the lower right corner. Do so and follow the path...
You'll fight a big frog mechanoid. Dodge its bombs and lasers and aim for the eyes. Afterwards, you'll be able to collect an energy tank.
The path eventually splits again. Take the upper path with the Jet suit. Also, use the suit to fly over the conveyer belts leading to Yamatoman.

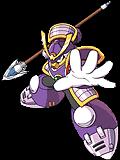
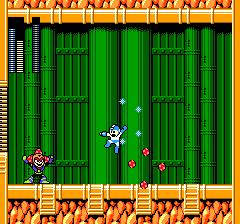
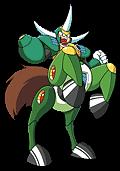
Yamatoman: Yamatoman seems tough, and he can be. But once you get used to dodging his attacks (which shouldn't take long), he's easy. Just be sure to keep a great enough distance so you have enough time to react. Yamatoman will either jump and fire a spread of three Yamato Spears, or he'll fire one straight ahead, which falls to thr ground in the corner. Yamatoman will then walk over and pick it up again. Take that time to hit him with a few Silver Tomahawks.
This first big hazard this stage has to offer is a large ceiling full of spikes that moves up and down, trying to crush you, similar to Blizzardman's level. You'll have to find safe spots to stand when the spikes get low enough.
One type of enemy that appears here looks like a barrel firing plasma shots. When you shoot it, a head pops out. Shoot that to destroy it.
Later, you'll fight odd red robots that waddle along the ground. If you shoot them, they go berserk and attack viciously until you shoot them again.
The last part of the stage has floors and ceilings lined with spring-balls. It's easy to go out of control here. If you aren't sure about navigating this part, you can use the Jet suit to fly past it.
Right before the door to Knightman's room, use the Power suit to break through the block there and go down to find the "real" Knightman's room.
Knightman: Kightman can be difficult if you don't have the Yamato Spear. His shield protects him from all frontal attacks, so you'll have to shoot him either when he's firing the Knight Chain, or time it so he lands on your shot. The Yamato Spear eliminates the hassle. It can pierce the shield, so just fire away and dodge the mace balls.

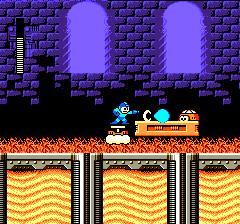
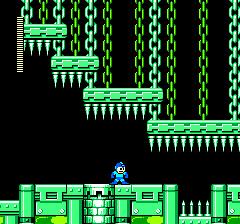
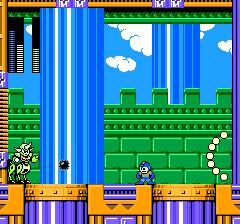
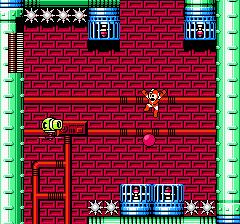
WTF?! This stage starts out as your average aquatic stage, complete with robotic fish and spiked ceilings, then it leads to this. That's right, the water is on the ceiling here. The water rises and falls, and you'll have to use it to cross a spike pit furthur down.
Watch for strange clouds, similar to the ones from Snakeman's level. Submarines drop from these clouds and into the water, firing, arc shots at you.
There's another squid near the end of this stage. Dispose of it the same way as the others. Try some special weapons on it.
This door leads to the "true" Centaurman. Fly to it with the Jet suit.
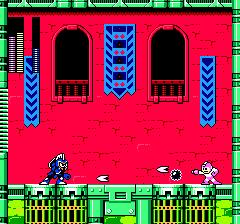
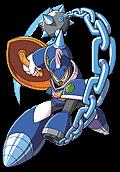
Centaurman: This guy, despite having a decent array of attacks, is pretty easy. He uses the Centaur Flash, which freezes you temporarily, and he fires a single plasma shot, which splits into many when it hits a wall. He can also teleport around the room. Although it sounds impressive, none of his attacks seem especially powerful, so just pulverize him with the Knight Chain.
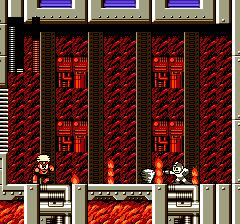
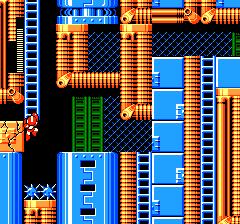
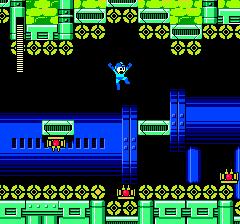
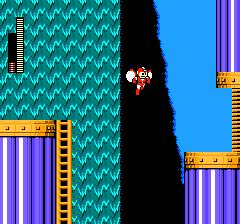
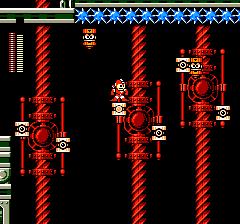
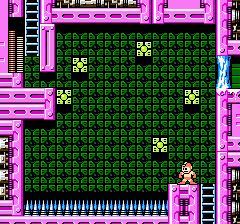
This is an irritating stage. You must climb a decent-sized vertical portion fighting bomb-shooting mechanoids and Gabyoals. There is a portion shown above where you can break through the glass with the Power suit and take a shortcut to the end of the stage, collecting a lot of goodies along the way, but I'm not really sure if it's really worth it, since it may take several tries until you make it.
The first boss here consists of to mechs moving along a track, dropping small grenades. Use the Plant Barrier to destroy them, but make sure you hit the sides to inflict damage. If you run out of energy, the Mega Buster should do fine.
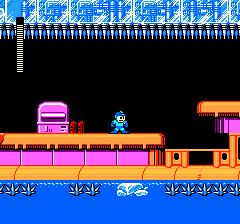
Other than a collapsing floor and some false floors (they are easy to spot; they have an orange grating under them), there isn't much to this stage, so enjoy the break while it lasts.
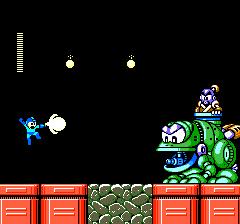
This boss is a large wall-mounted cannon firing plasma shots while stones fall from the ceiling. Stay on the left side of the wall and just ry to dodge anything that comes your way. From here, you should have no trouble hitting the cannon with the Silver Tomahawk.
This can be a tricky level. There are platforms here that work like a scale balance; when you stand on one, it moves down while the one next to it goes up. There are also the flame-dropping Tellys here to make life even harder. The Jet suit is sure to get some use here! Its sure to cut the frustration at least in half.
At least the bosses are easy enough. This Metool-driven mech is weak against the Blizzard Attack. Simply stay on the ground to avoid the shots, moving back and forth if necessary, and aim for the Metool's cockpit.
Most of this level is straight forward. When the path splits, take the upper route; it's much easier. The last part of the stage has several turrets and eggs that rise from the chutes that hatch into birds that attack you. The Centaur Flash is the bast remedy here. If you run out, switch to Beat.
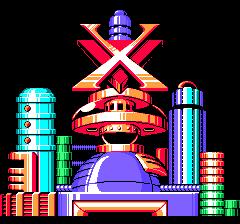
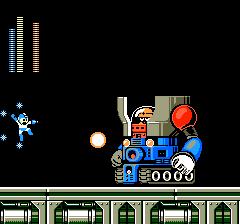
Mr. X is such a pushover. Stay on the left side of the screen and take a small hop to avoid the plasma balls traveling the ground and being crushed by the large mech. Fire a Flame Blast at it whenever you have the chance, and this fight shouldn't last long.

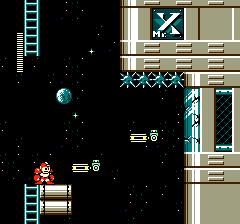
Most of this stage is spent making your way down a long shaft, mostly inhabited by spikes and fans. Not a very safe combination. The last sections will have spikey area that you must carefully manuver around with the Jet suit. If you keep a carful eye out, there is a block you can break on the right side of the shaft. Follow the path for an easier way through this.

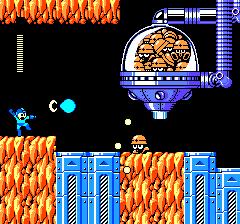
The boss is a giant robotic brachiosaur. It shoots fireballs while green platforms emerge from its belly. Equip the Yamato Spear, then ride the platforms up to where you have a good shot at the eyes, which is the weak spot.
The first parts of the stage are covered with ice, but that gradually deteriorates. I'm honestly not sure what is part this section if you were to take the entire section of appearing/disappearing blocks. It's much easier to just melt that wall on the right and take that route.
This boss is a giant cannon mounted on a tripod with wheels. Aim for the top part of the cannon, and use the Wind Storm. You can shoot the bottom part to push it further back.

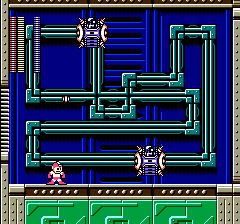
The first section is a water area with large fans that alternate between sucking you towards it and blowing you back. Destroy them quickly, since there are plenty of spikes around as well.
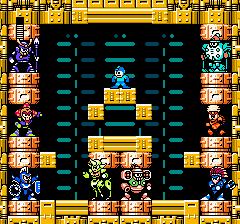
Next, is the long awaited teleport room. Afterwards, enter the last teleporter to exit the stage.

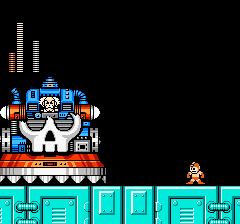
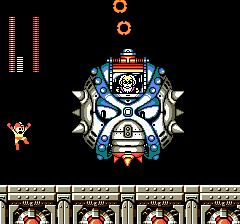
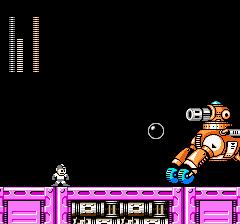
Dr. Wily: After fighting one last Metool dispenser, you'll face Dr. Wily. The first phase is a huge skull-shaped machine that will try to crush you while firing blue orbs at you. Slide back and forth between the left and right sides of the room and fire Silver Tomahawks at it when you have a good shot. After destroying part of it, the machine will stay on one side, hopping over only partway and firing one orb. Stay on one side and use Silver Tomahawk again. The last phase is Wily's saucer, following the routine of cloaking, then appearing and firing a spiral of four orbs. Again, use Silver Tomahawk. You probably don't have enough for all three forms. If you run out, the Mega Buster will suffice.