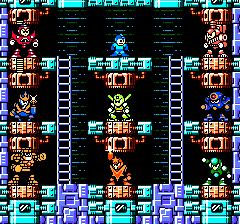
As in MM4, the loop is very specific, with every robot master being weak against just one weapon. Believe it or not, I'm actually agreeing with Nintendo Power's order in this wakthrough: Waveman, Starman, Gravityman, Gyroman, Crystalman, Napalmman, Stoneman, Chargeman. That big choo-choo's weapon is hardly going after at all, so I don't mind fighting him last (his stage is cool, though).
In each stage, there is a letter plate. Together, they spell out "MEGAMANV". When you get all of them, you'll get Beat, a little blue bird that follows you around and attacks nearby enemies. It's quite useful in certain situations, so you'll want to collect all of the letter plates.
Rush is back again, but there are few more differences. First of all, they got rid of Rush Marine. Second, The Rush Coil works very differently than the last couple of games. When you jump on Rush, he bounces into the air with you on his back, then you jump off of him. Wierd. Rush Jet is more or less the same as last time. You get him after beating Gyroman.
After beating Starman, you'll get another tool, the Super Arrow. This odd device shoots an arrow that not only damages enemies, but it also sticks to walls, allowing you to use it as a temporary platform. You can even fire it, then ride it!
Anyways, on with the review.
This first half of the stage is realatively enemy-free; well, there are no enemies to destroy anyway. There are mostly swinging mace-balls, steam jets, and buzzsaws; none of which can be destroyed. Just avoid them and continue.
Try to enter the top pipe; there's a 1-up waiting for you if you make it.
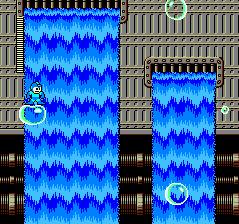
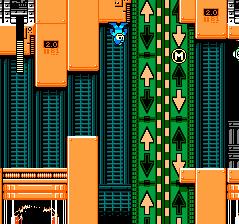
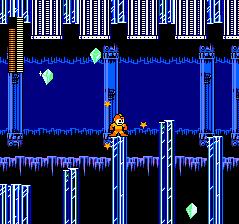
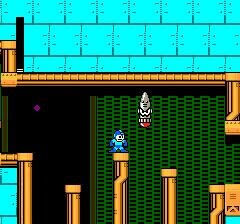
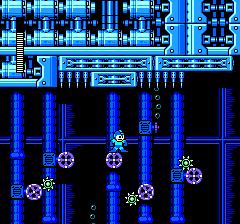
Use the large bubbles to stand on most of the time. The small bubbles pop soon after being stepped on, so move across them quickly. To make it up the shaft, start on the right bubble, then move to the left after clearing the spikes on the left. Then, jump to solid ground when you have the chance.
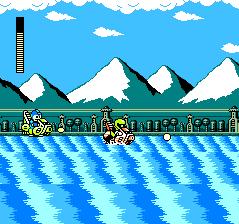
The second half of the stage is spent riding a jetski. You'll find plenty of Sniper Joes out on skis as well, along with dolphins and bouys. Halfway through this section, you'll fight a large octopus that shoots plasma balls. Aim for the green spot on its forhead to destroy it. Keep an eye aout for the "E" on the second half of the jetski section.
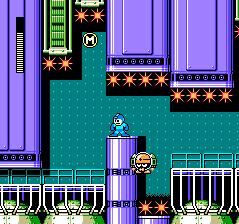
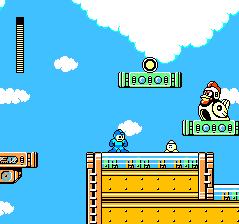
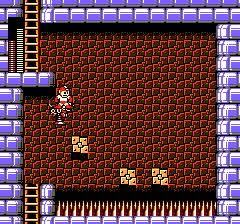
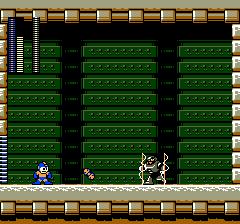
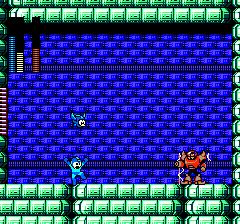
Waveman: Waveman can be tricky, but once you get his pattern down, you should be okay. He makes a column of water shoot from the ground that can deflect your shots. He then shoots a harpoon at you and jumps to wherever you're standing. Once you get the hang of dodging, you should be able to work out a decent offensive. You can also Charge Kick him, but it's hard to do so without getting hit yourself.
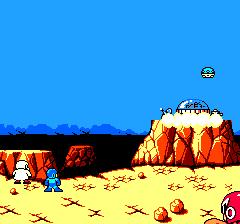
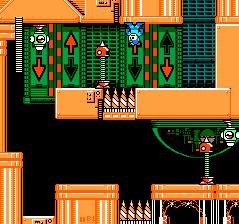
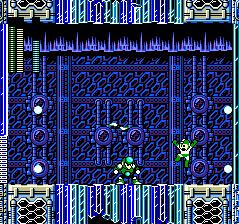
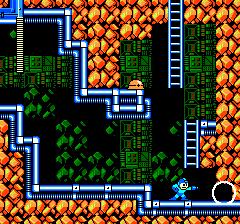
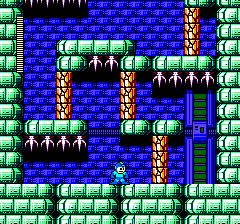
This stage has very low gravity, so it feels similar to when you're underwater, as you can jump very high. So naturally, you'll find plenty of ceiling spikes to impale yourself on if your aren't careful.
Here's the "M" Beat plate. You'll have to jump carefully to get it without being skewered. A trick is simply to let go of the jump button when you reach your desired height.
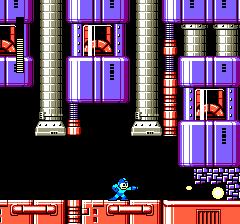
Missiles cruise through parts of this stage. Shrapnel from them flies differently depending on whether you shoot them or they hit something.
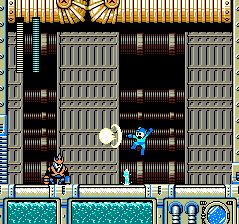
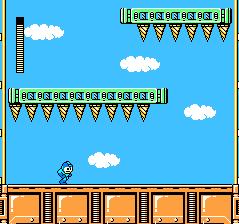
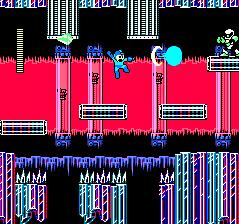
A couple of large walkers are found near the end of the stage. Their lasers do considerable damage. Shoot the large crystal near the top with a couple charged Mega Busters.
Starman: Starman spends a considerable amount of time being protected with his Star Crash. He hops around for a while before firing the stars at you, then he puts up another barrier. Most weapons can't penetrate the shield, but the Water Wave can. If you have it, Starman should be easy. If not, he still shouldn't be so bad. Take advantage of the low gravity to dodge him.
Welcome to the coolest stage in the entire Megaman series! There are sections of the stage where gravity is reversed and you'll walk on the ceiling. The controls shouldn't take long to get used to; just remember to press up when sliding instead of down.

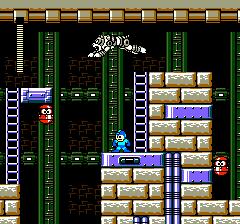
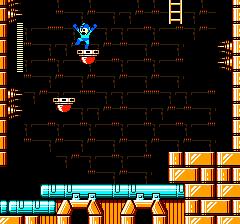
You'll fight lots of these lugs throughout the game. Just try to slide under them when they jump and move on, since they take a lot of punishment.
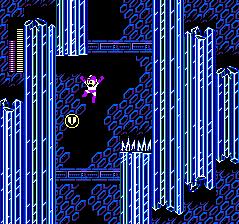
Here's the next Beat letter. You'll have to be careful when jumping for it so you don't fall right past it and into a...well pit I guess. (What do you call a pit that falls up?)
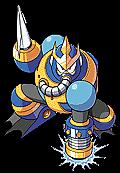
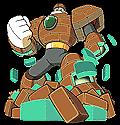
Gravityman: Gravityman is a decent opponent. He constantly swaps the gravity in the room so that either you're on the ceiling and he's on the ground, or vice versa. He also shoots at you with a plasma cannon. Your only time to get a shot off on this guy is when he switches gravity and you two pass each other. A charged shot should work fine. Star Crash does the most damage, though, and it can block his shots.
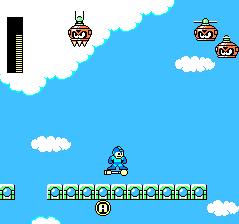
Gyroman's sky stage is fairly easy. At least as far as the first parts are concerned. There are mostly floating orb-like robots and shielded cannons. Don't ask me why the hell Gyroman's got a big chicken here.
On the section where the path branches into three sections, take the high road to pass most of the enemies.
Here's the next Beat letter. You may have to lose a life to get it, as those blocks collapse soon after being stepped on. Note that you can just ride the Super Arrow across, plus it doesn't vanish when its energy runs out.
The last big section of the stage is a hard one. You're on an elevator shaft slowly rising, trying to mash you against the spikes. You'll have to move quickly to avaoid a most unpleasent end.
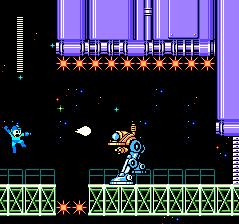
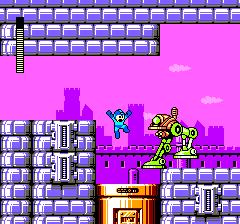
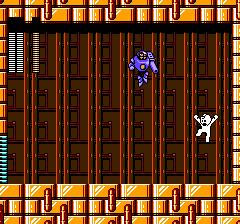
Gyroman: This guy can give you some trouble, especially without the Gravity Hold. He throws his rotors at you for the most part. Jump to avoid them, but not directly up, since the rotors will shoot up when they pass you. Gyroman will also fly into the clouds and throw rotors at you from there. Keep moving to avoid being hit. As mentioned before, Gravity Hold is your best weapon; it will damage him no matter if he's on the ground or in mid-air. Just wait until he's finished flashing before you use it again, or you'll waste your shots.
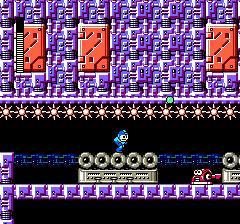
The most dangerous part of this stage is near the beginning, where crystals fall from chutes trying to knock you into the pits. The Star Crash will protect you while making your jumps, though.
There is also a new type of Joe lurking here; Crystal Joe. These guys are invicible while flashing and forming crystals. They can only be destroyed while they're throwing their payload at you. Keep your buster charged, then slide under the crystal and blast him.
The rats that run around are too low to the ground to be shot normally, but you can use a charged shot or a special weapon.
While falling down this hole, you'll find the "V". Veer left to grab it without being nailed by the spikes.
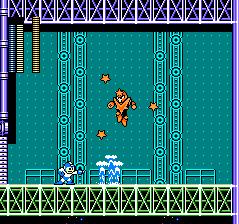
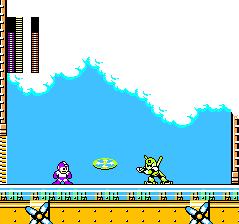
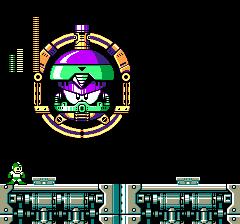
Crystalman: While not particurally powerful, he has some tough-to-dodge attacks. He starts the battle by leaping into the air and launching four Crystal Eyes. He then bounces around launching a single gem every now and then. Eventually, he'll launch another set of Crystal Eyes. If you have enough energy, you should be fine as long as you use the Gyro Attack on him. If your using the Mega Buster, you'll need some fancy footwork.
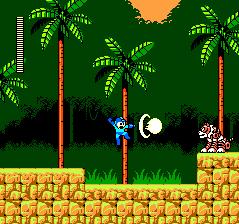
Robotic tigers make up your welcoming committee to Napalmman's jungle base. A single charged Mega Buster will take them out, but you must shoot them quickly before they pounce!
The inner caves have several purple drills moving through them. They'll kill you in one hit, so be sure to shoot them before proceeding.
You can go through the wall in one section for an Energy Tank (it's easy to spot).
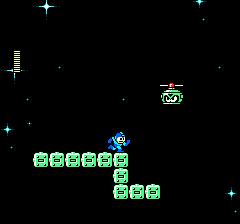
The next spot is like Toadman's stage, with water currents pushing you around. Especially annoying, though, are Sniper Joes up in helicopers shooting at you. Use the Gyro Attack to ground them.
When you go back topside, there are large red robots firing missiles at you. Shoot them in the head to destroy them. Just note that they'll sometimes block your shots with their arms. The "N" is right after them, in plain sight.
The final stretch features several missiles popping out of holes, much like the Up-n-Downs from MM4. You can't destroy them; just jump past them before they reset. By they way, the last hole before the gate is the only one without a missile.
Napalmman: Napalmman is a powerful opponent, but there are ways to counter his attacks. He either fires three missiles straight forward, which can be dodged by alternating between jumping and sliding. He also fires a pair of Napalm Bombs in an upward arc. You can just move out of the way to avoid them, but he may try trapping you against the wall wile doing this. In that case, you can still dodge them, but you'll just have to do a little tricky jumping. Use the Crystal Eye to take this guy out; fire it at the wall to break it into three crystals, making them harder to avoid.
Stoneman's stage doesn't have a lot to it, but it does introduce a new type of Metool. When you shoot it, it breaks into three smaller Metools that bounce around for a few seconds or until you shoot them.
Look for this discolored wall early on. Shoot it and slide inside to find the "G".
There are spinning platforms in this stage similar to the ones in Topman's stage. If you disregard the spinning, and just jump on and off normally, you should be fine.

Stoneman: Stoneman shouldn't give you any trouble. When he's farthur away, he'll use the Power Stone, but otherwise, he just jumps around. When he jumps high, he'll crumble when he hits the ground, then reassembles. He's immune to your attacks that this time. The best way to fight in is to just toss Napalm Bombs and let Stoneman jump right on them.

This train stage is pretty simple for the most part. One cute feature is the little Metools in choo-choos.
This inside train portions just have rats, bats, and chickens. This final Beat letter is sitting in plain sight; use Rush Coil to grab it.
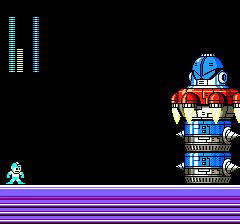
Chargeman: Chargeman is really tough, even with the Power Stone. He makes himself invincible a lot; either when he's dashing or when he's flashing red. It's hard to jump over him because he's so big, plus he walks around erraticly a lot, so you try to jump over him, so for him to turn around and run into you. He also shoots small rocks form his stack, which fall in random places. Since the Power Stone works somewhat oddly, it can be hard to hit him with it. If you can't seem to do it, just use Mega Buster shots.
Those tigers are back, guarding the entrance to Protoman's fortress. Just shoot them with charged shots, like before.
The Gyro Attack will get rid of those spidery-creatures on the ceiling, so they don't fall on you.
You'll run into another walker. Take care of it in the same manner as the others.
You knew it was coming; more appearing/disappearing blocks. But, you can just fly Rush over the first group of them, and use Rush Coil as shown for the second group.
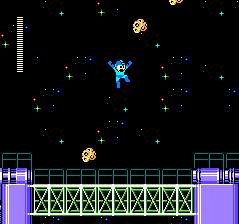
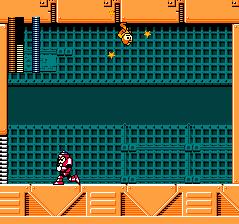
Near the end of the stage, strange-looking eyeball robots will circle you. If you just stay still and shoot them with your buster, you'll get out unscathed.
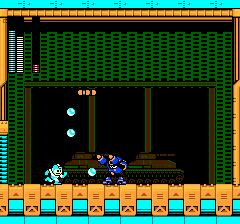
The first Sentinal is mounted on tank treads and fires plasma shots at you. As you do more damage, it moves faster. Use the Water Wave on it; it blocks the shots and does heavy damage to it.
This is a more tricky stage. One of the biggest hazards is a section of conveyer belts that you must cross over a chasm with a spiked ceiling. As if that isn't enough, skull-dropping robots will fly by and try to knock you off.
The area before the end is filled with more tigers and those orb-robots to make life miserable. Try to take the section slow and take each threat as it comes.
The second Sentinal is a pushover. He just walks around with a forcefield circling him. It doesn't protect him from Napalm Bombs, though. Feed him a few of those and he should go down without much fuss.
The third area has a lot of pitfalls, but they aren't as so bad. This section with those spinning platforms is a little intimidating, though. Just jump when you're directly under the next platform and you'll avoid getting flung into the spikes.
This stage has three of those giants running around. Avoid them if you can, but that may be hard, especially if you want to go for the Energy Tank that one of them is guarding.
This stage also has two sections where you'll have to ride a snake-like platform across a large chasm. It's not as hard as it sounds though.
This third Sentinal is certainly the hardest. He'll jump to fire a barrage of plasma shots, but the real danger is the freeze ray that he fires from his chest. If you get hit, you're frozen for a while, making you a sitting duck. Try to avoid it at all costs! Your best weapon against him is the Gyro Attack, but you may end up needing an Energy Tank as well.
Shoot the pillars to lower the ceiling to reach the doorway. Just keep an eye out; if you aren't careful, you can easilly be pulverized by the spikes.
Darkman: You didn't think Protoman was really a bad guy, did you? You've been watching that TV show too much; this guy, Darkman, was impersonating him, and now it's payback time. He's pretty tough, though, using the powers of the other sentinals (minus that freeze ray, thankfully). Call Beat and just let him whoop his butt while you focus on dodging Darkman's shots and his force field.
After welcoming you with a freefall spikey chasm (when you reach a floating platform, go left, then veer right) Wily, throws a big section full of conveyer belts at you. The first part involves some careful jumping, since there are spikes on the ceiling, and the corridor is tight. In the second part, you can just fly Rush over it once you're high enough.
Later, there is a garbage masher section not unlike Dustman's. There are blocks you'll have to shoot out, but your charged Mega Busters don't destroy a whole row like they did before. (Hey, I thought it was said the Mega Buster was more powerful!)
For the boss, you fight this...thing. When you shoot a part of the tower, that piece flys toward you, allowing you to jump on it. Use them to get a good shot at the head; Crystal Eyes work best. Make sure the little heads don't block your shot, though.
Where's Rush Marine when you need it?! This first half of the stage is a tricky water section with spinning wheels that try to force you into the pit. The scuba-diving Mets and buzzsaws don't help matters any. Once you make it through here, the rest of the stage is pretty simple.
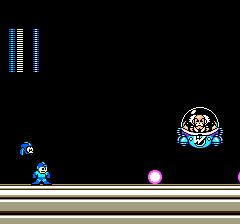
This odd contraption makes a somewhat tricky boss. It flys around, eventually opening the shield on its two sides, allowing you ot be able to shoot it. It has a pattern to its flying; you should be able to find it. Use the Gyro Attack for maximum damage.
Grab the Energy Tank, then get ready for another teleporter room. Capcom got lazy with this one; instead of designing any new castle boss rooms, the teleporters transport you back to the original boss rooms, and you fight the robot masters there! After beating them all, a new teleporter will appear. Step inside to fight...
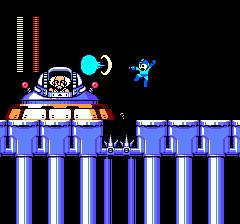
Dr. Wily: Doc has a wierd new saucer he wants to show off. He flys back and forth in it, then tries to crush you beneath it. Get out of the way when he comes down and shoot the cockpit with a charged buster shot. Star Crash also works well, but you have to shoot it just right, or it will be deflected.
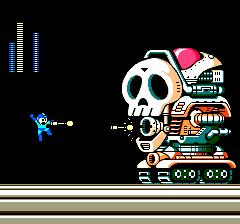
You'll now fight Wily's giant skull tank. It has a vaccum attack as well as fires bombs and missiles. Dodge them as best you can and fire Super Arrows into the mouth for a quick finish. Wily will then engage you in his saucer. There are no special weapons that seem to do much, but Beat works very well. Wily follows a simple pattern; he cloaks the saucer, then reappears, dropping a plasma ball. When it hits the ground, it splits and travels in both directions. When Wily cloaks again, he'll send out a spiral of plasma balls. He shouldn't be too hard, especially if you're using Beat.