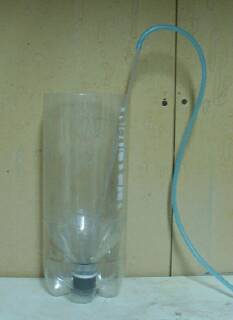
HATCHER ASSEMBLY
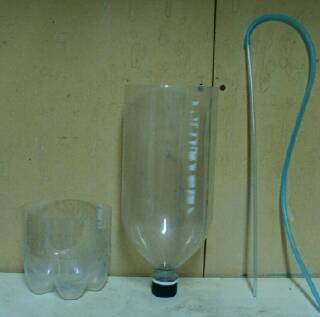
The inverted bottle obviously has the bottom cut off at the point the sides start to enlarge.(this is the hatcher).
The second bottle has the top cut off (this will be the base).
I think to make the hatcher part is self explanatory.
To make the base, I cut the top off first about 1/3 up from the bottom and throw the top away. Then I scissor off a wee bit at a time for the final stage as I want the bottle cap of that inverted bottle (hatcher) to rest on the inside bottom of the bottle bottom to give more stability.
If you cut too much off, start with a new bottle because with too much cut off, the hatcher part won't be properly supported by the cut edges of the bottom.
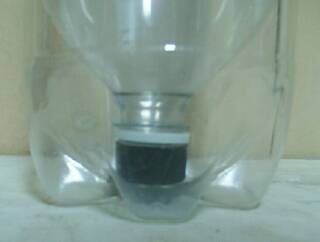
I also fill the hatcher part with water and sit it in the base part and then lift the hatcher part to see if the base holds on. If it holds on, I shave a little more off the base until it holds the hatcher secure when at rest, but releases when I lift the hatcher.
If I shave off too much off the base so the hatcher part is wobbly, then I start over again with another bottle.
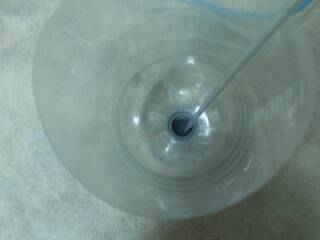
The rigid (hard plastic 3/16" from LFS) airline tube just sits on the bottom and is not connected in any way. The top end has the 3/16" flex airline tube fastened to it, and the other end of the flex airline is fastened to the air pump.
I've been using them in this manner for over two decades and it works just fine. Plus, you can't beat the price.