
JBA Cat4Ward Header Installation
Here the pics and install notes from the installation of a set of JBA Cat4Ward (otherwise known as "shorty") headers on my 1997 Highrider with L35 4.3 Liter V-6 engine. The total cost, including shipping, was $335.
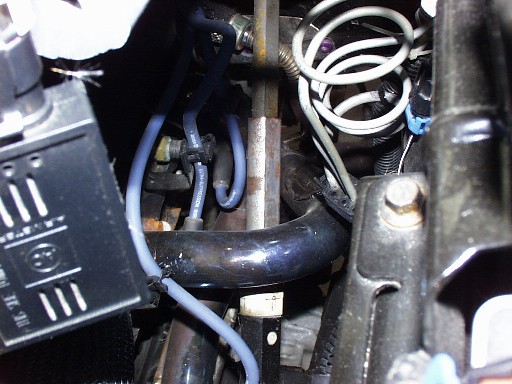
The first steps were to disconnect the battery, remove the intake box, mass air flow sensor, plug wires, and plugs. Once you have this done, you must disconnect the bottom end of the steering shaft from the steering gear. Pull the black plastic cover back and remove the bolt that goes down through the edge of the splined shaft. Then just pull back on the shaft and it should come off of the splines and you can move it toward the fender to give yourself room to work. I actually pulled the bottom half off the upper part and took it out for added space. Now you should be ready to begin the actual header work.
From under the truck, remove the three bolts holding each manifold to the stock Y-pipe. Then remove the six bolts on the stock exhaust manifold.

The driver's side must also have the EGR line disconnected from it. This is the larger steel line right by the firewall. The spark plug wire holder must then be removed by loosening the bolt on each end. On the passenger side this will also loosen the top of the dipstick tube which must then be pulled out of the motor. The stock manifolds should then lift out along with the heat shields and gaskets.
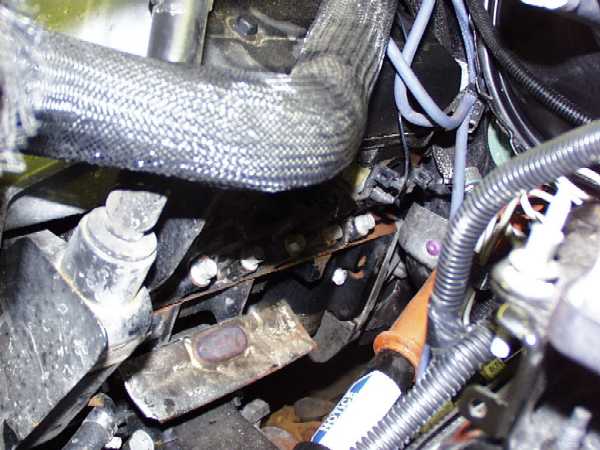
Once everything is removed you should clean the mating surfaces on the engine so that the new headers seal properly.
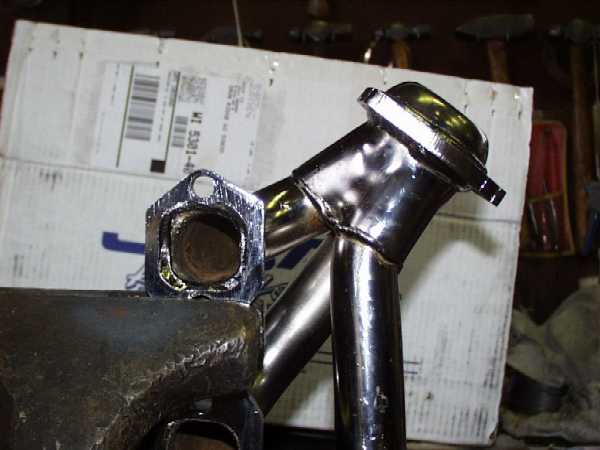
The next step is to install the headers and gaskets by tightening the supplied hardware to 35 ft-lbs. on the
headers and on the Y-pipe. This is fairly straightforward, but there are a few tricks.
On the Driver's side, make sure to slide the lower part of the steering shaft back on the upper part before
tightening the headers down. If the headers are tight, there is not enough room to get the correct angle for the
shafts to slide together. If you happen to forget this step and already have everything tight, you can also solve the
problem by removing the top steel line from the steering gear. This will also provide enough room to slide the shaft
on.
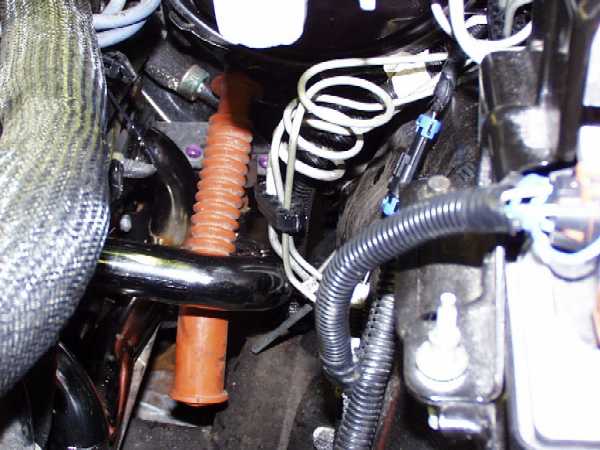

On the passenger side, make sure to do the same with the dipstick tube. This is much trickier than it seems. I actually ended up bending my tube a little so now the dip stick slides a lot harder than it used to. Also, with my set of headers the rear hole had to be enlarged because we couldn't get the last bolt to fit.
Reconnect the EGR line on the drivers side. Install the plug wire holders with the new hardware and spacers provided. Install the plugs and wires. On the passenger side you have to replace the rear plug end with the red 90 degree end that is included with the kit.
Double check everything to make sure that nothing is touching the headers. In addition to making sure that the plug wires were secure, I had to remove the orange boot from the steering shaft, bend the brake lines slightly, and tie wrap part of the wiring harness in order to ensure that nothing was going to be melted.
Reinstall the intake and mass air flow sensor. After one last sweep for hidden tools and spare parts, reconnect the battery and fire it up.
This doesn't sound that bad, but nothing in this install went easy. Here are my opinions on the install and on the performance of the product itself.
Negatives:
Add 1+ hour to enlarge the sixth hole on the passenger side.
Add 1/2 an hour to get the EGR line to thread onto the new headers.
Add 1/2 an hour to get the dipstick back into the engine - for some reason it has to go down in there about 5 inches.
Add 15 minutes to realize that you need to remove the steel fluid line from the steering gear in order to get the steering shaft back on after the headers were tight.
Add 15 minutes to bend the brake lines that were not supposed to interfere.
Add 10 minutes to cut the orange boot off the steering shaft, that wasn't supposed to interfere, so that it wouldn't melt.
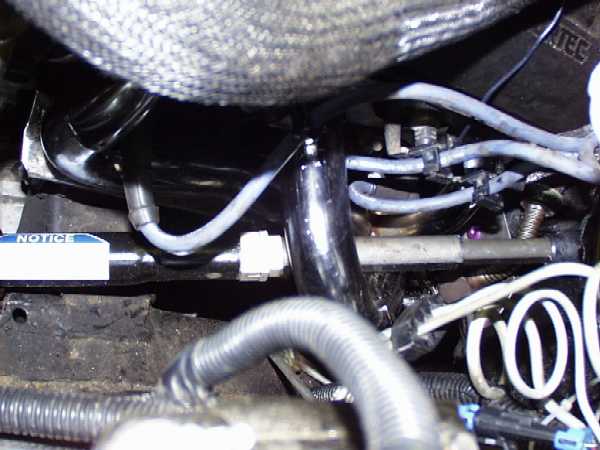
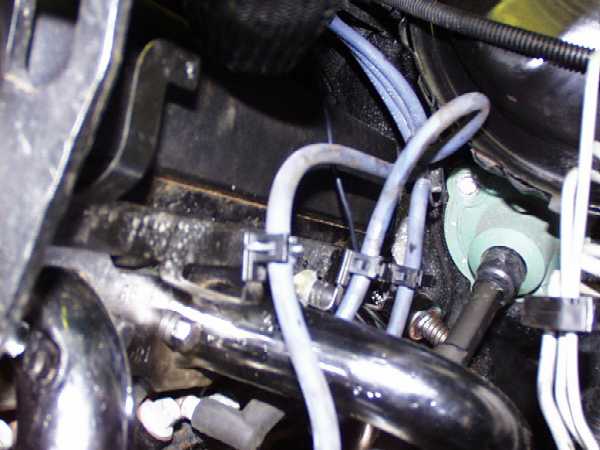
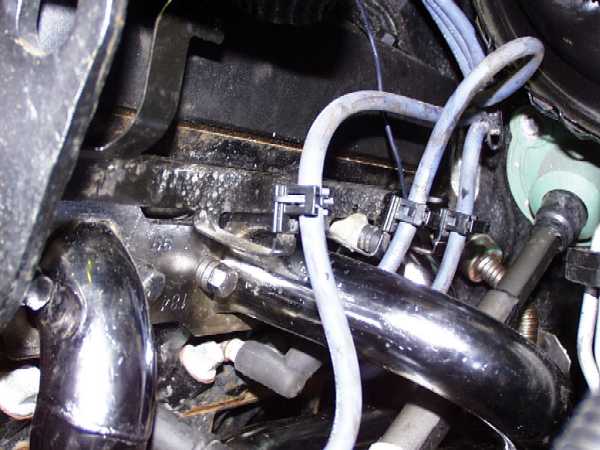
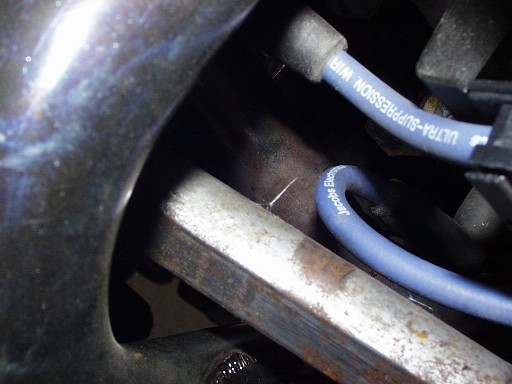
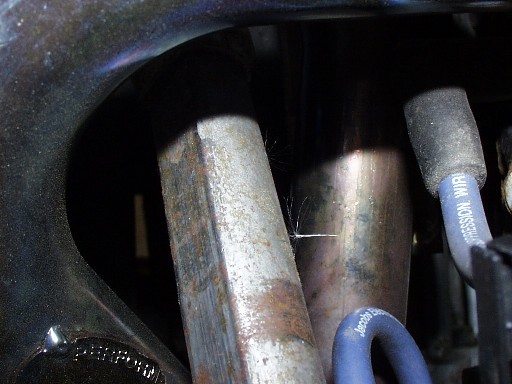
The steering shaft is so close to one of the header tubes that when the engine torques in the motor mounts, there is contact. The 2" body lift that I installed later solved this problem by raising that part of the shaft about 1.25" and solving the problem perfectly. Here are some pics of the steering shaft/header clearance after the body lift.

Positives:
More power and torque throughout the power band.
The sound anywhere above 2500 RPM just makes you smile.
I now have a legitimate excuse to get that 2" body lift I've been thinking about for a while.
They look really cool after they get hot a few times and the nickel plating gets that blue/yellow tint.
Things I plan on bringing to JBA's attention:
The steering shaft and brake line interference problems. The way the header design looks, I almost wonder if there aren't some subtle differences in the ZR2 compared to the regular S10 that cause this problem.
The back hole being out of place on the passenger side. This was obviously a design or production flaw from JBA since the stock manifold fit perfectly without a modified opening.
What it boils down to is that if you have someone else do the install for you, you will love these things. The only non-install related problem I have is the steering shaft interference which I plan to solve on my own. One last thing, if you do this on your own, make sure you have a fully equipped shop. Contrary to what JBA tells you, the average 50 piece tool set won't cut it.
2000 ZR2 1997 ZR2 1994 Z28 1989 ZX750R 2000 NHRA Trans Am
Visit angelfire.com
for your own free URL and e-mail.
Questions, comments, suggestions? Send mail to: Scott
Braemer
Last Updated 06 September 2002 12:53
