

Welcome to the Wizard's Easy Paint Guide.
This guid will direct beginning skinners in how to make their very first skin; and upload it to the Trainsim world.
SO, enough talk...let's work hmm?
I'll not lie to you...skinning isn't easy, let's hope this page helps you some; first you must have some things:
1: Microsoft Train Simulator:
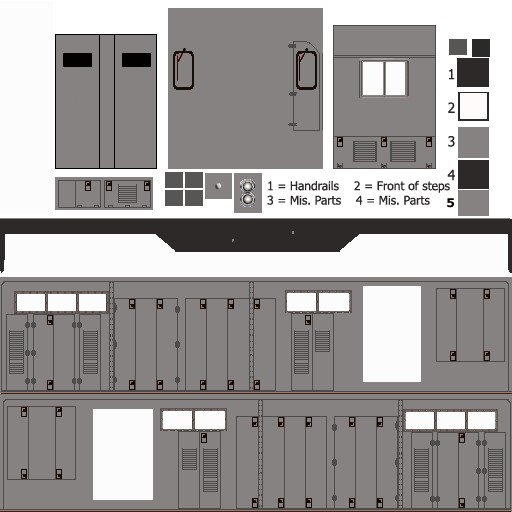
2: 3D Perfection's UP_GP7 model. (any skin so long as it has the original undec skins.
3: TGA Tool 2.
4: Patience.
Ok, first we need to configure your TGA tool. To do you must do the following in this order.
1. Unzip TGATool2 to your desktop.
2. Click upon Prefs. When the table drops down then click on Locate Make Ace.
3. In the window that opens, click upon makeace, and then open.
4. Next, click upon Prefs again and then Select Editing program. You'll have to search here, but Paintbrush can be found in the windows folder. It's the funky pallet looking thing. Click that and then confirm the choice if it asks you to.
Ok, Tga tool2 (TT2) Is ready to work for you. Now that it's set up, let's get to the skinning. First you must open a a tga to edit...so, here's what you do now:
the UP_GP7 folder should have already been unzipped and placed in your trainset folder. For this tutorial, copy the whole thing (the UP_GP7 folder) and drop it onto your desktop.
To edit the locomotive, open TT2 if it's not already; click upon the following in this order:
2.In the window that opens, click upon desktop and then UP_GP7.
3. Click upon Undec Skins.
4. Click upon "Files of Type" and set it to Targa Image.
5. Click upon "Undeclocoside"
Good, Now let's add some colour.
since most of that loco is the same color...we can cheat. click on the paint can and then red. With a single click, paint your tga to look like this:
Now click
It is not common, but sometimes TT2 won't upload the edited image. If this happens first check to make sure you saved and did not "save as". Second, check to make sure you clicked the reload after edit for the main image. And, if all else fails...start over, you'll not lose much.
Ok, so we have a bit of color now. Now what? Well, we could upload this to the game as it is...but that wouldn't look too good. So, let's paint some more.
Head back to paint, Picking up the paint can again, flood fill your image so it looks like this: 
Now, what we just did was color some of the minor details. Basically you've taken a step out of the way that could cause you trouble later on. You don't have to do this now, but trust me, it helps.
Ok, more painting. Now we're ready for the body. As you can see in the above picture, I've chosen to paint some of the details blue. Let's carry that over into our side to make it a nice dark blue. Back to the flood fill. Click it, and then your dark blue; paint so your picture resembles this: 
Now, save again; and reload as I showed you before. Your TGA tool should mirror what your paint shows.
Well, we're almost done with this part of the locomotive: All we need to do is finish off the side and then the roof. First, we need to do the side, so repeat the process as you did above to look like this: 
Ok, looks good right? Well we need to finish this side and get it uploaded. So, Save again; and reload. Once you've reloaded, click on
The roof can be found in the Cabintundec tga. (By now you should have a good idea how to open the tga files) Open the TGA and then paint everything that is the original light grey, dark blue. Having done that, export your new cabint to the file CabInt in your desktop GP unit.
Now, you're ready to play...your loco has been painted and is good to go. However, did you notice that we didn't letter it, or number it or really do anything with the details? Well, if you want to play with the details some and make better locos, then head to page two.
Details and Lettering
Alpha Channel Introduction
Weathering techniques.
