
Click on the picture to view a larger version of the same picture. Use your browser's back button to come back to this page after you have finished viewing a picture.
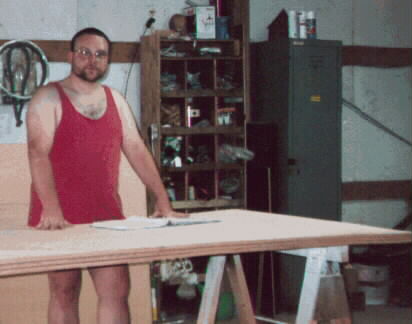
Here is a picture of me on the day that I started the project. The blue binder in front of me contains the plans.
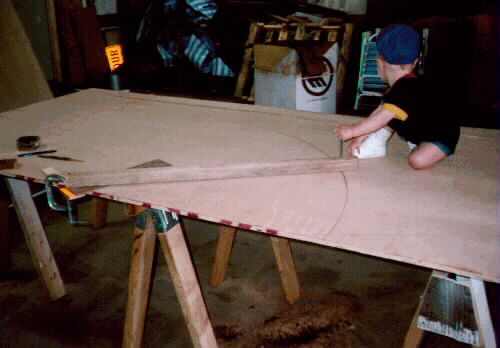
Most of the lines are laid out with a fairing stick, utilizing offsets from the center line. The stern of the tug, however, is based on a 34" radius. I build a protractor out of a 2X2. One end of the protractor was fastened to the plywood. The other end was drilled to accept a pencil. My son had a great time drawing the line for me.

After the radius was marked we drew a tangent line from the radius to the other line that we had laid out with our fairing stick. My wife, Janet, is marking the tangent line. If you look closely you can see the dark radius line and the lighter tangent line.

In this picture I've cut out the two sides of the bottom, placed them together, and am using a Stanley Sureform Plane to make them identical.


This is the Hook that I used to lift the boat up with. It is screwed into the Bulkhead base. The Bulkhead base was left long for this purpose. I will trim it off after I turn the boat back over again.
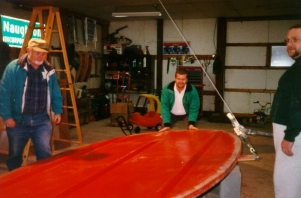
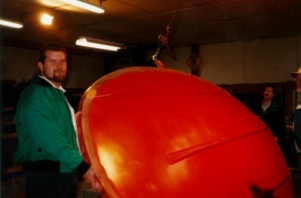
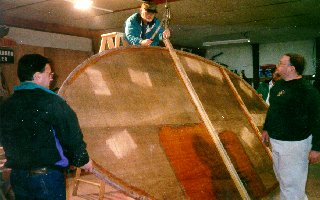
I attached a come-a-long to a board that went over several ceiling rafters. Two assistants held the boat on the ends to keep it from bouncing. You can also see the additional bracing that I clamped on to the bow and centerline to keep things together.

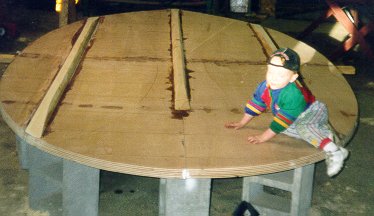
The Keels are screwed and glued on to the boat. Note that the center keel does not match the plans. This is because we are building with the outboard motor option. Many of the lakes in my area are shallow and the large keel would only get in the way.

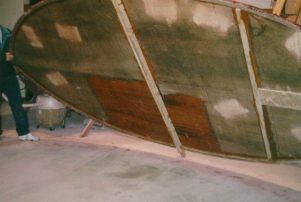
This is the first complete coat of epoxy and fiberglass on the boat.
Believe it or not this is a photo of it after it has dried. What you see is actually two layers of fiberglass cloth. About 6 coats of epoxy total. The next step is to use the beltsander to take down the high spots. Then a final random orbital sand with 80 and 120 grit smooth it off. Then we paint.

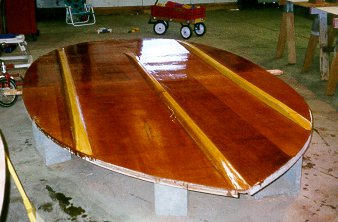
This is the bottom of the boat with the final coat of paint on it. After it was painted I went back and feathered the edges of the boat. I did this so that it will be surface will be ready for the the fibreglass from the sides which will wrap around to the bottom.
| |
 |
 |
 |
 |
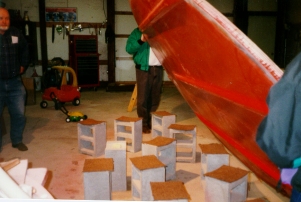
We tipped the boat back over using the same method we used the first time. It was a little bit heavier but the hull was not as fragile and didn't require addtional bracing.
